How to Rotate Objects
Hi everyone, and welcome back! I'm Alex from PixTeller, and today we'll have some fun because I will show you how to rotate objects with our graphic maker. It's super easy and It won't take too much of your time. So let's get going!
When getting started, I will use a pre-made design.
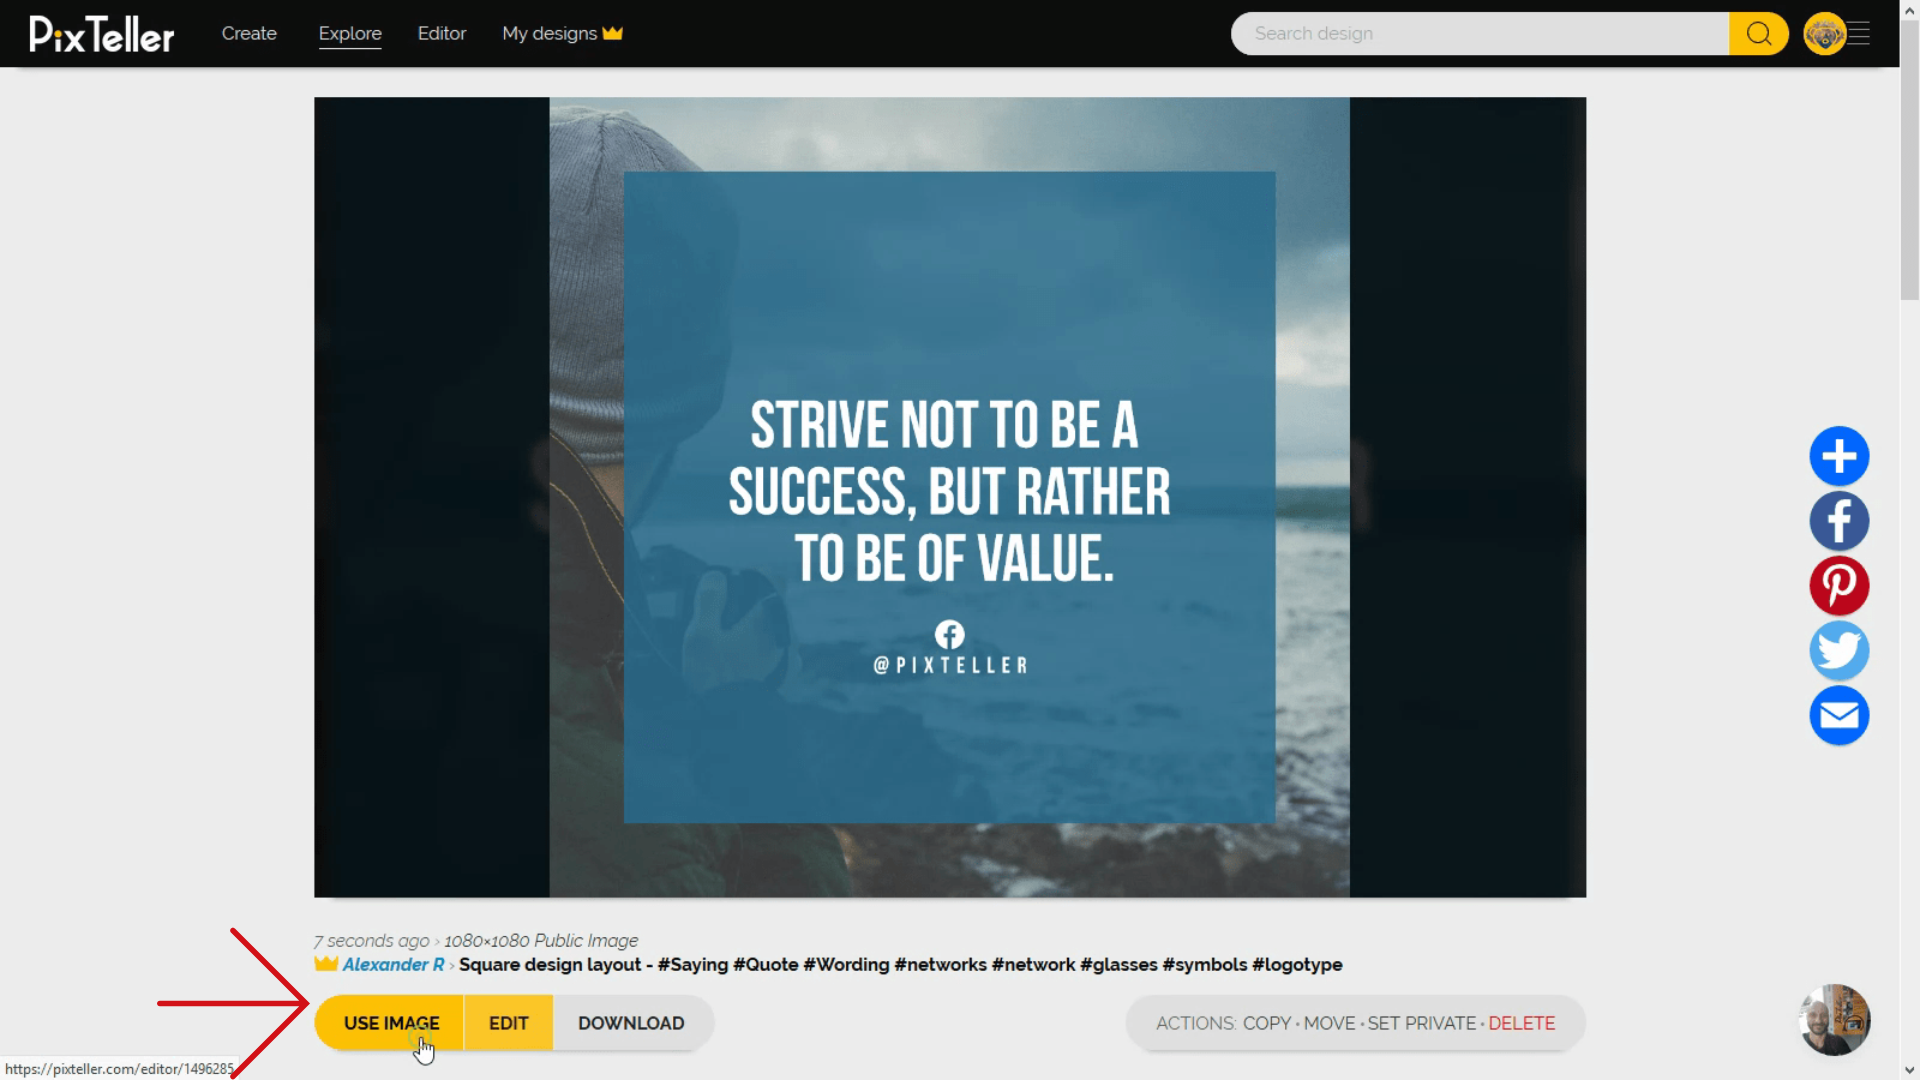
Once the photo editor is opened, I can select any element, such as text or shape, by clicking on it. Just like I'm doing here.
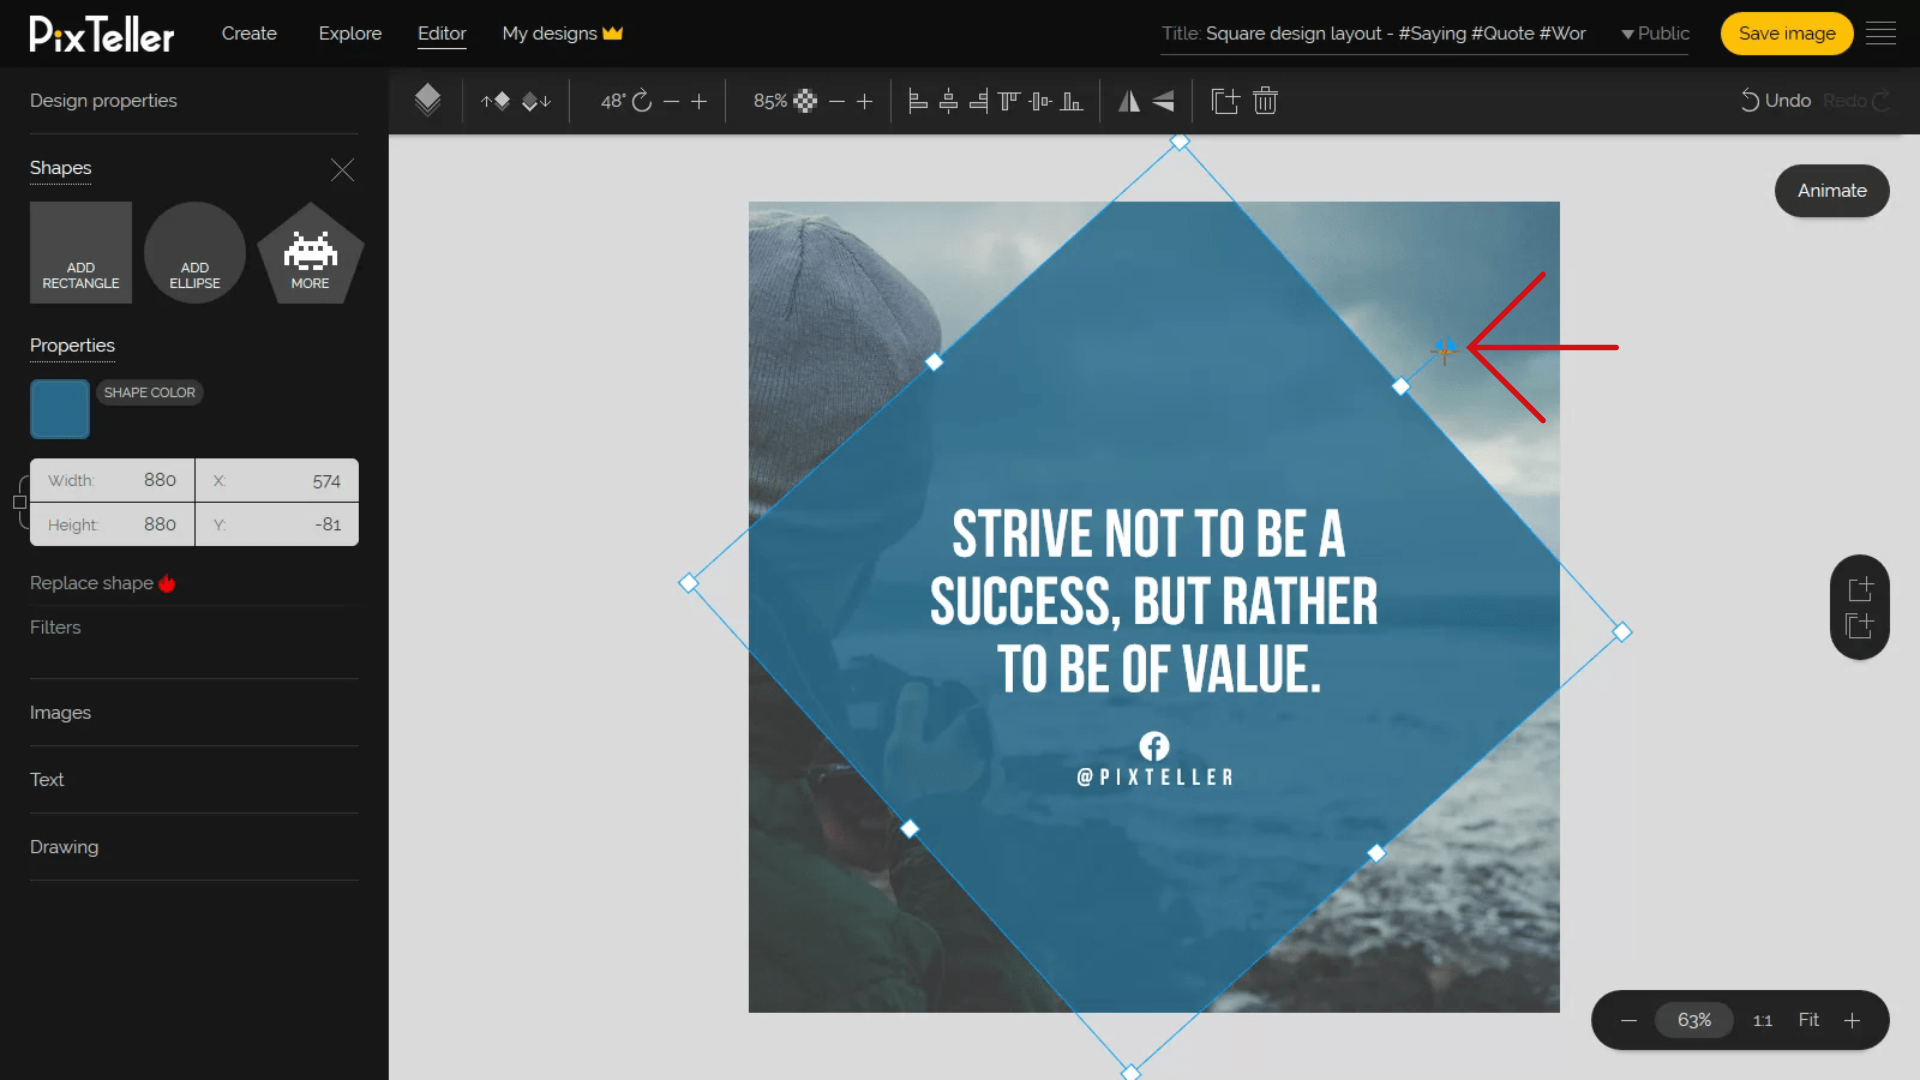
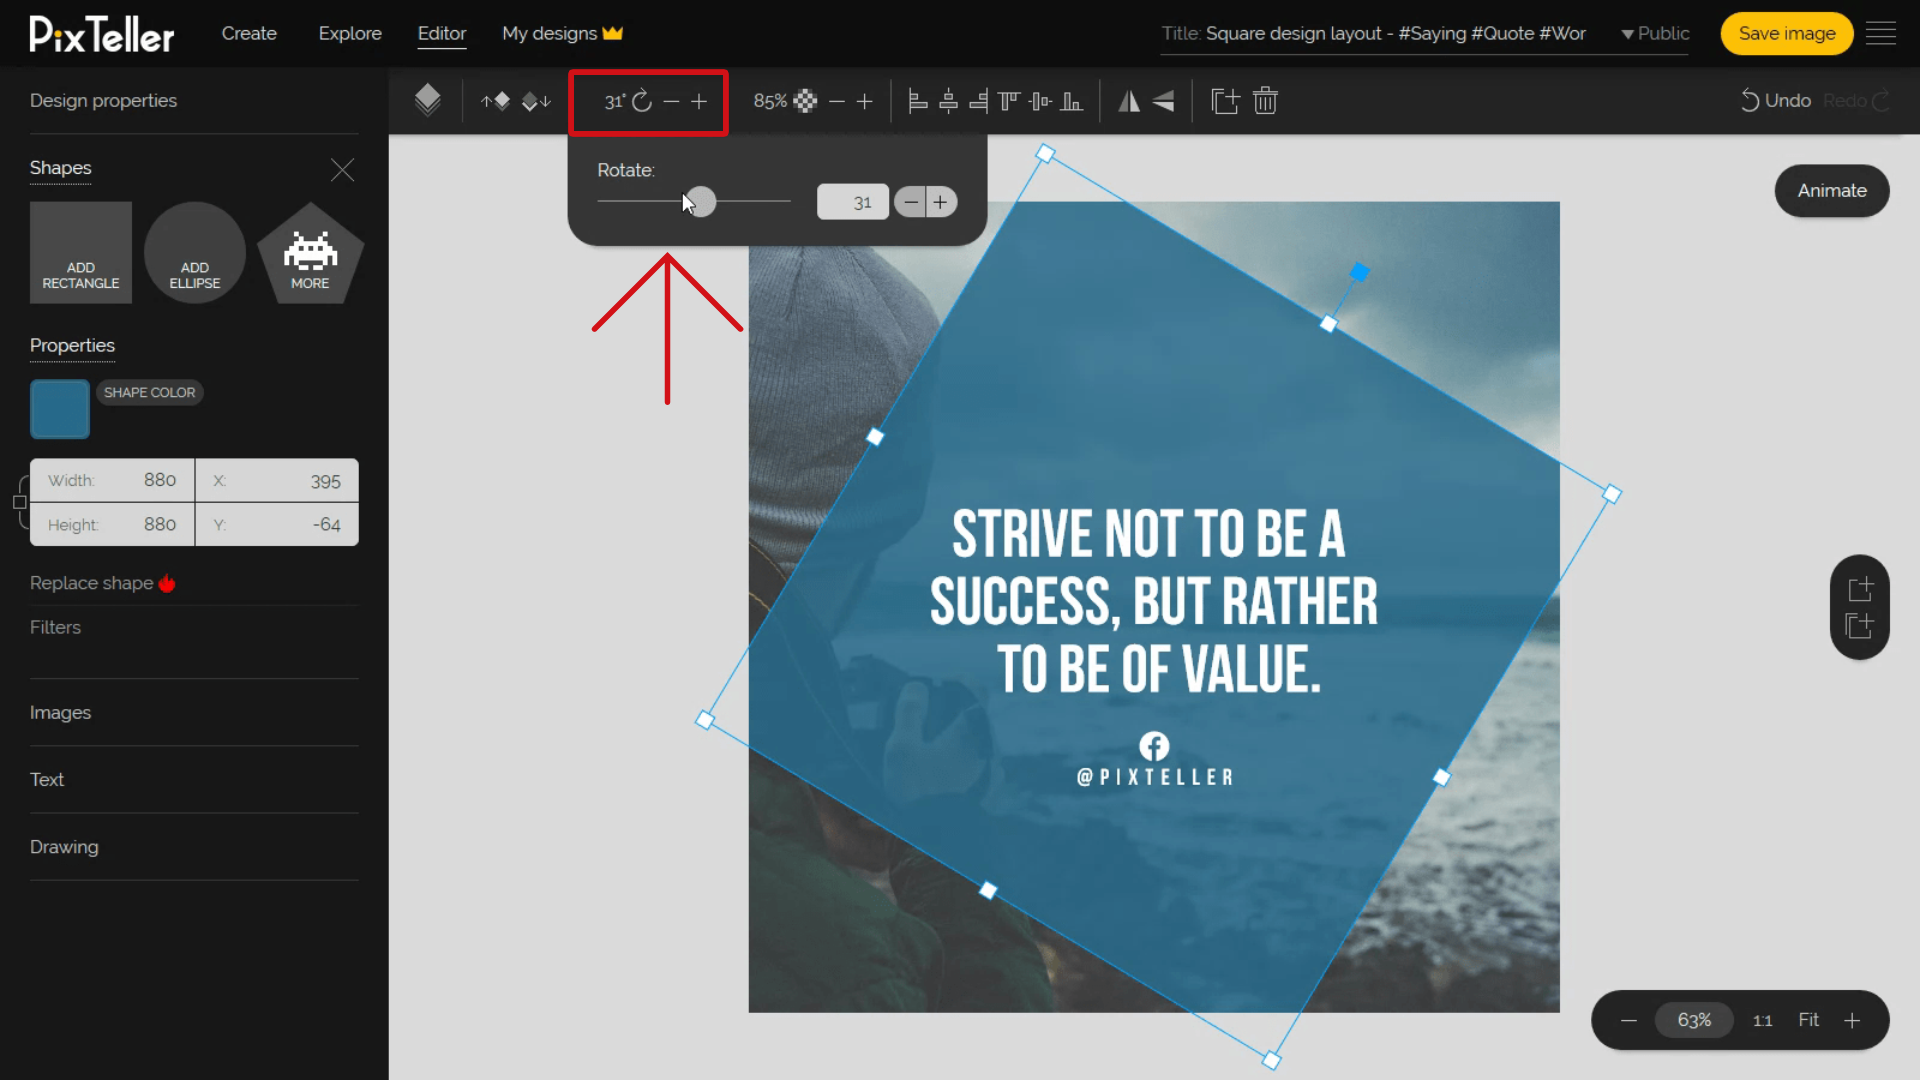
In order to rotate them, there are two options: using the selection button of the element or simply going to the top menu section where you can use the rotate functionality. The menu includes a slider, an input box, and the usual "+" and "-" buttons for more control.
Once the design is finished, you can hit the Save button or use the CTRL+S shortcut key command and your creation is ready to be downloaded.

For our example, the final outcome should look something like this picture. Great job, everyone!
Thank you for watching and until next time, have fun using PixTeller!
For more, follow our blog to learn tricks and tips that will make your designs the best out there. Join PixTeller and design your own images, animated GIFs and short video animation for your websites, advertising campaigns, social media posts, mobile apps, print, business visuals and more. It's free! Yey!!!
Have a great day, guys, and stay tuned for more!
Recommended posts
-
How to Set Your Design’s Background Color to Transparent
Read More › -
How to Use the Line & Pencil Tools
Read More › -

Design Page Setup and Properties
Read More › -
How to add Photos and Graphics
Read More › -

How to Create a Mockup Image for Your Social media Campaigns
Read More › -

Upgrade Stock Photos to Transform Any Visual Content
Read More ›
