How to Hide, Lock and Unlock the Elements Used in Your Design
Hi everyone, and welcome back! I'm Alex the PixTeller chief troublemaker, and today I will show you how to hide, lock and unlock the elements with PixTeller graphic maker.
Don't worry, it's a super easy and short tutorial that teaches you simple, basic aspects that'll ease your work. You guys ready?
Let's get started!
First thing's first, in order to efficiently go through today's tutorial, I will start from a premade design that has more than 5 elements. This is the graphic template we'll use today. After we've selected the design, click on USE button to open the photo editor.

Once the graphic editor has opened, I will go to the top menu section, and I'll rollover the layers button. As you can see here, I have 5 text elements, a shape, and an image background. Have you found them? Good!

If you're wondering what happens when you hide all the elements, then you're left with a blank page, just like in the example.

From this menu you see here, you can also lock and unlock an element. What happens to a locked element? It cannot be modified or moved.

Also, from the Layers menu, you can change the order of the elements as I am doing right now. Easy, right?

That's about it regarding the layers section. Well done! - Thank you for watching and until next time, have fun using PixTeller!
For more, follow our blog to learn tricks and tips that will make your designs the best out there. Join PixTeller and make images, animated GIFs and short video animation for your websites, advertising campaigns, social media posts, mobile apps, print, business visuals and more. It's free! Yey!!!
Have a great day, guys, and stay tuned for more!
Recommended posts
-
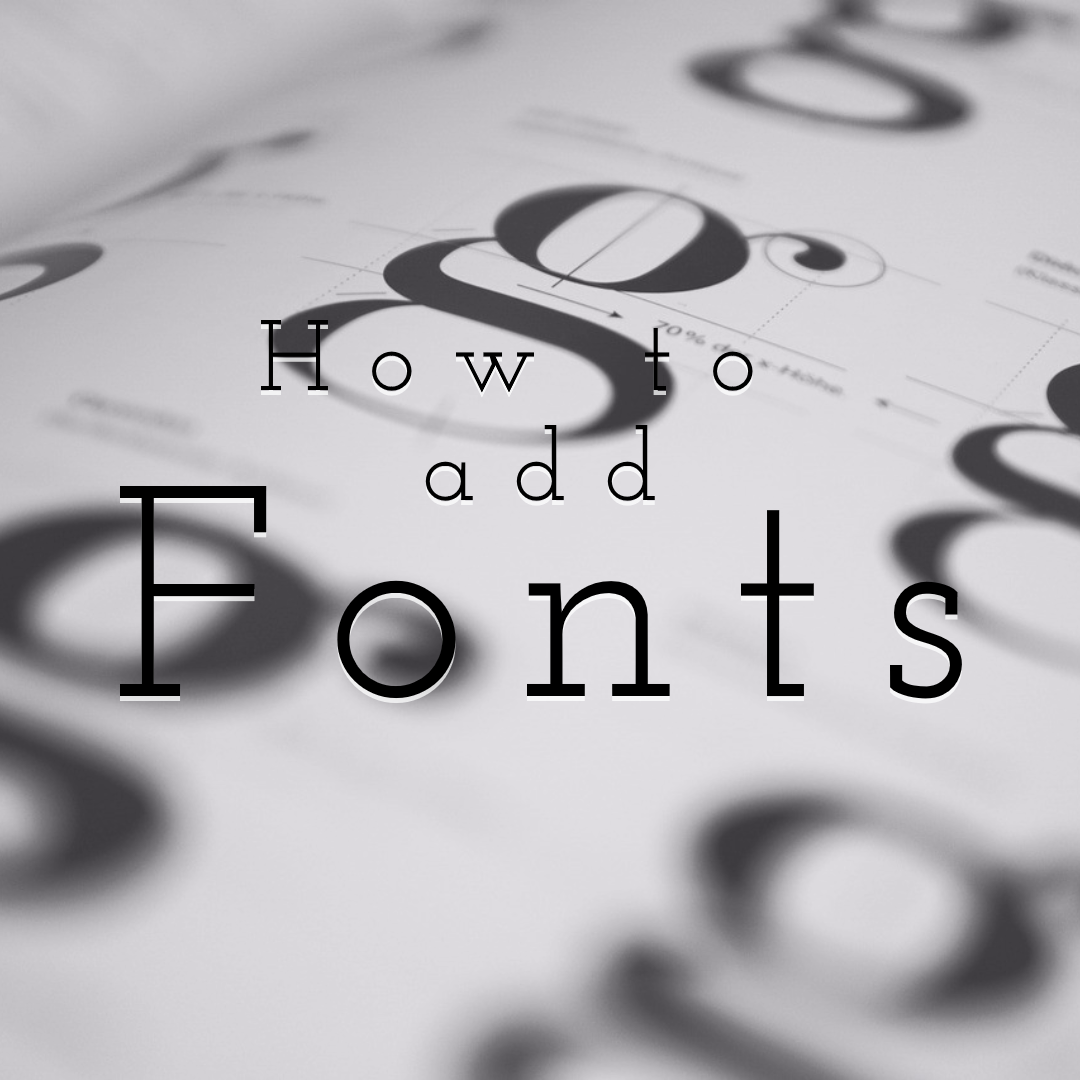
How to Add Your Own Fonts on PixTeller Editor
Read More › -

How to Create a Mockup Image for Your Social media Campaigns
Read More › -
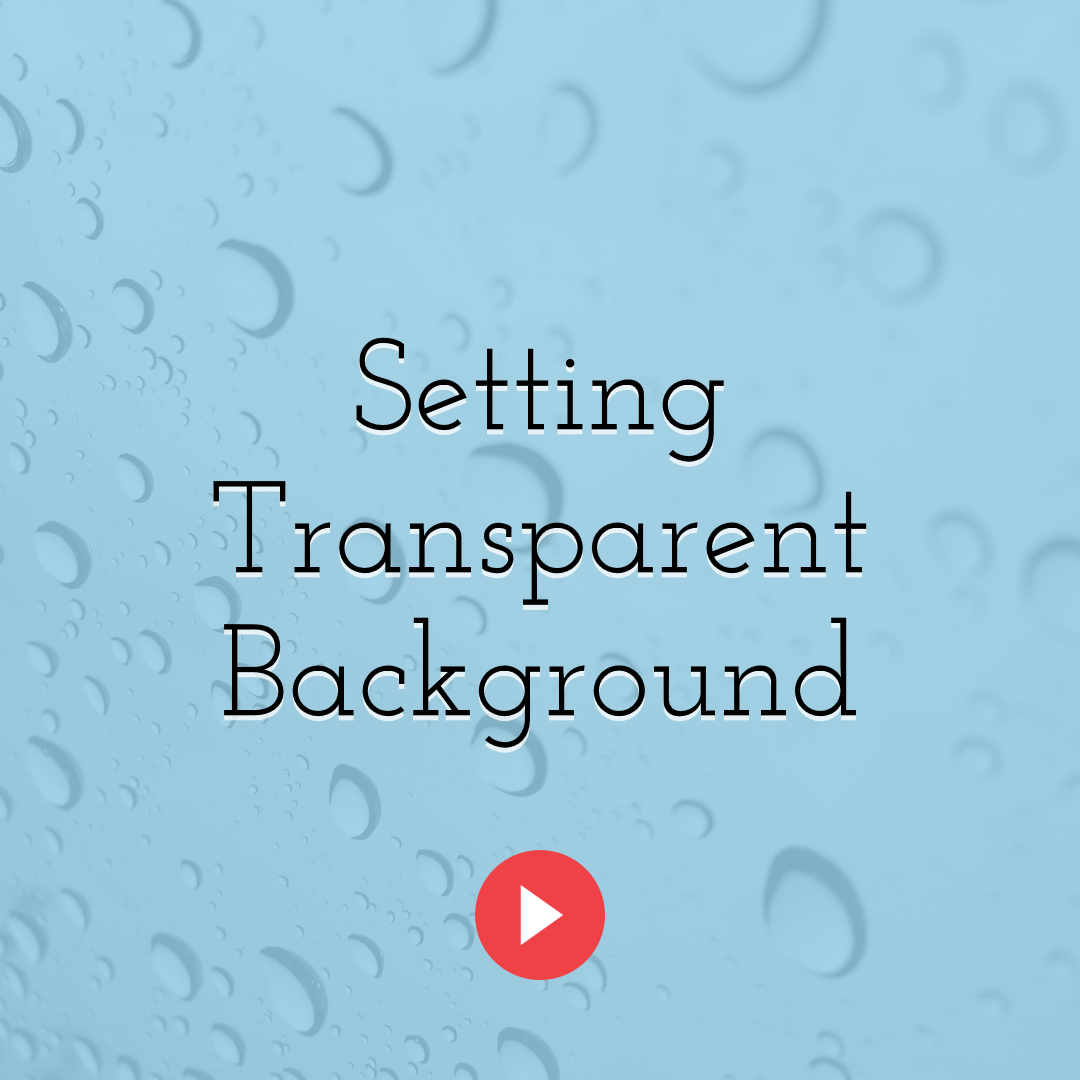
How to Set Your Design’s Background Color to Transparent
Read More › -
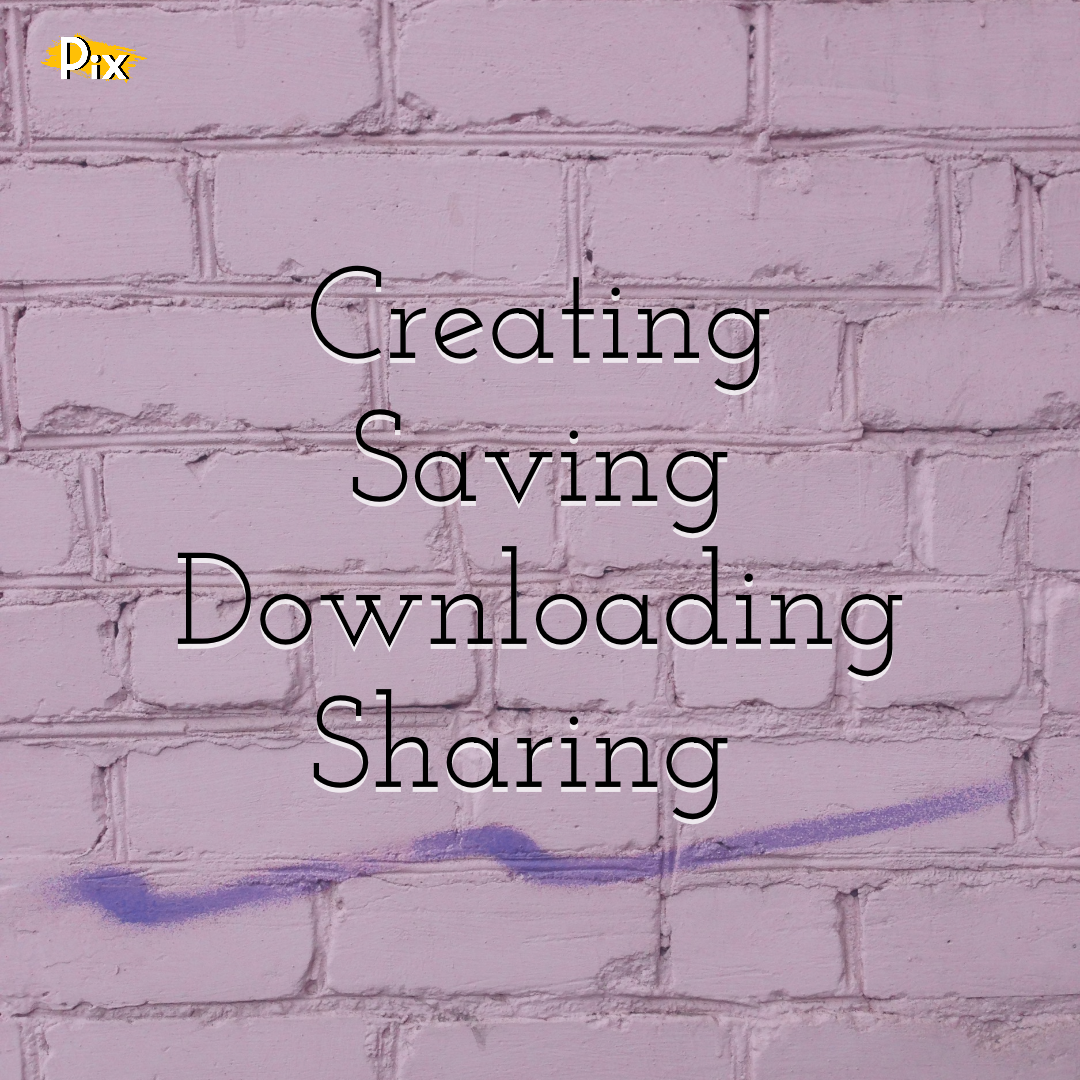
Creating, Saving, Downloading and Sharing your PixTeller images (FAQ)
Read More › -

Boost Your Social Media Presence With Awesome Images
Read More › -
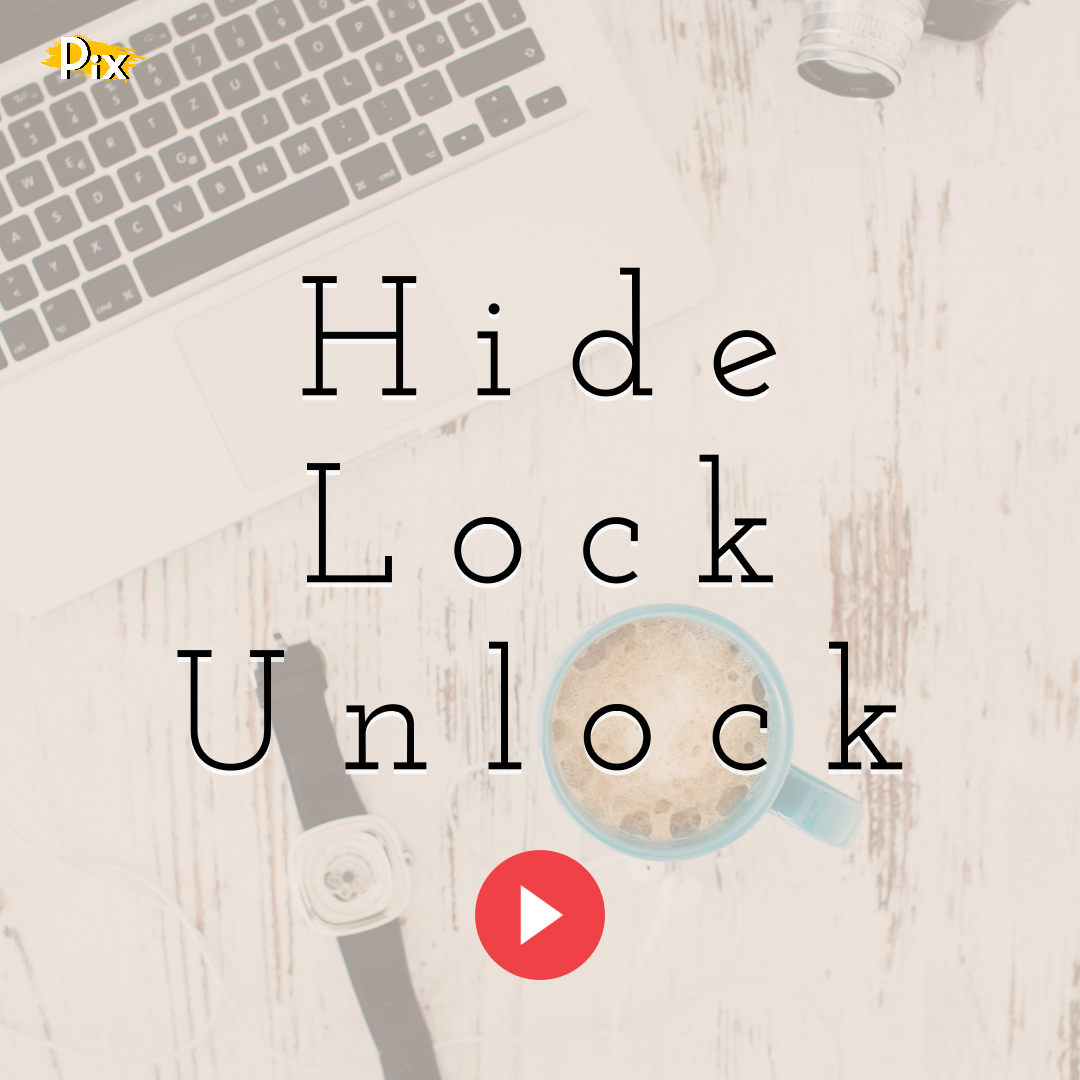
How to Hide, Lock and Unlock the Elements Used in Your Design
Read More ›