Building a Client Portal Where Users Can Safely Upload Sensitive Documents
If you’ve ever had to collect sensitive documents from clients, like in a law firm, accounting office, medical clinic, or consulting business, you know how tricky it can get.
Email attachments aren’t secure, and asking clients to upload files through cloud storage often leads to confusion.
What you really need is a simple client portal, a secure place where clients can easily upload their documents directly to you.
Now, you might be wondering, “Do I need to be a security expert for that?”
No, not at all!
In this guide, I’ll walk you through how to build a secure document upload client portal that handles encryption, access control, and file management automatically, all in a simple, easy-to-follow way that keeps your clients’ data safe.
Key Takeaways
- • Security can be simple: Modern file upload services handle encryption and storage security for you.
- • Give clients the right access: Each client should only see their own documents, never anyone else's.
- • User experience matters: If the portal feels confusing, clients won’t use it, even if it’s secure.
- • Use trusted services: Tools like Filestack come with built-in security standards like HIPAA and SOC 2.
- • Start simple, then expand: Get the basics working first before adding advanced features.
Understanding the Basics of Security
Before we start coding, let’s quickly understand what makes a document upload client portal secure:
1. Encryption in Transit
Your files should be encrypted while moving from your client's computer to your server. This is done automatically when your site uses HTTPS (that little padlock in the browser).
2. Encryption at Rest
Files also need to be encrypted when stored on your server. Even if someone gets access to the server, they can’t read the files without the encryption keys.
3. Access Controls
Each client should have their own login and should only be able to see their own files, never another client's documents.
4. Audit Trails
Keep a simple record of who uploaded what and when. It helps with security checks and solving issues later.
Sounds like a lot of work, right?
But don’t worry, if you use a tool like Filestack, it automatically handles encryption and logging (points 1, 2, and 4). You’ll just need to set up access controls, which we’ll do together.
Want to learn more about uploading files safely?
Here are some helpful resources that thoroughly explain these topics:
- • OWASP File Upload Cheat Sheet - Best practices for handling file uploads securely.
- • MDN Web Security Guide - Learn web security fundamentals from Mozilla.
- • Google Web Fundamentals: Security – Covers HTTPS, CSP, and other modern security measures.
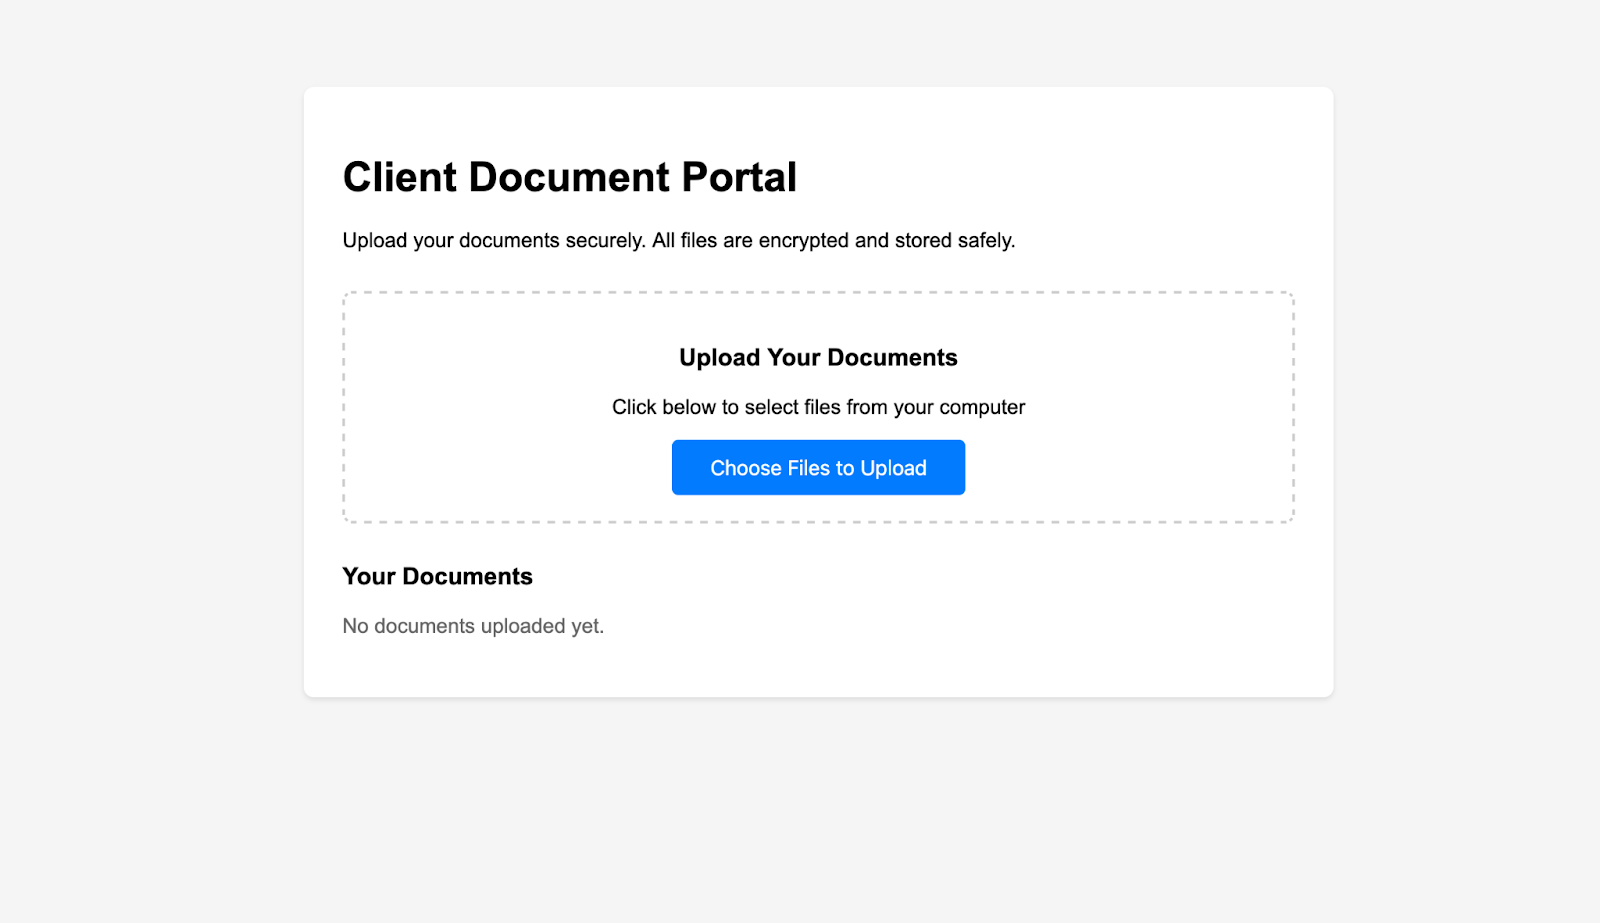
Build a Secure Client Document Portal
Step 1: Setting Up Basic Portal Structure
Let's start with creating a clean and user-friendly interface for the client portal.
<!DOCTYPE html>
<html lang="en">
  <head>
    <meta charset="UTF-8" />
    <meta name="viewport" content="width=device-width, initial-scale=1.0" />
    <title>Client Document Portal</title>
    <style>
      body {
        font-family: Arial, sans-serif;
        max-width: 800px;
        margin: 50px auto;
        padding: 20px;
        background-color: #f5f5f5;
      }
      .portal-container {
        background: white;
        padding: 30px;
        border-radius: 8px;
        box-shadow: 0 2px 4px rgba(0, 0, 0, 0.1);
      }
      .upload-section {
        margin: 30px 0;
        padding: 20px;
        border: 2px dashed #ccc;
        border-radius: 8px;
        text-align: center;
      }
      .upload-btn {
        background-color: #007bff;
        color: white;
        padding: 12px 30px;
        border: none;
        border-radius: 5px;
        font-size: 16px;
        cursor: pointer;
      }
      .upload-btn:hover {
        background-color: #0056b3;
      }
    </style>
  </head>
  <body>
    <div class="portal-container">
      <h1>Client Document Portal</h1>
      <p>Upload your documents securely. All files are encrypted and stored safely.</p>
    </div>
  </body>
</html>
This gives us a clean, professional-looking client portal interface with an upload button and a section to display uploaded files.
Step 2: Integrating Secure File Upload
Now, let's add the actual encrypted file upload functionality using Filestack.
Step 2.1: Get Your API Key
First, sign up for a free account at Filestack and get your API key.
Step 2.2: Include the Filestack SDK
Add the Filestack SDK in your HTML file’s <head> section:
<script src="<https://static.filestackapi.com/filestack-js/4.x.x/filestack.min.js>"></script>Step 2.3: Add the Upload Functionality
Create a new file called portal.js and add the following code to that file:
// Replace with your actual Filestack API key
const FILESTACK_API_KEY = "YOUR_API_KEY_HERE";

// Initialise Filestack client
const client = filestack.init(FILESTACK_API_KEY);

// Store the current user's ID (in a real app, this comes from your authentication system)
const currentUserId = "client_123"; // Example placeholder

// Upload button click handler
document.getElementById("uploadBtn").addEventListener("click", () => {
  // Configure the file picker with security options
  const options = {
    maxFiles: 5, // Maximum number of files allowed per upload
    uploadInBackground: false, // Wait until upload finishes before closing picker
    onUploadDone: (result) => handleUploadComplete(result), // Callback after upload
    accept: [".pdf", ".doc", ".docx", ".jpg", ".png"], // Restrict allowed file types
    maxSize: 10 * 1024 * 1024, // Max file size: 10MB
    storeTo: {
      path: `client-documents/${currentUserId}/`, // Store files organized by user ID
    },
  };

  // Open the Filestack file picker
  client.picker(options).open();
});

// Handle successful uploads
function handleUploadComplete(result) {
  console.log("Upload successful:", result);

  // Save metadata of each uploaded file
  result.filesUploaded.forEach((file) => {
    saveFileMetadata({
      fileName: file.filename,
      fileUrl: file.url,
      fileHandle: file.handle,
      uploadDate: new Date().toISOString(), // Current timestamp
      userId: currentUserId,
      fileSize: file.size,
      fileType: file.mimetype,
    });
  });

  // Refresh the file list in the portal
  loadUserFiles();
}

// Save file metadata (for demo purposes, stored in localStorage)
function saveFileMetadata(fileData) {
  // In production, send this to your backend server
  let userFiles = JSON.parse(localStorage.getItem("userFiles") || "[]"); // Get existing files
  userFiles.push(fileData); // Add new file
  localStorage.setItem("userFiles", JSON.stringify(userFiles)); // Save back
}

// Load and display user's uploaded files
function loadUserFiles() {
  const userFiles = JSON.parse(localStorage.getItem("userFiles") || "[]"); // Retrieve files
  const container = document.getElementById("fileListContainer"); // Container element

  // Show placeholder if no files
  if (userFiles.length === 0) {
    container.innerHTML =
      '<p style="color: #666;">No documents uploaded yet.</p>';
    return;
  }
  // Generate HTML for each file
  container.innerHTML = userFiles
    .map(
      (file) => `
        <div class="file-item">
            <div>
                <strong>${file.fileName}</strong>
                <br>
                <small>Uploaded: ${new Date(
                  file.uploadDate
                ).toLocaleDateString()}</small>
            </div>
            <button onclick="downloadFile('${file.fileUrl}')">Download</button>
        </div>
    `
    )
    .join("");
}

// Download file securely in a new tab
function downloadFile(url) {
  window.open(url, "_blank");
}

// Load user files when the page is loaded
document.addEventListener("DOMContentLoaded", () => {
  loadUserFiles();
});
What this code does:
- • Initialise Filestack: Uses your API key to set up the Filestack client for file uploads.
- • Track current user: Stores a placeholder currentUserId to organise uploaded files by user.
- • Upload button functionality:
- ◦ Opens the Filestack file picker when the “Choose Files to Upload” button is clicked.
- ◦ Restricts uploads to certain file types (.pdf, .doc, .jpg, etc.) and a maximum size of 10MB.
- ◦ Allows up to 5 files per upload.
- ◦ Files are stored in a path organised by the user ID.
- • Handle successful uploads:
- ◦ handleUploadComplete is called when files finish uploading.
- ◦ Saves metadata for each uploaded file (name, URL, size, type, upload date, and user ID).
- ◦ Refreshes the file list displayed in the portal.
- • Save metadata:
- ◦ saveFileMetadata/span> stores uploaded file information in localStorage/span> (for demo purposes; in production, this would go to a backend).
- • Display uploaded files:
- ◦ loadUserFiles reads saved files from localStorage and generates HTML to display them.
- ◦ Shows a placeholder message if no files are uploaded.
- • Download functionality: downloadFile opens the file URL in a new browser tab for secure download.
- • Auto-load files on page load: Uses DOMContentLoaded event to automatically display any previously uploaded files when the portal loads.
Step 3: Adding User Authentication
In a real client portal, you shouldn’t let anyone upload or see files without logging in. This keeps each client’s documents private and secure.
If you’re just trying things out, you can skip login and use a placeholder user ID like client_123
But for production, here’s what you need to know:
Why Authentication Matters
- • Stops anyone else from accessing your files.
- • Make sure each client only sees their own documents.
- • Adds extra security on top of Filestack’s encrypted storage.
How to Add Authentication
- • You need a backend service to handle login, e.g., Node.js + Express.
- • The backend does three main things:
- ◦ Checks the client’s email and password.
- ◦ Gives them a session or token after successful login.
- ◦ Sends their user ID to the portal so files go to the right account.
You can check out this YouTube tutorial for building a simple login system with Node.js & Express.
Step 4: Implementing Access Controls
This is important that each client should only see their own files.
Update your portal.js file like this to ensure that clients only see their own files.
// Load and display only the current user's files
function loadUserFiles() {
  const allFiles = JSON.parse(localStorage.getItem("userFiles") || "[]"); // Retrieve files
  const container = document.getElementById("fileListContainer"); // Container element

  // Filter files to only show those uploaded by current user
  const userFiles = allFiles.filter((file) => file.userId === currentUserId);

  if (userFiles.length === 0) {
    container.innerHTML =
      '<p style="color: #666;">No documents uploaded yet.</p>';
    return;
  }
  // Generate HTML for each file
  container.innerHTML = userFiles
    .map(
      (file) => `
        <div class="file-item">
            <div>
                <strong>${file.fileName}</strong>
                <br>
                <small>Uploaded: ${new Date(
                  file.uploadDate
                ).toLocaleDateString()}</small>
            </div>
            <button onclick="downloadFile('${file.fileUrl}')">Download</button>
        </div>
    `
    )
    .join("");
}
What this code does:
- • Retrieve all files stored in localStorage under the key userFiles
- • Select the container element (fileListContainer where files will be displayed.
- • Filter files to only include those uploaded by the current user (file.userId === currentUserId.
- • Check if the user has no files. If none, show a placeholder message: “No documents uploaded yet.”
- • Generate HTML for each of the user’s files:
- ◦ Shows file name and upload date.
- ◦ Adds a Download button for each file.
- • Display the files in the container.
- • This ensures each user only sees their own uploaded documents, implementing basic access control.
How to test this locally:
- • Open your portal HTML in a browser.
- • Upload files using the upload button (they’ll be saved in localStorage with a userId.
- • Check localStorage in your browser’s dev tools:
- ◦ Go to Storage → Local Storage → <your site>.
- ◦ Verify that files are stored with a userId
- • Reload the page:
- ◦ Only files with userId matching currentUserId should appear.
- • Try changing currentUserId in the code:
- ◦ Reload the page to see that only files belonging to that new ID appear.
- • Click Download buttons:
- ◦ Verify that the file opens in a new tab.
Enhancing Your Portal
Once your basic portal is up and running, you can make it even better with these simple upgrades:
Email Notifications
Get an alert whenever a client uploads a new file.
onUploadDone: (result) => {
    // This function runs after a file upload is complete

    // Send a notification to your backend server
    fetch('/api/notify', {
        method: 'POST', // Send data using POST method
        body: JSON.stringify({
            clientId: currentUserId, // The ID of the user who uploaded the file
            fileName: result.filesUploaded[0].filename // The name of the uploaded file
        })
    });
};
File Organisation
Let clients group their files into folders or categories.
storeTo: {
    // Organise uploaded files by user ID and category (like invoices, reports, etc.)
    path: `client-documents/${currentUserId}/${category}/`
};
Expiring Links
Generate download links that automatically expire after 24 hours for extra security.
Two-Factor Authentication (2FA)
Add another layer of protection by requiring a code (like from an app or text message) during login.
Best Practices for Building a Client Portal
For building a client portal, here are some best practices that you can follow to keep your users’ documents safe and your system reliable.
1. Always Use HTTPS
Make sure your portal uses SSL/TLS encryption (HTTPS). This keeps data secure while it’s being uploaded or downloaded. Free certificates are available from Let's Encrypt.
2. Limit File Types
Only allow the file types you actually need. This reduces the risk of malicious files.
Example:
accept: ['.pdf', '.doc', '.docx', '.jpg', '.png']
3. Set File Size Limits
Prevent users from uploading huge files that could slow down or crash your portal.
maxSize: 10 * 1024 * 1024 // 10MB
4. Implement Rate Limiting
Limit how many files a user can upload in a certain time period to prevent abuse.
5. Add Virus Scanning
Use built-in virus scanning (like Filestack’s) to catch malicious files before they are stored.
Common Pitfalls
Even a good client portal can have problems if you make these common mistakes. Avoid them to keep your portal safe, reliable, and easy for clients to use.
1. Storing Files Without Encryption
Never store sensitive documents as plain files. Always use encryption at rest so data is safe even if your storage is compromised.
2. Weak Access Controls
Don’t rely on hidden URLs or guesswork. Implement proper authentication and authorization so each client only sees their own files.
3. Missing Audit Logs
Keep track of who uploaded what and when. Logs are crucial for troubleshooting, audits, or investigating issues later.
4. Forgetting Mobile Users
Many clients will upload from phones or tablets. Test your portal on different devices to ensure it works smoothly everywhere.
5. No Backup Strategy
Always have a backup plan. Even reliable services can have issues. Filestack provides redundancy, but know your recovery options.
6. Skipping User Training
Even the most secure portal won’t help if clients don’t know how to use it. Provide simple, clear instructions to prevent them from emailing unencrypted files.
Final Thoughts:
Building a secure client portal might sound complicated, but as you just saw, it’s actually not.
With tools like Filestack for safe file uploads and a little JavaScript for access control, you can easily make a secure and user-friendly system that keeps your clients’ files safe.
Start with the basics: user login, secure uploads, and access control. Once that’s done, you can add extra features like email alerts, expiring links, or file folders to make your portal even better.
Each small update makes your portal safer, more professional, and helps your clients trust you even more.
Resources for Further Reading
- • Filestack Documentation
- • OWASP File Upload Cheat Sheet
- • MDN Web Security Guide
- • Google's Web Fundamentals: Security
- • Build a Simple Login System with Node.js & Express
- • Github Repository for the Complete Code
- • Let's Encrypt
Until next time, Be creative! - Pix'sTory by Shefali Jangid
Shefali Jangid is a web developer, technical writer, and content creator passionate about building intuitive developer tools and educational resources. She shares tutorials, code snippets, and practical tips on her blog, shefali.dev, helping developers create better web experiences with clean, efficient, and accessible code.