Best Background Remover for Logo, Icon, and Transparent PNG Exports
Removing a logo or icon's background sounds simple, until you try it. Take a 24px thin-line icon or a small wordmark in your header, and try removing its background. Most background removal tools fail there. They soften the edges too much, or leave blurry outlines. The reason is simple: normal background removal tools are built for photos - not logos or icons.
When choosing a background remover for logos and icons, the real test isn't how well it "removes" the background. It's how well it "preserves" the design itself. You want sharp corners, intact thin lines, and truly transparent inner spaces. Not a soft, feathered mess.
Designkit does exactly that. It preserves exact geometry, keeps inner cutouts truly transparent, and holds thin lines at their original weight - which is why many designers now consider it one of the best tools for logo, icon, and transparent PNG exports. Let's see how it works.
Why sharp geometry matters more for logos than photos
With a product or portrait, a little feathering actually helps. It softens hair, fabric, tiny jagged bits, and makes the cut look natural.
A logo is the opposite. That same softness turns into a flaw. A perfectly square corner goes slightly round. A straight edge gets fuzzy. A circular badge stops looking perfectly round. And at 24px or 150px in a header, you see it immediately.
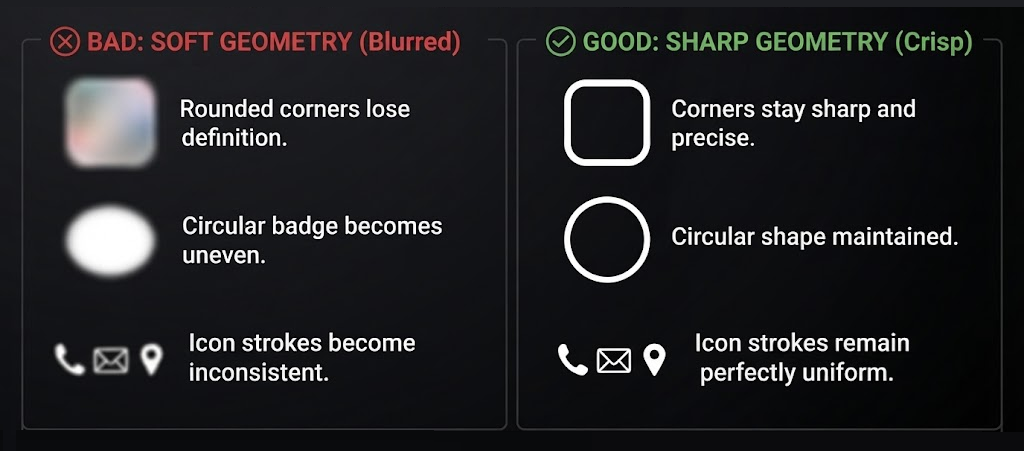
Take a wordmark with tight kerning and a thin tagline under it. If the remover softens the edge, that tagline at 120px wide turns mushy - almost unreadable. Same with line icons. You have a set with a 2px stroke for phone, mail, location. If the tool thins the stroke where the background was close in color, the set stops matching. One icon looks bolder than the others.
Then there's negative space. The hole in an O, the triangle in an A, the gap between icon and text. Product tools sometimes leave a faint gray fill in there. On a white site, you might miss it. Put that same logo on a dark nav bar, and it shows up as a light box.
A transparent background maker built for hard edges keeps those counters clean. The transparent checker should show through every enclosed negative space, no leftover fill.
What Designkit does differently on logos and icons
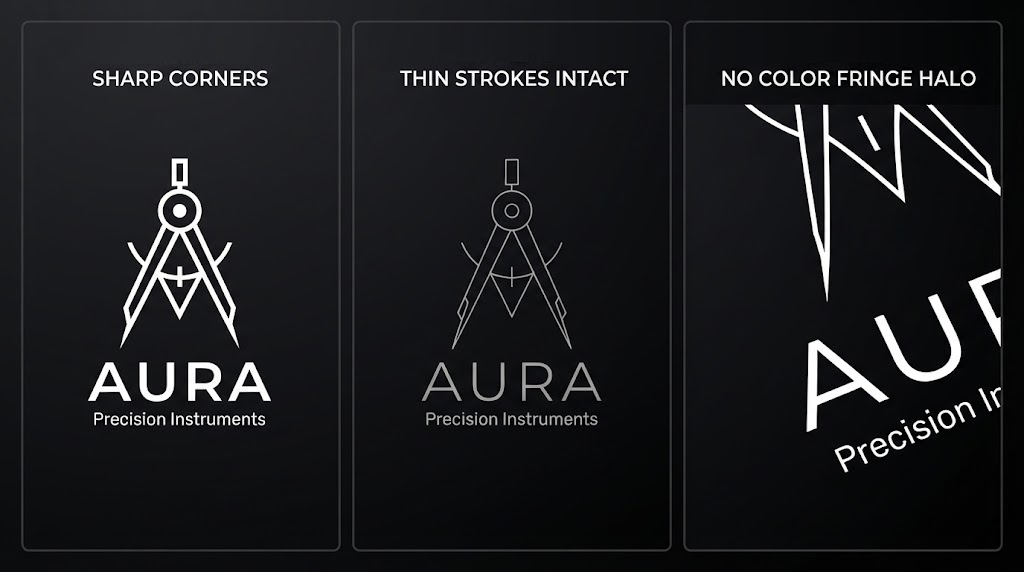
The difference shows in three places: sharp corners, thin strokes, no fringe halo.
A black wordmark shot on white paper stays sharp at 100% zoom - no soft rounding. At 140px in a header, sharp reads as intentional, soft reads as low-res. Same with thin strokes - a 1px seal border stays continuous, and a hand-drawn signature keeps its natural thin-thick variation. Plus, you get no white halo when you put a black logo on black, and no dark halo when you put a white logo on white.
The Right Background Removal Workflow for Logos and Icons
You do not need to manually pen-tool every logo anymore. This is the workflow brand designers and marketers use now to get clean assets fast.
Step 1: Find the Biggest Source Possible
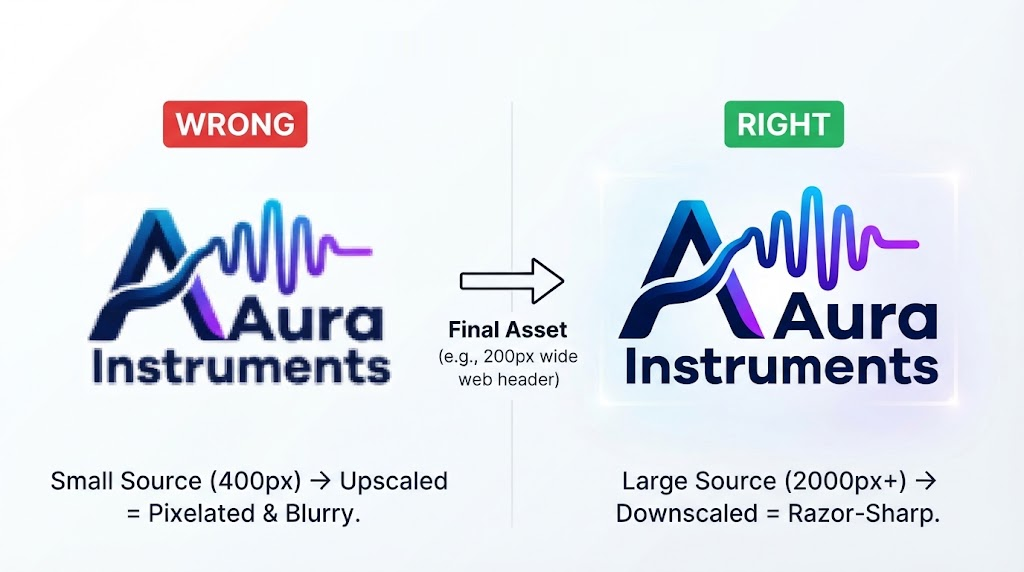
A common mistake is to cut a tiny logo and try to "enlarge" it afterward. A 400px JPG won't hold up once you need it on a dark background or at small size. Any rounding or fringe that was invisible on white suddenly shows, and you end up recutting anyway.
If a client sends you something they screenshotted off Instagram, just ask: "Hey, do you have the original logo file?" Ask them to check brand kits, Drive folders, invoice templates, email headers - or any PDF that has the logo placed at higher resolution.
Rule of thumb: Aim for 2000px or more for a logo, 1024px or more for an icon or favicon source. The trick is always the same: cut big, then make it smaller.
Step 2: Remove background
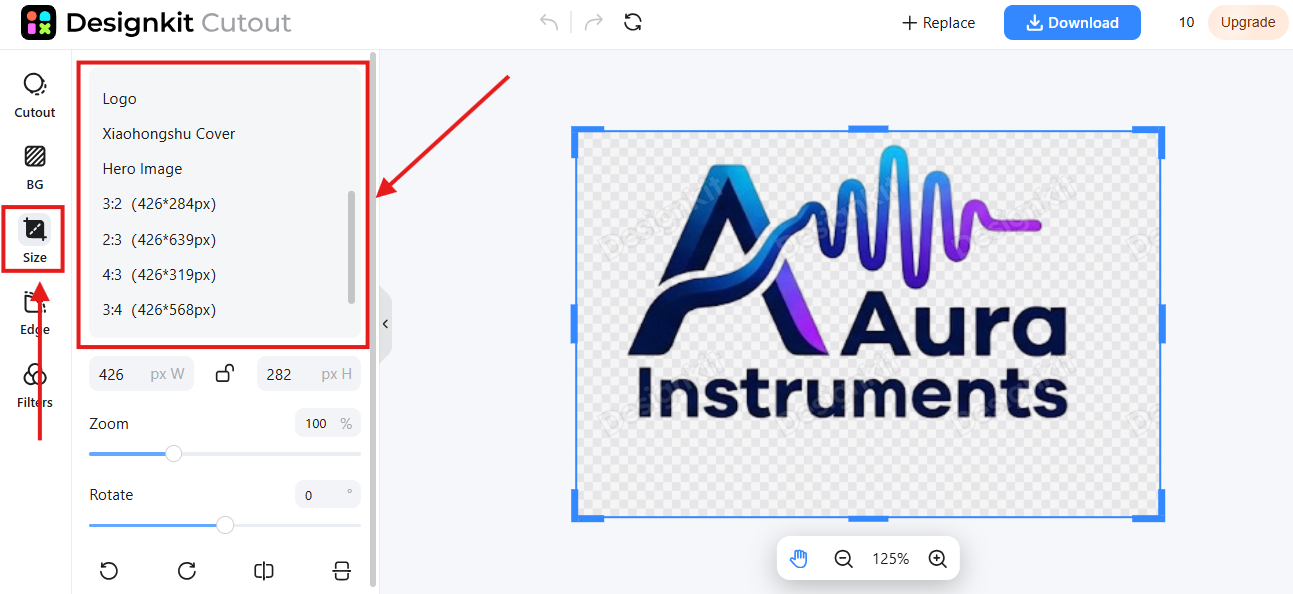
Upload that high-res logo JPG or flat PNG to Designkit. Unlike product tools, it detects the flat background color separately and preserves hard edges without smoothing.
Process is: upload > auto-remove > check it on light AND dark backgrounds > download transparent PNG.
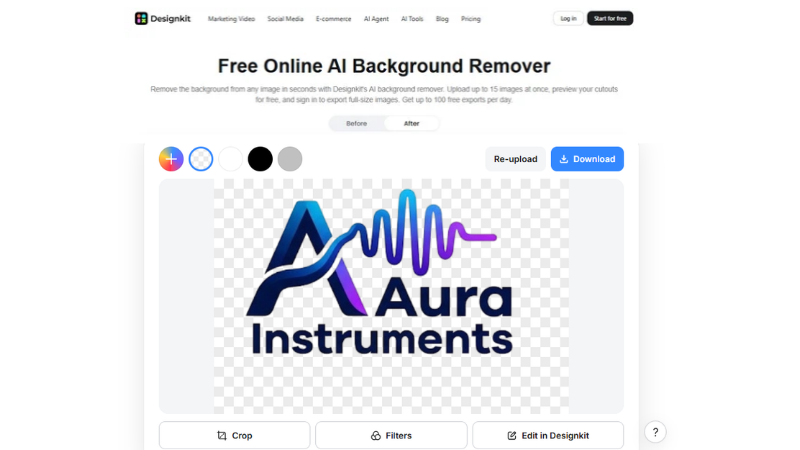
The dark check matters more than anything. Most removers only show white or grey checker, so the fringe gets hidden. Preview on black, and any leftover halo shows up right away.
And when you have a whole set - say 50 icons for a Shopify store or 30 for a SaaS site - you don't have to cut them one by one in Illustrator. Just upload the batch to Designkit. It processes them together, and you get all of them back as clean, transparent PNGs.
Step 3: Create One Master, Then Export Sizes
Stop re-cutting the same logo. Keep one master file:
Brand_Logo_Master_Transparent_3000px.png — PNG-32, sRGB, max resolution.

From that master, generate everything else you need:
- • For header: 300px, plus a 600px version for retina
- • For favicon and app icon: start from 1024px master, then make 32x32, 180x180, 192x192, 512x512
- • For social: 800x800 with proper padding
- • For pitch deck: 1200px so it looks sharp on big screen
- • For email sig: 200px wide and under 50KB
Name files properly. Aura_Logo_Transparent_2400.png is searchable. removed-bg-final-final-2.png is not.
The Honest Limit: Vector vs Raster
Every good guide should mention this, because it causes a lot of confusion.
No background remover - not Designkit, not Photoshop AI, not any other tool - can turn a JPG logo into a true vector file.
What a transparent background maker does is create a perfect raster transparent PNG. It is made of pixels. It looks flawless on websites, apps, Shopify stores, Amazon A+ content, social posts, pitch decks, and merch mockups. For 95% of digital marketing use, this is exactly what you need.
But it is still pixels.
A vector file — AI, EPS, SVG — is made of math. Infinite scalability. Editable anchor points. Change colors to Pantone, scale to a billboard, send to an embroidery machine.
If you need to:
- • Embroider the logo on hats
- • Print it 10 feet wide for a trade show wall
- • Edit the shape of a letter
- • Change black to a specific Pantone color
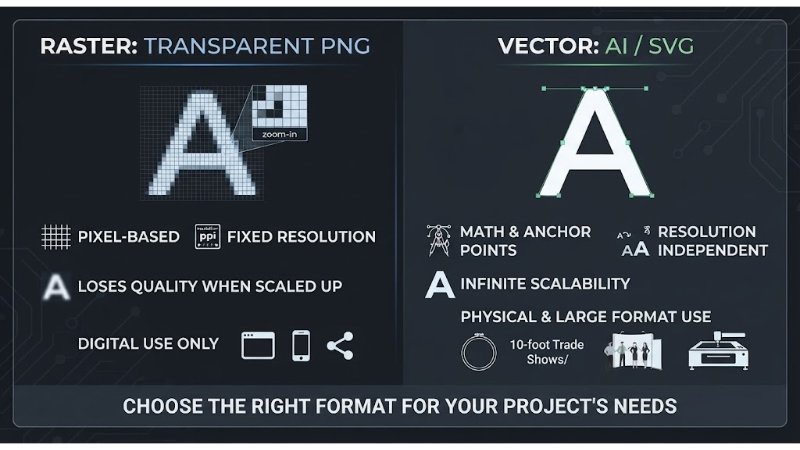
You need a vector. That means taking the clean transparent PNG and re-vectorizing it in Illustrator with Image Trace + manual pen tool cleanup, or having a designer redraw it.
Think of it like this:
- • Transparent PNG = ready to use everywhere digital, right now
- • Vector AI/SVG = ready to edit and print at any size, forever
So, NEVER promise a PNG as a vector. A PNG is the workhorse for everyday use, but for large print you still need a true vector rebuild.
Final Thoughts:
With logos, you don't judge a background remover by how fast it is. You judge it by how invisible the cut looks on white, black, or any color. Designkit works for this because it gets the small things right - corners stay sharp, no halo, proper transparency, you can preview on dark to catch issues, and batch export doesn't kill quality. Once the result looks good, save that transparent PNG as your master copy. You will have a clean file ready for website graphics, favicons, and social images, instead of going back through old folders to find a usable one.
Until next time, Be creative! - Pix'sTory
Recommended posts
-

Email QR Code Explained: Best Uses + 1 Minute Creation Guide
Read More › -

Revolutionising Customer Support: How AI is Transforming Business Communi...
Read More › -

Why Every UX Designer Should Care About the Domain Name Search Process
Read More › -

Where can you access MiniMax H3 and start generating videos?
Read More › -

How AI Video Tools Are Changing A/B Testing in Marketing
Read More › -

How to Turn Supplier Photos into AI Photo to Video Ads for Dropshipping P...
Read More ›