One Product Photo, Three Social Formats: A Crop-Safe Design Workflow
Clothing sellers often list their products on several platforms, each with its own image sizes and aspect ratios. Amazon favors square images on a white background, while Vinted recommends a 3:4 aspect ratio. If you also promote your products on social media, such as Instagram, you’ll need a 9:16 version.
The photo you started with has a fixed aspect ratio, so you’ll need to edit it for each platform. That’s where things get tricky. Crop a 3:4 photo (Figure 1) to 1:1, and you lose part of the top and bottom (Figure 2). Crop it to 9:16, and you lose part of both sides (Figure 3). Keeping the whole product in frame can mean spending extra time extending the background in Photoshop.
In Baymard Institute’s usability testing, 56% of users looked at the product images first after landing on a product page. A well-cropped photo that shows the entire item gives shoppers a clear look at what they’re buying. Here’s how to prepare that photo in several sizes and aspect ratios.
1. Start with a clear photo of the whole product
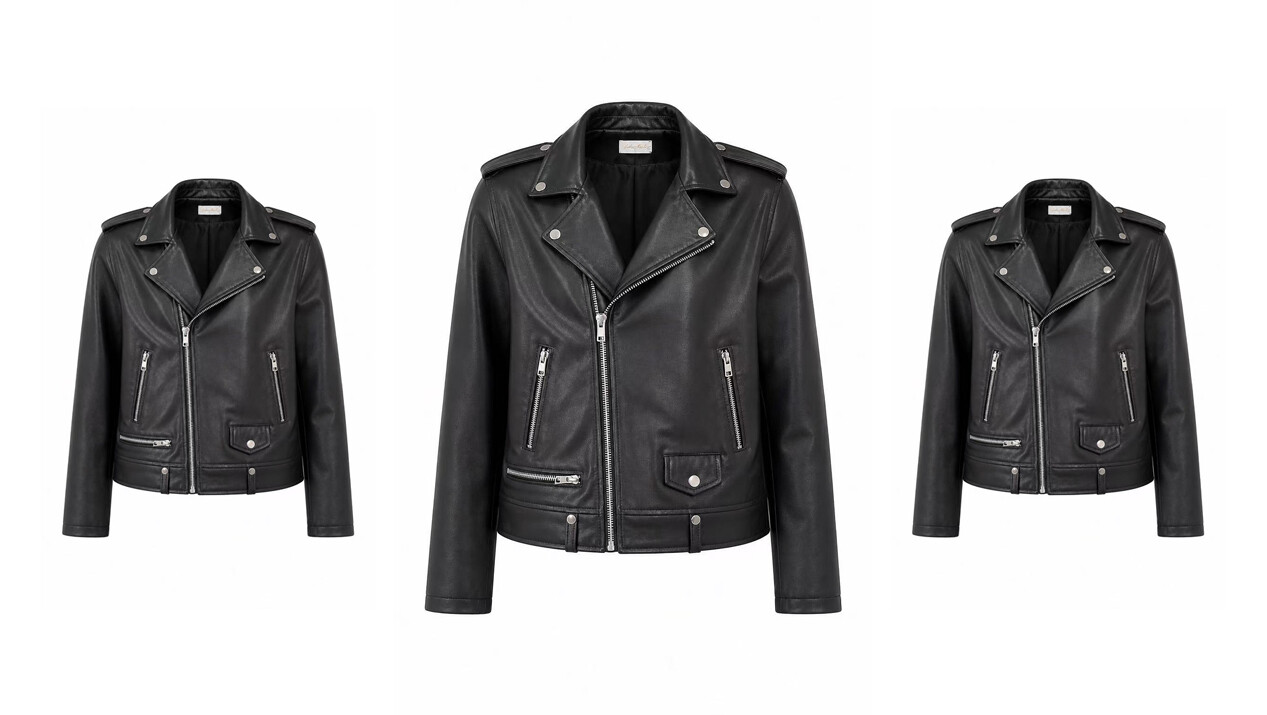
Choose a sharp, well-lit photo with a clean background that shows the garment’s shape. For a jacket, lay it flat or hang it so it sits as it would when worn, with the collar, cuffs, and hem all visible. If you’re taking the photo yourself, leave as much room around the edges as you can while keeping the jacket sharp.
If it’s hard to get a bright, clean product shot at home, try Snappyit’s Ghost Mannequin or Flat Lay feature. Start with a flat-lay or hanger shot taken on your phone and turn it into a three-dimensional ghost mannequin image on a white background or a neatly arranged flat lay. That saves time on ironing and styling.
For home decor and accessories, Snappyit’s Product Studio can turn a phone photo into a polished product shot on a white background. Add a prompt to show the item in a real-world setting and create the kind of lifestyle image many platforms ask for.
After using AI, compare the generated image with the original product. Once you’ve checked that the details match, you’re ready to resize it.
2. Decide what size you need
Check the platform’s aspect ratio requirements before deciding how to edit your photo. If you started with a 3:4 image and left enough space around the product, you can usually crop it to 1:1. If the framing is tight, work out where you need to extend the background, either above and below the product or on both sides.
Check the pixel dimensions too. A sharp phone photo typically measures around 2,000 to 3,000 pixels, which is generally enough for platform requirements. If your photo is very blurry, the resolution may be too low. Go back to the previous step and try using AI to get a higher-resolution image.
3. Change the aspect ratio in an image editor
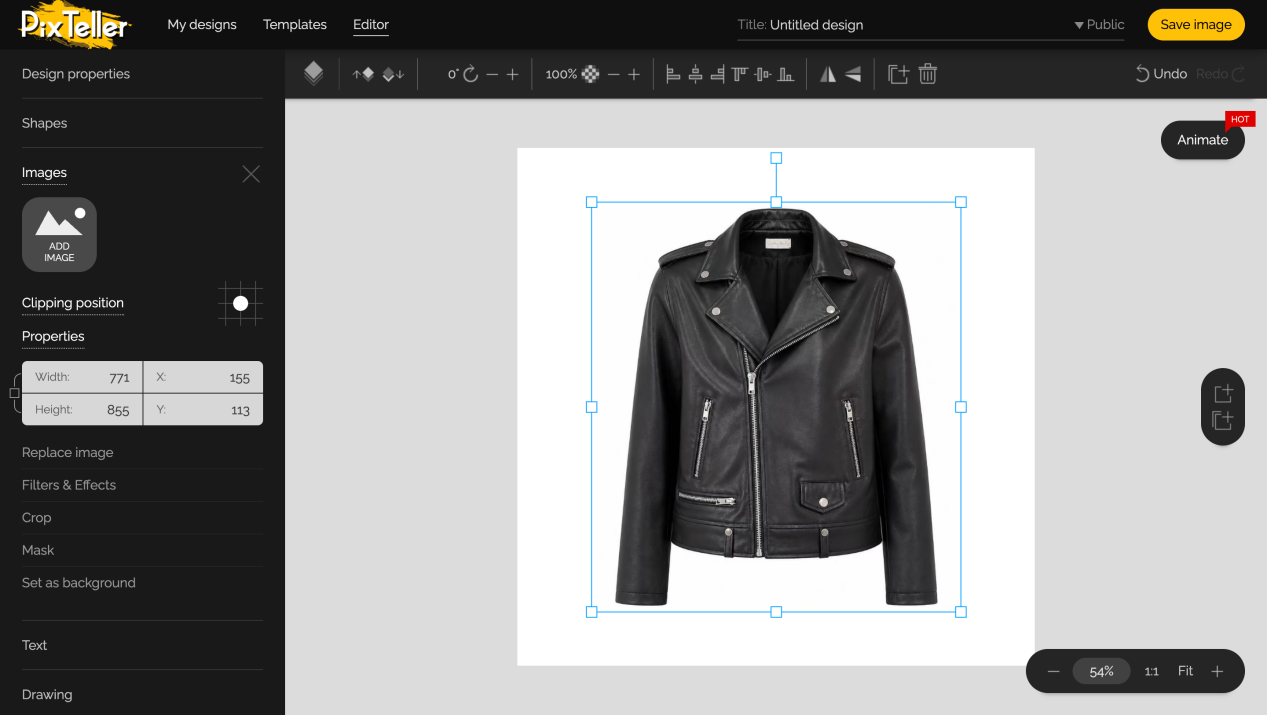
Open the PixTeller photo editor and choose a preset size or enter a custom width and height. Upload your jacket photo, then add the text separately so you can move the image and text independently.
Try these examples to get a feel for three common aspect ratios: 1:1, 4:5, and 16:9.
| Format | Example size (pixels) | Where to place the product and text |
|---|---|---|
| Square | 1200 × 1200 | Center the product and keep the whole item in view. Add a short headline below it, such as “Men’s Windproof Leather Jacket.” |
| Portrait | 1200 × 1500 | Center the product or place it slightly higher, then use the open space for the headline. As shoppers scroll, they can see the product and read about it. |
| Banner | 1200 × 628 | Place the original photo on the wide canvas and scale it down proportionally until the whole product fits. Move the photo to the left and use the right side for the headline and a call to action like “Shop Now.” |
If your banner uses a white-background product photo, set the canvas to white too. That way, the photo on the left blends into the text area on the right.
4. Save your layouts as reusable presets
Save all three designs as editable files in PixTeller. The next time you work on a new image, keep the same fonts, colors, and logo, then swap in the new product photo and update the copy. If you’re featuring a longer coat, for instance, just resize the photo to leave enough room for the hem.
5. Preview your images after exporting
Open the platform’s preview on your phone and check three things before the listing goes live.
- • Is the whole product visible? Check that cuffs, hems, and straps are all in frame.
- • Is the headline easy to read? If you have to zoom in, shorten the copy or make the text bigger.
- • Is any text or the logo hidden? If it gets covered or clipped near the edge, move it farther in.
Once you’ve worked through the different aspect ratios for one product, it’s easier to handle a whole batch of photos for your next launch. Reuse your templates to produce images that fit each platform’s requirements.
Until next time, Be creative! - Pix'sTory
Recommended posts
-

Why Memes Have Become One of the Internet’s Most Powerful Communication T...
Read More › -

Social Media Management for Modern Brands: Strategy, Workflows, and Best...
Read More › -
10 Ways to Improve Short-Form Video Ads
Read More › -

Social Media Trends in 2020
Read More › -

Top 10 Tools for Creating Social Media Content in 2026
Read More › -
How to Reuse One Portrait Across Three Social Media Designs
Read More ›