The Best Way to Make Engaging Social Media Content with CapCut Desktop
In the social media space, attention is currency, and the window to get it is getting smaller by the day. You're a creator, marketer, or business owner; your content needs to stop the scroll, generate interest, and take action. Sounds like a tall order, right?
The good news is, you don't have to spend a small fortune on gear or spend decades learning editing techniques to get that kind of content. CapCut Desktop Video Editor, the robust and entirely free video editor, can make it easy and surprisingly simple to create fantastic social media content, even more so when paired with tools like text to speech, which add voiceovers effortlessly for enhanced storytelling.
From sharp Reels to narrative TikToks and attention-grabbing YouTube Shorts, this tutorial will lead you through the optimal method of producing social media content that cuts the mustard—using CapCut Desktop.
Why CapCut Desktop Video Editor?
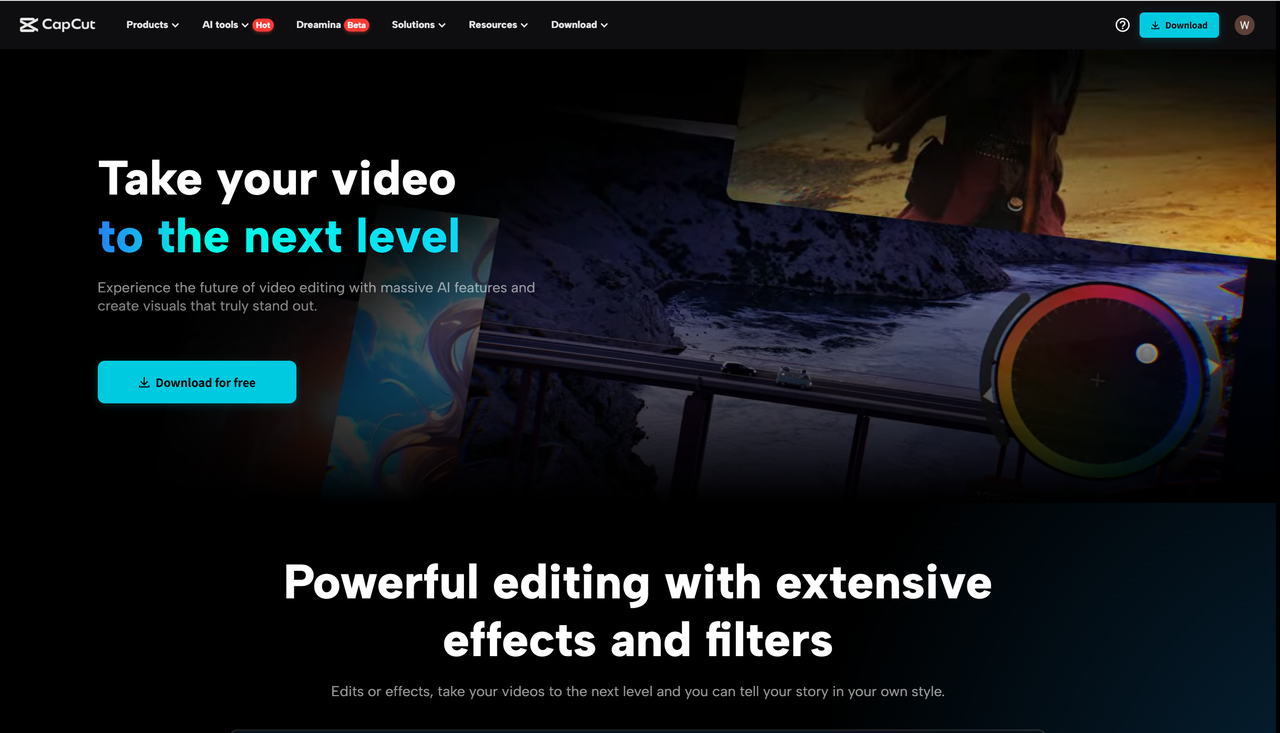
You may be familiar with CapCut from its mobile app, but the desktop version provides even more control and functionality, and is perfect for creators who wish to elevate their craft.
This is what makes CapCut Desktop a social media winner:
- • It supports both Windows and Mac.
- • Provides a clean, drag-and-drop interface.
- • Built-in features such as auto captions, keyframe animation, filters, and stock assets rival what you might find in an AI video generator, giving you advanced creative control with beginner-friendly usability.
- • Supports all major aspect ratios: 9:16 (vertical), 1:1 (square), 16:9 (landscape)
So whether you're making content for TikTok, Instagram, Facebook, YouTube, or LinkedIn, CapCut has you covered
Step 1: Know Your Platform and Audience
Before you even fire up CapCut, consider where your video is headed. Every platform has some sort of vibe:
- • TikTok & Reels: Quick, vertical, trending.
- • Instagram Feed: Aesthetic, square, or vertical.
- • YouTube Shorts: less than 60 seconds, informative or humorous.
- • LinkedIn: Professional tone, value-based.
- • Pinterest: Visual storytelling, inspirational.
Ask yourself:
- • Who am I talking to?
- • What is my problem, and what story am I telling?
- • What kind of feeling or action do I wish to evoke?
- • Knowing your objective beforehand makes editing easier and your material more centered.
Step 2: Capture Your Footage and Assets
Great content begins with good material. That is:
- • Raw video footage (you speaking, demonstrating a product, etc.)
- • Stock footage (CapCut has an in-built free library)
- • Photographs, screenshots, or illustrations
- • Music and sound effects
- • Logos or brand elements
- • Audio recorded or voice-overs (you can even experiment with a voice changer to add creative effects or character voices)
- • Sort out your files before importing them to CapCut. It is time-efficient.
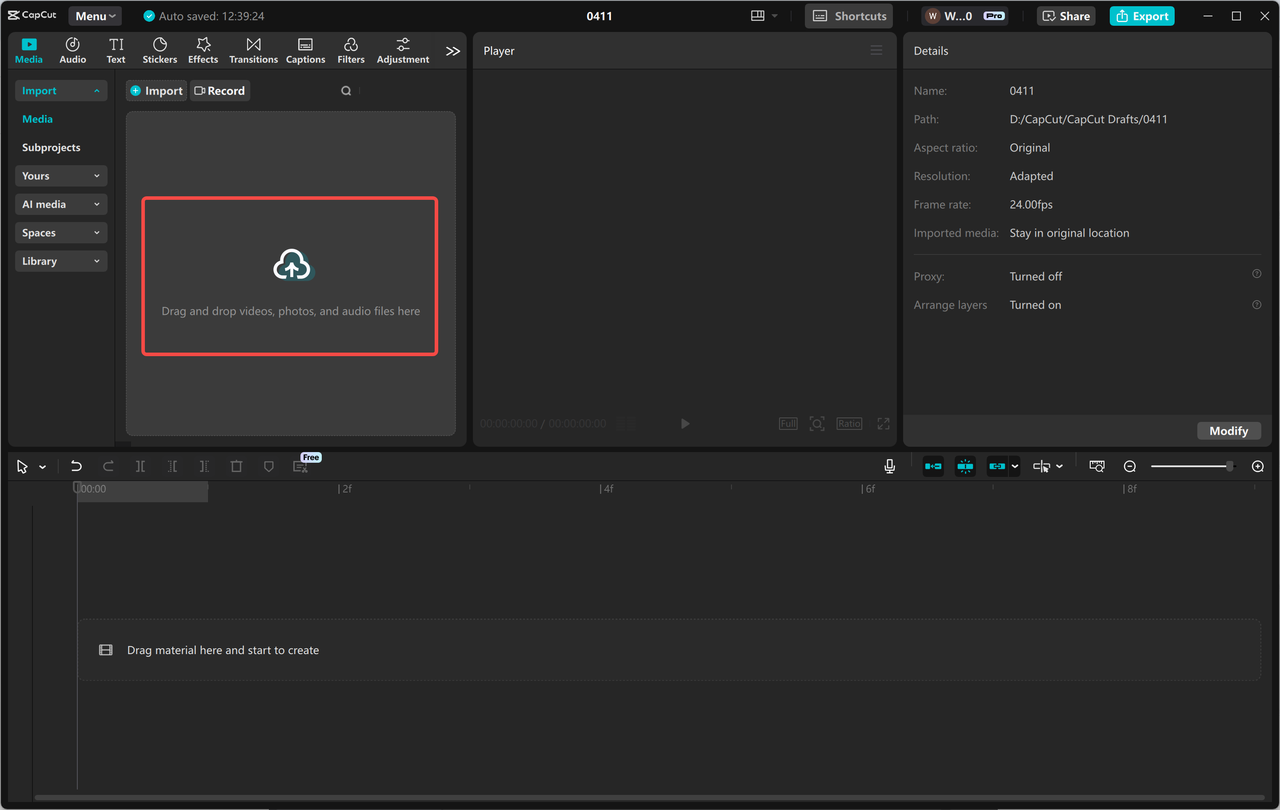
Step 3: Begin a New Project and Select the Proper Aspect Ratio
Open CapCut Desktop and tap New Project.
First choice: select your aspect ratio:
- • 9:16 for YouTube Shorts, Reels, TikTok
- • 1:1 for Instagram Feed
- • 16:9 for YouTube or Facebook videos
Don't worry—if later on, you change your mind, you can easily resize and relocate your content in CapCut.
Step 4: Craft a Strong Hook (The First 3 Seconds Matter)
Your video's first 3–5 seconds decide if someone remains on or scrolls away.
This is how you draw attention:
- • Employ bold text or a strong question.
- • Begin with movement or action.
- • Flash an unexpected image.
- • Apply a quick zoom, spin, or transition.
- • Add a sound effect to follow your first beat.
Drag your clip to the timeline and shorten it to the most powerful points. Split (Ctrl + B) to cut and eliminate any fluff.
Step 5: Insert Text That Adds to the Message
CapCut provides live text features to help explain and emphasize your message.
Switch to the Text tab and investigate:
- • Text templates with animation styles
- • Custom fonts and hues
- • Motion effects such as bounce, slide, or typewriter
Use text to:
- • Highlight key words or ideas
- • Demonstrate steps in a tutorial
- • Caption or translate speech
- • Strengthen a call-to-action (CTA)
Make it easy to read: use contrasting colors and fonts large enough, especially for mobile reading.
Step 6: Utilize Music and Sound to Generate Energy
Social media content is as much about audio as it is about images.
CapCut includes a royalty-free music library integrated. Explore by mood, genre, or tempo. Alternatively, include your own legally licensed track.
Guidelines for proper use of audio:
- • Utilize music to enhance your message: lively for entertainment, gentle for narration.
- • Employ beat drops or tempo changes to propel your cut.
- • Include sound effects (whooshes, clicks, pops) to emphasize or for transitions.
- • Tune levels so that your voice or main audio is not drowned out.
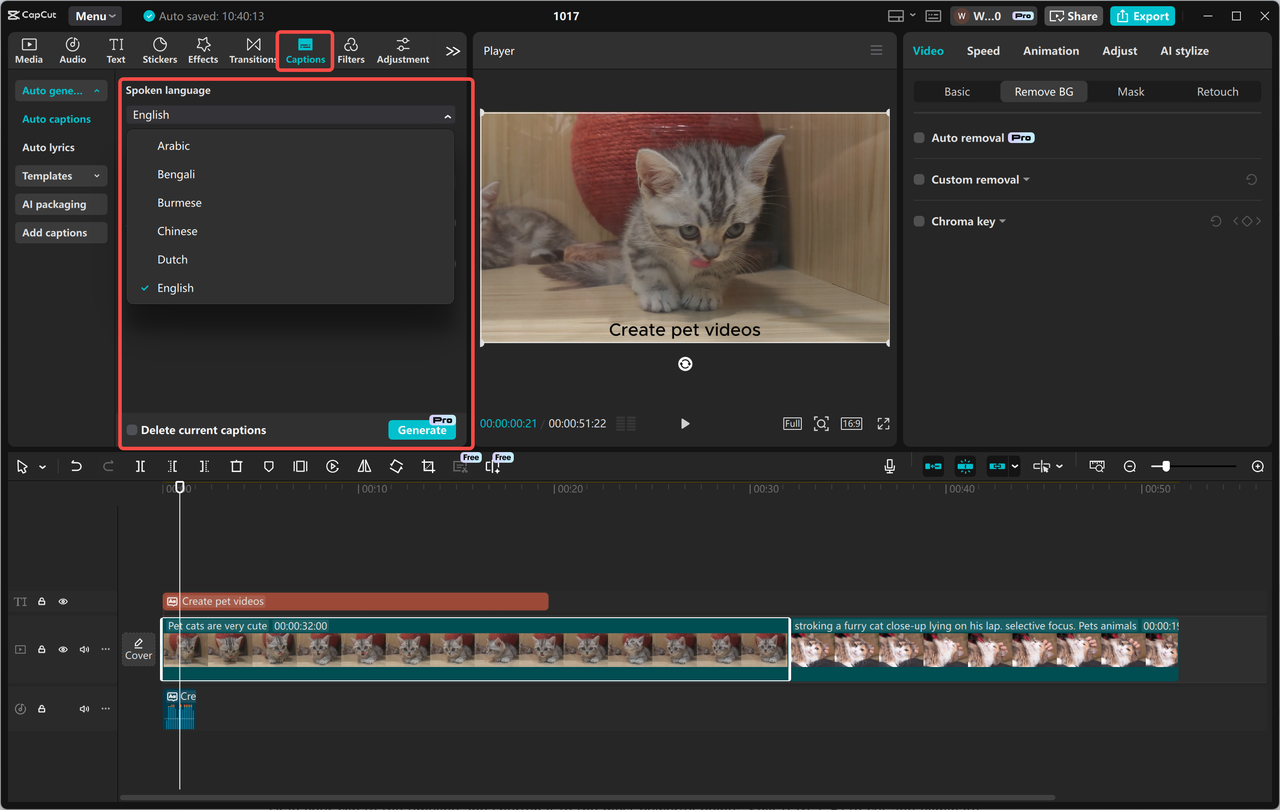
Step 7: Auto-Captions for Accessibility and Engagement
Did you know this? Over 80% of the viewers watch videos with the volume off, especially on mobiles.
CapCut simplifies adding captions using its Auto-Caption feature:
- • Click Text > Auto Captions.
- • Choose the language and the audio source.
- • CapCut automatically creates synced subtitles.
From there, you can format the text, trim timing, and edit as you see fit. Subtitles boost watch time and make your content available to more people.
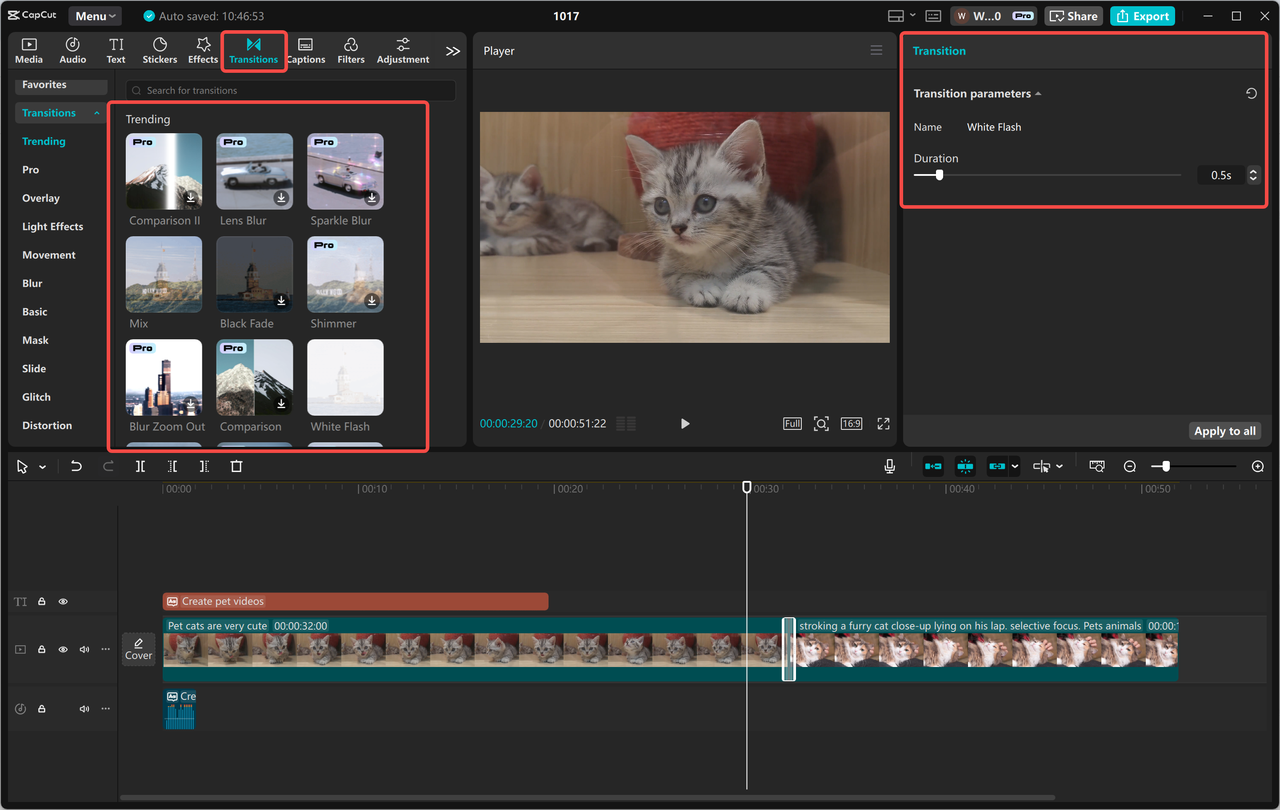
Step 8: Insert Motion and Transitions
Even small changes are dynamic when you add movement.
Use keyframes to pan, zoom, or drag objects along the screen. That's ideal for:
- • Focusing on a product
- • Shifting text with a motion
- • Panning over an image or infographic
Step 9: Apply Filters and Color Adjustments
Need to spice up your content with a bit of mood or flair? CapCut has you covered with color correction and filters.
You can:
- • Apply filters (warm, vintage, cinematic, etc.)
- • Adjust brightness, contrast, and saturation
- • Correct lighting issues in flat clips
- • They can get your messaging to sound more polished or more brand-y—just don't overdo it.
Step 10: End with a Powerful Call to Action (CTA)
Don't leave your readers hanging—tell them what to do next:
- • Subscribe for further guidance.
- • Comment on your favorite idea.
- • Click the link in bio.
- • Tag someone who needs this.
You can use text, voice, or even an animated graphic to indicate it. Repetition of your CTA at the start and end can boost conversions.
CapCut enables you to save your outro or CTA as a template so that you can use it on other videos and maintain your branding.
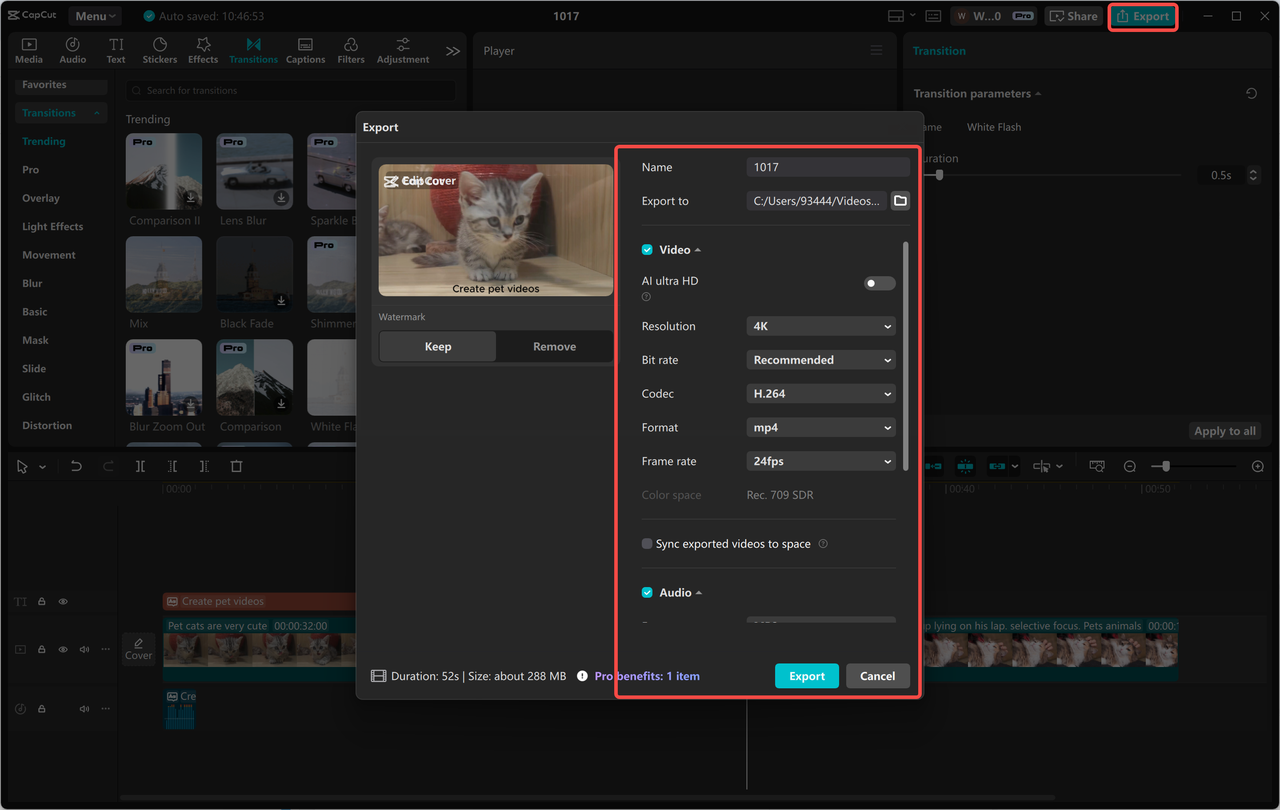
Step 11: Export and Upload
After your video is good and fine:
- • Click Export (top right).
- • Select 1080p resolution (or 4K if you desire ultra-HD).
- • Choose the appropriate frame rate (30fps is the standard for most social media).
- • Name your video and choose your save location.
Now you can post. Ensure your description is engaging, your thumbnail grabs attention, and your hashtags are relevant to your audience.
Until next time, Be creative! - Pix'sTory
Recommended posts
-

Getting Started With Web Design? Avoid These Mistakes
Read More › -
How to Add Photos & Illustrations
Read More › -
Custom vs. Pre-Built Dashboard Templates: Pros and Cons
Read More › -
How to Create a Moodboard for Your Brand
Read More › -

5 Major Usability Issues at the Design Stage
Read More › -

Design That Responds: The Beauty of Interactive Motion
Read More ›