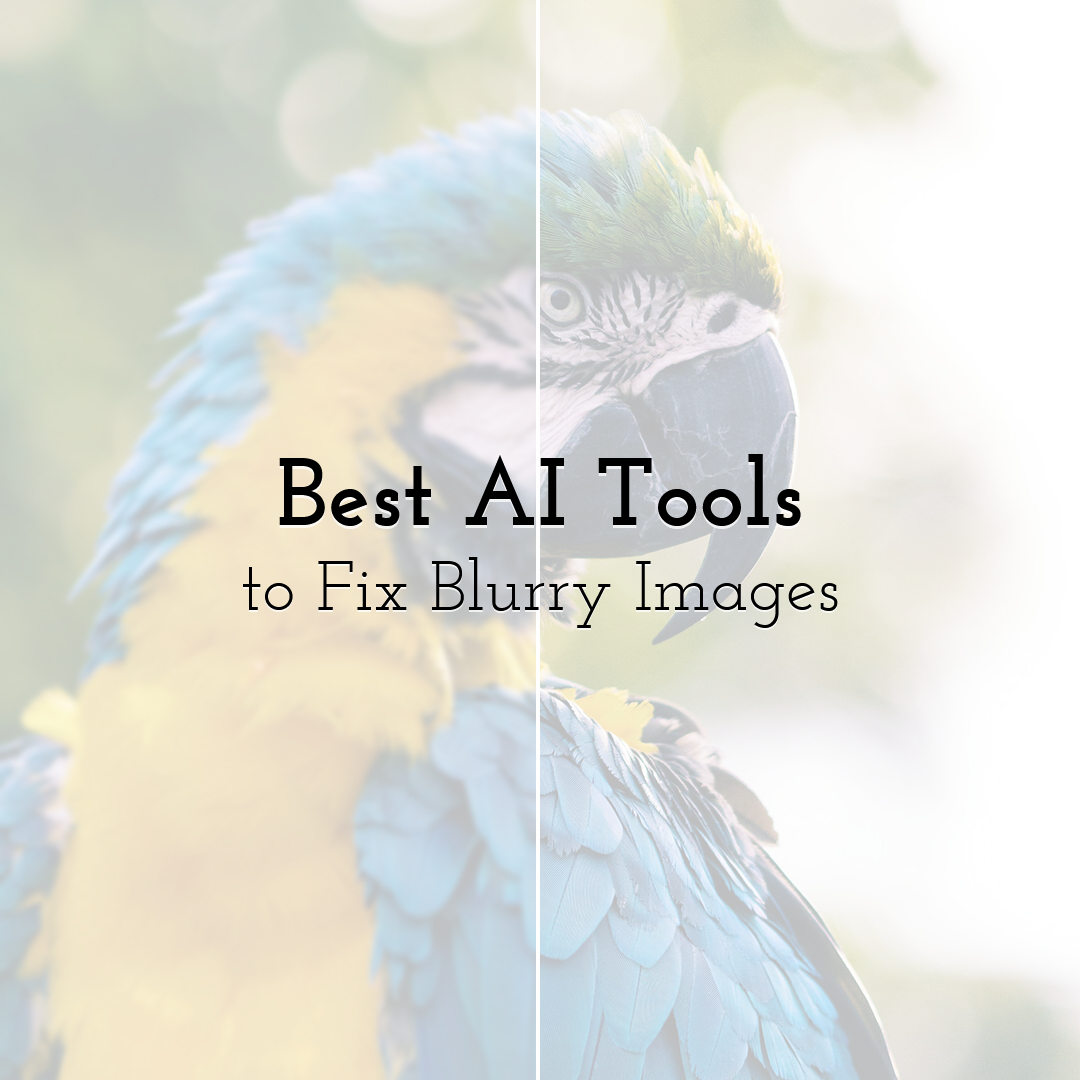
Best AI Tools to Fix Blurry Images
Blurry images are not all the same. A slightly soft product photo, a motion-blurred event shot, a low-resolution logo, and a fuzzy AI-generated portrait each need a different kind of fix.
The best AI image sharpeners do more than increase contrast around edges, they reconstruct detail, upscale intelligently, and avoid making faces or text look artificial.
Below are the best AI tools to fix blurry images, with practical notes on where each one fits, what it does well, and when you should use something else.
TL;DR
- • Best simple AI sharpener: PhotoSharpener.com, especially if you want a powerful browser-based sharpening and upscaling without a complex editing workflow.
- • Best desktop option for photographers: Topaz Labs, particularly for larger batches, RAW workflows, and serious photo restoration.
- • Best casual creative editor: Picsart, if you want sharpening as part of a broader design or social content workflow.
- • Best for AI image cleanup: OpenArt Unblur, especially for improving generated images before posting or reusing them.
- • Best lightweight utility: EditThisPic, if you need a quick web-based unblur tool with minimal setup.
- • Best technical Real-ESRGAN-style option: CleverUtils Real-ESRGAN, useful when you specifically want AI upscaling based on that model family.
- • After sharpening, tools like PixTeller are useful for turning restored images into social posts, posters, animated graphics, or merch designs.
What to Look for in an AI Tool for Blurry Images
Before picking a tool, identify the kind of blur you are dealing with.
Soft focus is usually the easiest to improve. The image has enough information, but the edges lack crispness.
Low resolution needs upscaling as much as sharpening. If you only add sharpness to a tiny image, you often get crunchy artifacts instead of real detail.
Motion blur is harder. AI tools can improve it, but severe subject movement may not be fully recoverable.
Face blur needs a tool that understands facial structure. General sharpeners can make skin, eyes, or teeth look strange if they do not include face restoration.
Text and logos are risky. AI may invent edges or distort letters, so always inspect these manually before publishing.
The best tool is not always the one with the strongest sharpening effect. It is the one that improves clarity while keeping the image believable.
1. PhotoSharpener — Best Simple AI Tool for Sharpening and Upscaling
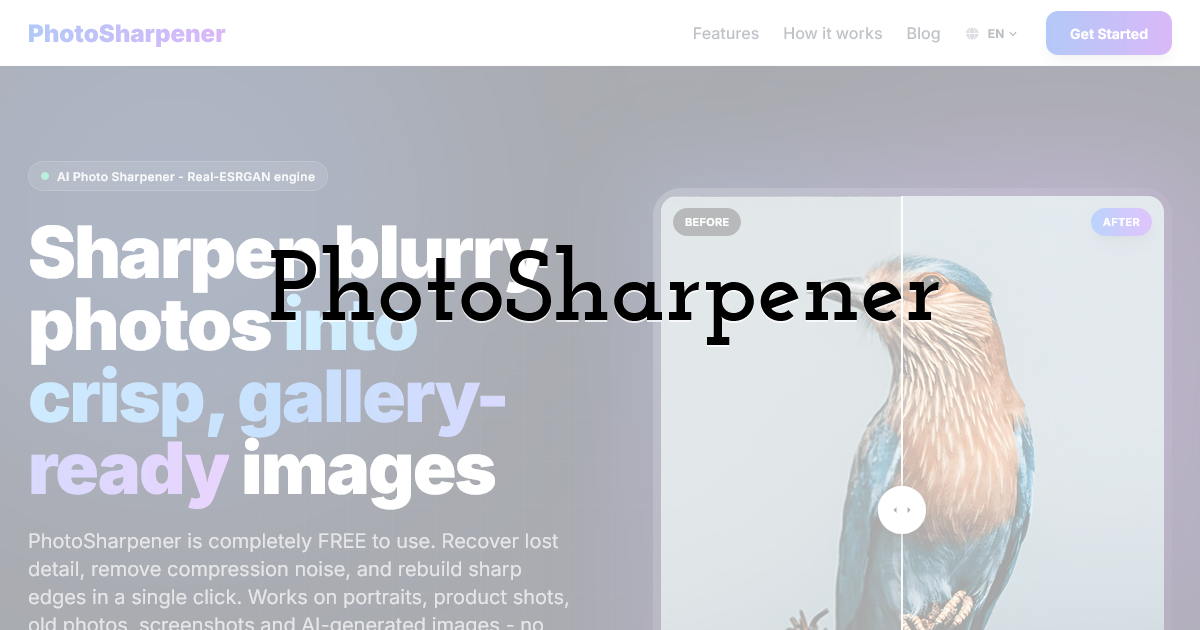
PhotoSharpener is a focused browser-based tool for fixing blurry images with AI sharpening and upscaling. It is especially useful when you want to improve an image quickly without opening a full photo editor.
The tool uses Real-ESRGAN and GFPGAN-based enhancement, which makes it a good fit for two common problems: low-resolution images and blurry faces. Real-ESRGAN is commonly used for AI upscaling and detail reconstruction, while GFPGAN is known for face restoration. That combination is useful when you have portraits, profile photos, product images, old photos, or web assets that look too soft for modern screens.
PhotoSharpener supports common formats such as JPG, PNG, and WebP, and it can upscale images up to 4x and even restore lost detail and textures while preserving facial features.
Best for: creators, marketers, ecommerce sellers, bloggers, and anyone who needs a quick browser-based image cleanup tool.
Strengths:
- • Simple workflow for sharpening and upscaling
- • Useful for portraits and general photos
- • Supports JPG, PNG, and WebP
- • Side-by-side preview helps catch overprocessing
- • Good fit for preparing images before using them in designs, posts, or thumbnails
- • Is able to restore fine lost detail and textures
Limitations:
- • It is not a full photo editing suite
- • Very severe motion blur may still be unrecoverable
- • You should manually check text, logos, and small details after enhancement
When to choose it: Use PhotoSharpener when you need a fast, dedicated AI image sharpener rather than a complex editing platform.
2. Topaz Labs — Best for Photographers and High-Quality Desktop Workflows
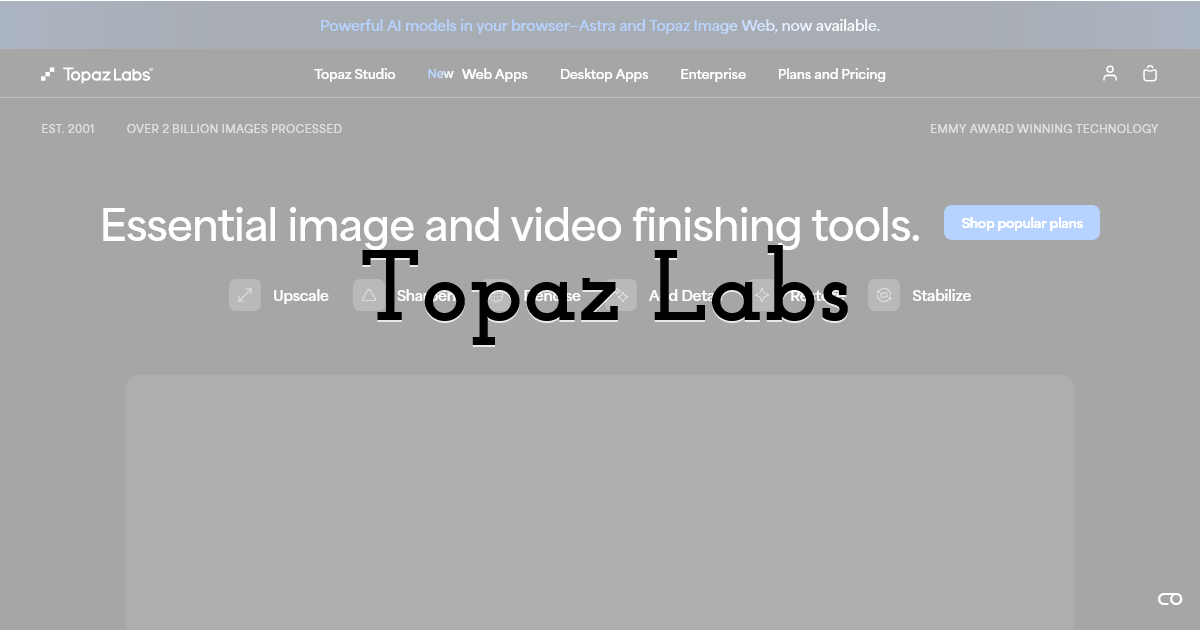
Topaz Labs is one of the strongest names in AI image enhancement. Its modern photo tools are designed for photographers who need sharpening, noise reduction, and upscaling with more control than most browser-based tools provide.
Instead of applying a quick one-click effect, you can tune the result, compare outputs, and fit sharpening into a broader editing process. That matters when you are preparing images for print, client delivery, portfolios, or commercial use.
Best for: photographers, retouchers, restoration work, and serious image quality workflows.
Strengths:
- • Strong AI sharpening and enhancement quality
- • Better suited to high-resolution and professional images
- • Useful for workflows that also need denoising or upscaling
- • More control than most quick online tools
Limitations:
- • More involved than a simple web sharpener
- • Better suited to users who edit images regularly
- • May be more than you need for quick social posts or small web graphics
When to choose it: Use Topaz Labs if you want a professional desktop workflow and are willing to spend more time fine-tuning the result.
3. Picsart AI Image Sharpener — Best for Social Creators and Quick Edits

Picsart is a broad creative platform, and its AI sharpener fits naturally into that ecosystem. It is useful when sharpening is only one part of the job, for example, when you also want to crop, add text, create a collage, remove a background, or prepare a social media graphic.
The main benefit is convenience. You can improve image clarity and then keep editing in the same environment. That is useful for creators who care more about producing content quickly than managing a specialized photo restoration process.
Picsart is also approachable for beginners. If you do not want to think about sharpening models, export settings, or advanced sliders, a general creative editor with an AI enhancement feature may be enough.
Best for: social media creators, casual editors, small business owners, and mobile-first workflows.
Strengths:
- • Easy to use
- • Part of a larger creative editing platform
- • Good for quick social graphics and casual image cleanup
- • Useful when you need design tools alongside sharpening
Limitations:
- • Less specialized than dedicated AI sharpeners
- • Results may vary depending on the original image
- • Not the best choice for professional restoration or high-detail batch work
When to choose it: Use Picsart if you want to sharpen an image and immediately turn it into content.
4. OpenArt Unblur — Best for Cleaning Up AI-Generated Images
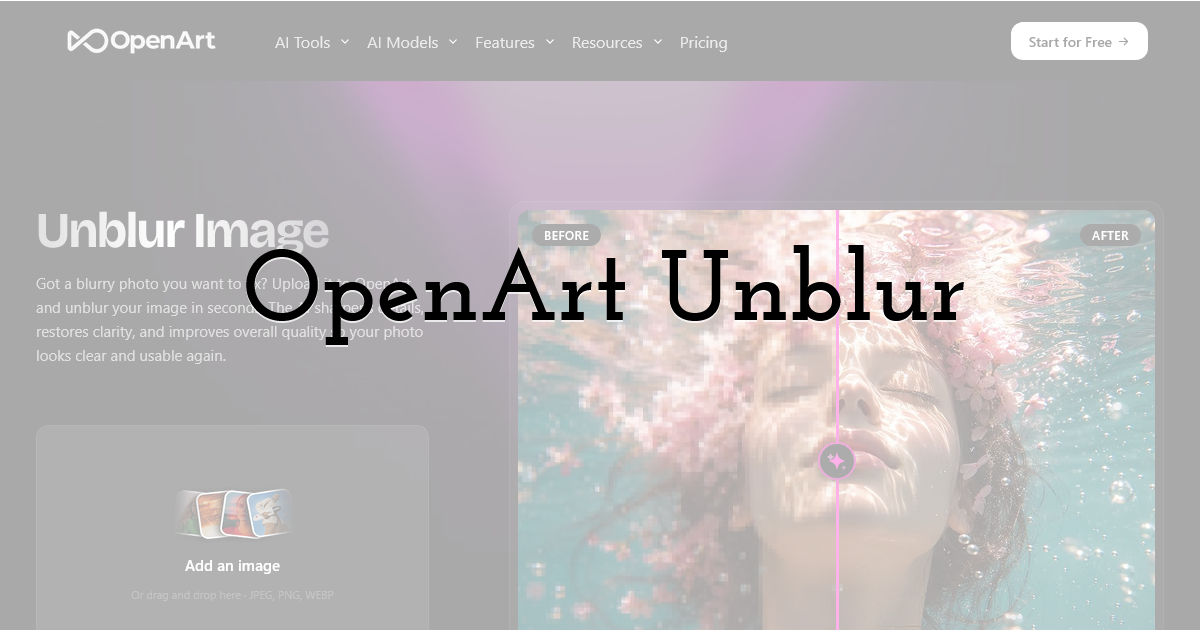
OpenArt is known for AI image generation and creative AI workflows, so its unblur feature is most interesting for people working with generated images. AI-generated art can sometimes look soft, smeared, or inconsistent in areas like eyes, jewelry, hair, fabric, or background details.
An unblur tool can help prepare those images for publishing or further editing.
This is especially useful if you create visuals for concept art, social media, thumbnails, ads, or moodboards. Instead of regenerating the image repeatedly, you can try improving the existing output.
That said, AI-generated images require careful review after sharpening. Enhancement tools can sometimes intensify strange details or make artifacts more obvious. Look closely at hands, faces, text-like marks, and small objects.
Best for: AI artists, content creators, thumbnail designers, and people improving generated images.
Strengths:
- • Useful fit for AI art workflows
- • Helps improve soft generated images
- • Good for creative experimentation
- • Can reduce the need to regenerate images repeatedly
Limitations:
- • Not always ideal for realistic photography
- • AI artifacts can become more visible after sharpening
- • Generated text or small details may still need manual correction
When to choose it: Use OpenArt Unblur when your blurry image came from an AI image generator or creative AI workflow.
5. EditThisPic — Best for Fast, Lightweight Online Unblurring
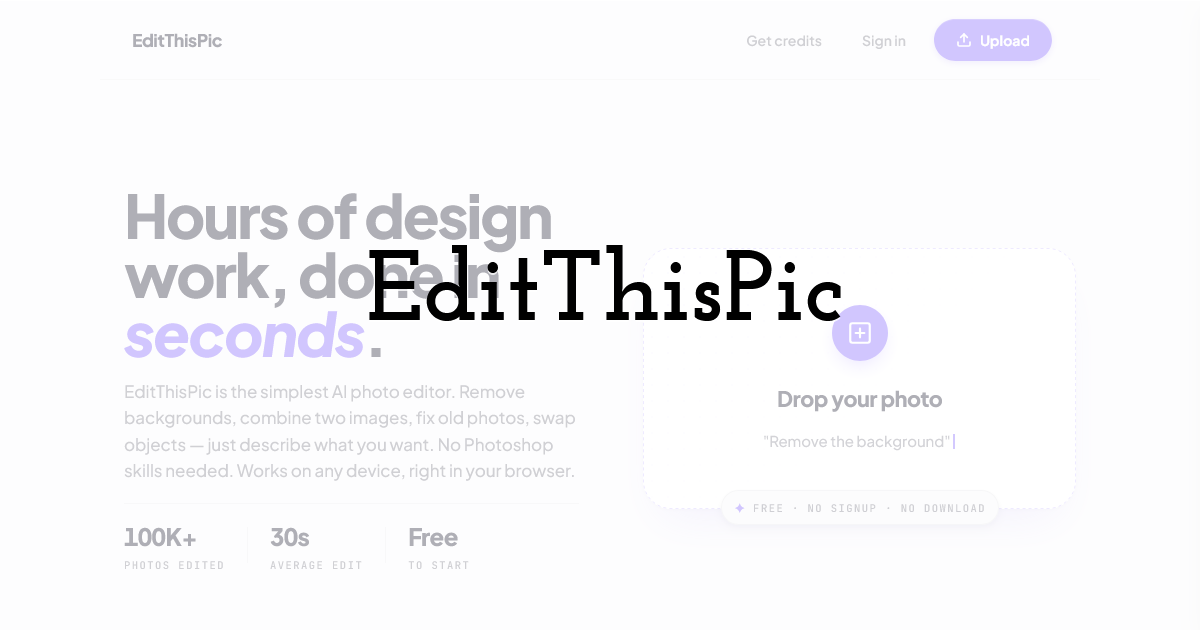
EditThisPic is a practical option if you want a simple online tool and do not need a heavy editing platform. Tools in this category are best for quick fixes: a slightly soft profile photo, a small web image, a casual post, or a visual that just needs a bit more clarity before sharing.
The appeal is speed. You upload an image, apply the enhancement, review the result, and download it. For many everyday use cases, that is enough.
However, lightweight tools are usually less flexible than dedicated professional software. If the result looks too sharp, too smooth, or unnatural, you may not have as much control to correct it.
Best for: quick one-off fixes and simple web-based unblur tasks.
Strengths:
- • Straightforward workflow
- • Good for casual image cleanup
- • No complex editing process
- • Useful when speed matters more than advanced control
Limitations:
- • Less control than professional tools
- • May not handle difficult blur well
- • Not ideal for large projects or precision restoration
When to choose it: Use EditThisPic when you need a fast browser-based fix and the image is only mildly blurry.
How to Get Better Results from Any AI Image Sharpener
The tool matters, but your workflow matters too. These steps will help you avoid the most common mistakes.
Start with the Best Original File
If you have multiple versions of the image, use the largest and least compressed one. A blurry original from a messaging app or screenshot is much harder to fix than the original camera file.
Avoid sharpening an image that has already been repeatedly compressed. AI tools can accidentally enhance compression blocks and halos.
Fix Resolution Before Adding Design Elements
If the image will be used in a poster, social post, ad, or product mockup, sharpen and upscale it before placing it into a design. Once you add text, overlays, stickers, or filters, the image becomes harder to restore cleanly.
A practical workflow is to sharpen your image first, then bring the improved version into a design editor like PixTeller to create social posts, posters, animated graphics, or merch visuals. This keeps the main asset cleaner before you start designing around it.
Compare at Real Viewing Size
Do not judge only at 300% zoom. Some AI results look strange up close but excellent at normal viewing size. The reverse is also true: an image can look sharp in a small preview but artificial when opened full size.
Check the image at the size where it will actually be used, a product page, Instagram post, poster mockup, thumbnail, or print layout.
Watch for Over-Sharpening
Common signs of over-sharpening include bright halos around edges, waxy skin, crunchy hair, distorted eyes, and unnatural texture on fabric or backgrounds.
If the tool gives you control over strength, start lower than you think. A subtle improvement usually looks more professional than an obviously processed image.
Be Careful with Faces
Face restoration can be powerful, but it can also change identity if pushed too far. For personal photos, memorial images, ID-style portraits, or professional headshots, inspect the face carefully before using the result.
The goal is not to create a new face. It is to recover clarity while keeping the person recognizable. Ideally you should not use a regular AI image generator that regenerates the image. Instead opt for one of the tools mentioned in this article.
Which AI Blur Fixer Should You Choose?
Choose PhotoSharpener if you want a focused online tool for sharpening and upscaling that fixes most blur issues without the complexity of a full editor.
Choose Topaz Labs if you are a photographer or need higher-end control for serious image enhancement.
Choose Picsart if you want sharpening inside a broader social content creation workflow.
Choose OpenArt Unblur if you are improving AI-generated images.
Choose EditThisPic if you need a quick, lightweight web fix.
In most everyday cases, the best workflow is simple: restore clarity first, inspect the result, then use the improved image in your final design or publishing tool.
FAQ
Can AI really fix a blurry image?
AI can improve many blurry images, especially soft-focus photos and low-resolution images. However, it cannot perfectly recover detail that was never captured. Severe motion blur, heavy compression, and distorted text may only be partially fixable.
What is the best AI tool to unblur faces?
A tool that includes face restoration is usually better for blurry portraits. PhotoSharpener uses GFPGAN-based enhancement, which makes it a strong option for face-focused sharpening and restoration.
Is AI sharpening the same as upscaling?
No. Sharpening improves perceived clarity and edge definition. Upscaling increases image dimensions. Many modern AI tools combine both, which is helpful when a blurry image is also too small.
Can I use AI-sharpened images for print?
Sometimes. It depends on the original file quality, the amount of upscaling, and the print size. Always check the final image at the intended dimensions before printing, especially for posters, merch, or product packaging.
Why does my sharpened image look fake?
The tool may have over-enhanced edges, smoothed skin too much, or invented unrealistic details. Try a lower enhancement strength if available, use a better source file, or compare results across more than one tool.
Should I sharpen images before or after designing a graphic?
Usually before. Sharpen or upscale the original image first, then place it into your design. This gives you a cleaner asset to work with and avoids enhancing text, overlays, or design elements by accident.
Until next time, Be creative! - Pix'sTory
Recommended posts
-
How to Add an Anime Filter to Your Videos
Read More › -

Why AI Voices and Avatars Are Reshaping Video Content Creation
Read More › -

Top Personalized Messaging Platforms for Startups
Read More › -

Best AI Photo Editors
Read More › -
How AI and Social Platforms Are Changing Human Interaction?
Read More › -
How Designers Can Avoid Common Graphic Design Mistakes
Read More ›