How to Make Stickman Animations for YouTube: By Hand, With Free Tools, or With AI
Stick figures should not work as well as they do. A circle, five lines, no face to speak of, and yet some of the fastest-growing channels I have tracked this year are built entirely on them. When I went looking in November, one stickman survival channel had passed 47,000 subscribers from just eight Shorts, the first of which sat at over 7 million views. Another channel's "Overthinker vs Doer" short had crossed 10 million.
I am building a stickman channel of my own right now, so this is less a theory piece and more a field report. It covers the three ways to actually make the videos, how long each one takes, and the part most guides skip entirely: everything around the video that makes someone click it in the first place.
If you are still at the stage of starting a YouTube channel and have not settled on a format, stickman is one of the cheapest to test. Here is why, and how.
Why stick figures keep winning
Three reasons, and none of them are about the drawing.
They read instantly on a phone. Most Shorts are watched on a screen the size of your palm. A stick figure on a plain background is the clearest image you can put there. There is nothing to squint at.
They let the story do the work. With no detailed face or costume to carry the video, the script has to. That sounds like a weakness, but it is the opposite. Viewers project themselves onto a figure with no features, which is exactly why "you wake up in..." scenarios land so well in this format.
They are cheap to make consistent. A recurring character is the strongest branding a faceless channel can have. With a stick figure, one hat or one colour is enough to make a character recognisable from the thumbnail alone.
Step 1: Decide what kind of stickman video you are making
This decision sets everything else, so make it before you open any software.
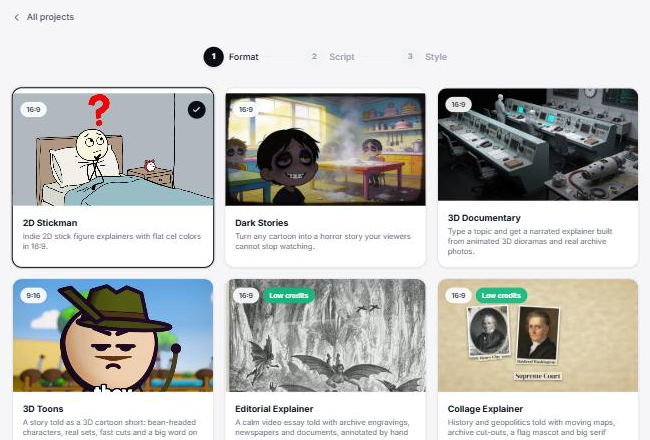
- • Survival and "what if" scenarios. Second person, high stakes, a choice at the end. Currently the hottest lane on Shorts.
- • Explainers. Psychology, money, history. Usually long-form, 8 to 10 minutes, narrated.
- • Comedy and relatable skits. Two characters, one contrast ("Overthinker vs Doer"), 20 to 40 seconds.
- • Fights and action. Pure animation, little or no narration. The tradition Alan Becker's work came from.
The reason this matters: an explainer can hold one pose for four seconds while the narrator talks. A fight scene cannot hold anything. The format decides how much animation each second needs, and that decides which method below makes sense for you.
For my channel I went with time-slip survival. The first episode drops a character into Pompeii three days before the eruption, and each episode ends with him slipping into the next disaster. That is a narrated format with dozens of scenes per episode, which ruled out one of the methods below fairly quickly.
Step 2: Plan before you animate
Whatever route you take, the planning is the same, and skipping it is the most common reason stickman videos feel aimless.
Write the script first and read it aloud. Spoken narration runs at roughly 150 words a minute. A 60-second Short is about 150 words. My Pompeii episode script came to just under 1,200 words, which told me before I made a single frame that it would land at around eight minutes.
One storyboard frame per line. Stick figures make storyboarding fast because the storyboard is almost the finished drawing. A sheet of paper divided into boxes is enough.
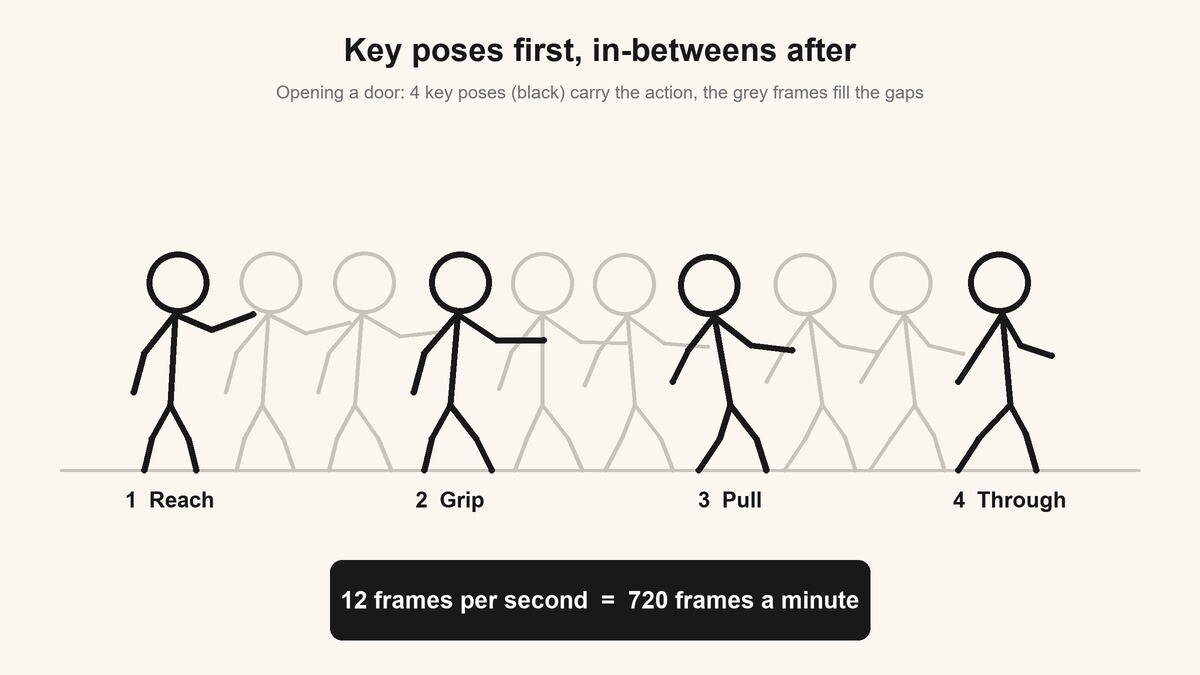
Three or four key poses per action. A character opening a door needs: reaching, gripping, pulling, through. Everything else is in-between frames, and you either draw those or let software make them.
Keep a pose library. The same "shocked", "running" and "thinking" poses will come up in nearly every video. Save them once.
Route 1: Animate by hand with free tools
If you want full control, or you are making fights and comedy timing, hand animation is still the way. The tools are free. The cost is your time.
Pivot Animator (Windows, free). The classic. You do not draw the figure, you pose a ready-made skeleton by dragging its joints, and each pose becomes a frame. Version 5 can fill in the frames between two poses for you, which saves more time than any other feature. It has no audio, so you add the voice in a video editor after.
FlipaClip (Android and iPhone, free with ads). True frame-by-frame drawing with your finger or a stylus. Turn on onion skin, which shows the previous frame faintly behind the current one, or your figure will change size every frame.
Stick Nodes (phone and tablet). Pivot's posing approach, but on mobile.
Blender Grease Pencil (free, all platforms). Far more power, far steeper learning curve. Worth it only if you plan to move beyond stick figures.
Now the honest maths. At 12 frames per second, which looks smooth enough for stick figures, one minute of animation is 720 frames. Even with Pivot filling in the gaps, a beginner should expect a full day or more for a polished minute once you add the script, voiceover and edit. For a 30-second fight clip that is a reasonable weekend project. For an eight-minute narrated episode every week, it is a second job.
I would still tell anyone starting out to spend one evening in Pivot, even if you never use it again. You learn what makes motion feel right, and you get much faster at spotting a scene that does not work, whichever method you end up with.
Route 2: Use AI to go from script to finished video
This is where the maths changes. With AI, you stop animating and start directing.
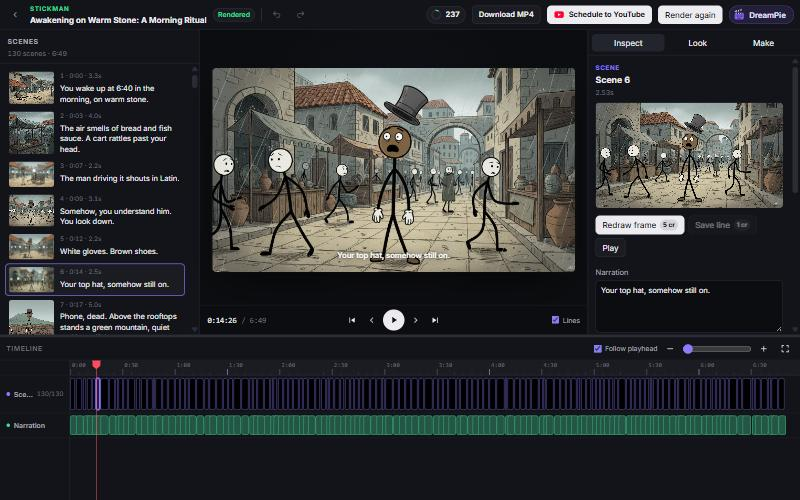
The workflow with most tools looks roughly like this: you give it a topic or a script, it writes or tidies the narration, generates the voiceover, builds the stick figure scenes in one consistent style, then adds captions and music. Your job becomes reviewing each scene and redoing the ones that do not match the line.
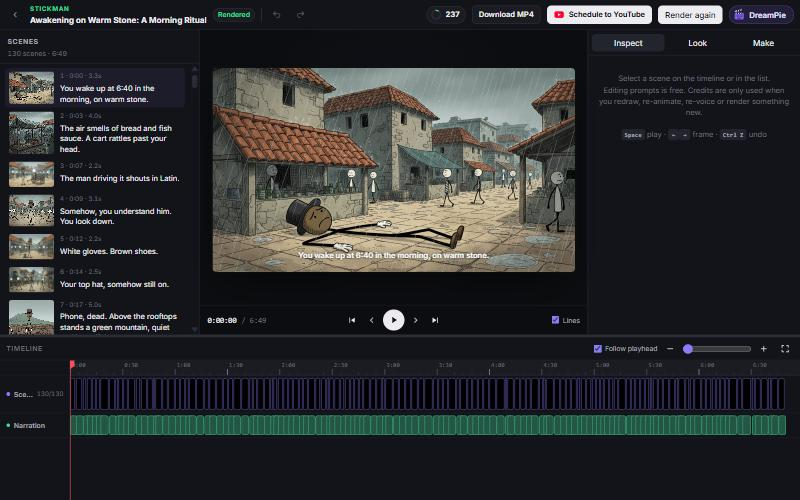
Tools such as TaleTok include an AI stickman animation maker for exactly this. I built TaleTok after spending hundreds of hours assembling faceless videos by hand, and it is what I am using for my own channel. A ten-minute narrated episode comes out at roughly a hundred scenes, which is the kind of volume nobody animates by hand every week.
What AI does not do is the part that matters most. It will not come up with the idea, and a weak script stays weak no matter how well it is animated. It also will not choreograph a ten-hit fight combo the way a skilled Pivot animator can. Use it where it is strongest: narrated videos with lots of scenes.
Step 3: Thumbnails and channel art
This is the step I see new stickman channels get wrong most often, and it is the one that decides whether anyone sees the video at all. A stickman video with a bad thumbnail is just a good video nobody clicked.
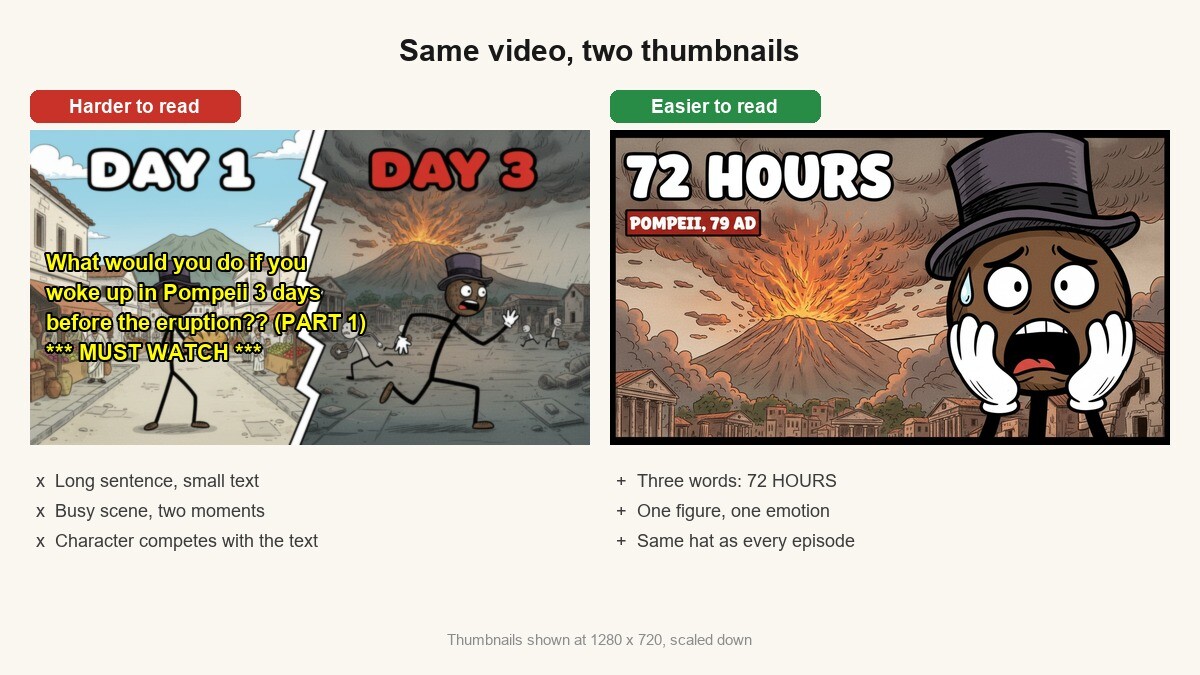
What works in this format:
- • One figure, one emotion. Not a crowd scene. One stick figure, clearly panicking, clearly smug, clearly doomed.
- • Three or four words at most. "3 days left" beats "What would you do if you woke up in Pompeii".
- • High contrast, plain background. A thin black line disappears on a busy background. Put the figure on a bold flat colour.
- • Reuse a pose from the video. The thumbnail should promise a moment the viewer will actually see.
- • Keep the character identical across every thumbnail. This is how channels get recognised in a feed before the title is even read.
It is worth reading up on the common thumbnail mistakes that quietly cut clicks, because most of them apply doubly to a format as minimal as this one.
I export a clean frame of the character from the video, then build the thumbnail in PixTeller's thumbnail maker at 1280 by 720, adding the coloured background and text there. The same character cut-out goes into the channel banner and profile picture, so the channel looks like one thing rather than a collection of uploads.
Step 4: Treat it as a series, not a one-off
The stickman channels I have watched grow all do the same three things.
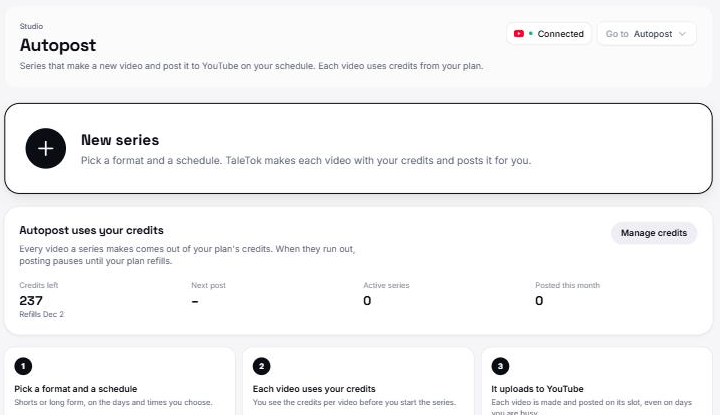
One recurring character. Mine has a purple top hat. That is all it takes.
A reason to come back. A choice at the end ("comment A or B"), a countdown, a cliffhanger into the next episode. Every video should open a loop the next one closes.
A steady schedule. For long-form, once a week is enough if each one is solid. If you are making Shorts, cutting five or six clips from each long episode gives you a daily post without making daily videos.
Beyond stickman
Once the script-first workflow clicks, it carries straight over to other faceless formats. Dark animated horror stories, 3D history documentaries and the hyper-real "what happens inside your body" Shorts all follow the same pattern: a strong script, consistent visuals, and a thumbnail that promises one moment.
The 3D explainer Short in particular has exploded, largely thanks to Zack D Films. If that is your direction, a Zack D Films-style AI generator handles the 3D scenes the same way the stickman tools handle 2D.
Which route should you pick?
| By hand | Free tools + templates | AI | |
|---|---|---|---|
| Cost | Free | Free | Paid credits |
| Time per minute of video | A day or more | A day or more for animation, fast for graphics | Under an hour, mostly review |
| Control | Total | Total | Scene by scene |
| Best for | Fights, comedy, learning | Thumbnails, intros, channel art | Narrated episodes, weekly uploads |
Most people end up mixing them. Hand-animate the short loops where timing is everything, let AI carry the long narrated episodes, and put real care into the thumbnail and channel art, because that is the bit every viewer sees before they decide to watch.
The stick figure is the easy part. The story, the schedule and the click are what build the channel.
Until next time, Be creative! - Pix'sTory
Recommended posts
-
What Can an AI Video Editor Change? 6 Prompt-Based Edits That May Save a...
Read More › -

What Is the Fastest AI Video Generation Model?
Read More › -

How to Turn Supplier Photos into AI Photo to Video Ads for Dropshipping P...
Read More › -

8 Ways to Turn Instagram Bio Traffic Into an Audience You Actually Own
Read More › -

5 Unexpected Industries Where AI Is Changing the Game
Read More › -

4 Strategies to Maximize Your AI-Powered Search Market Share
Read More ›