How to Set or Change Design Properties
Welcome back everyone, I'm Alex and today I will show you how to change design properties using PixTeller image maker. Don't worry, it's super easy. In order to do that, I will click Create button in order to open the photo editor.
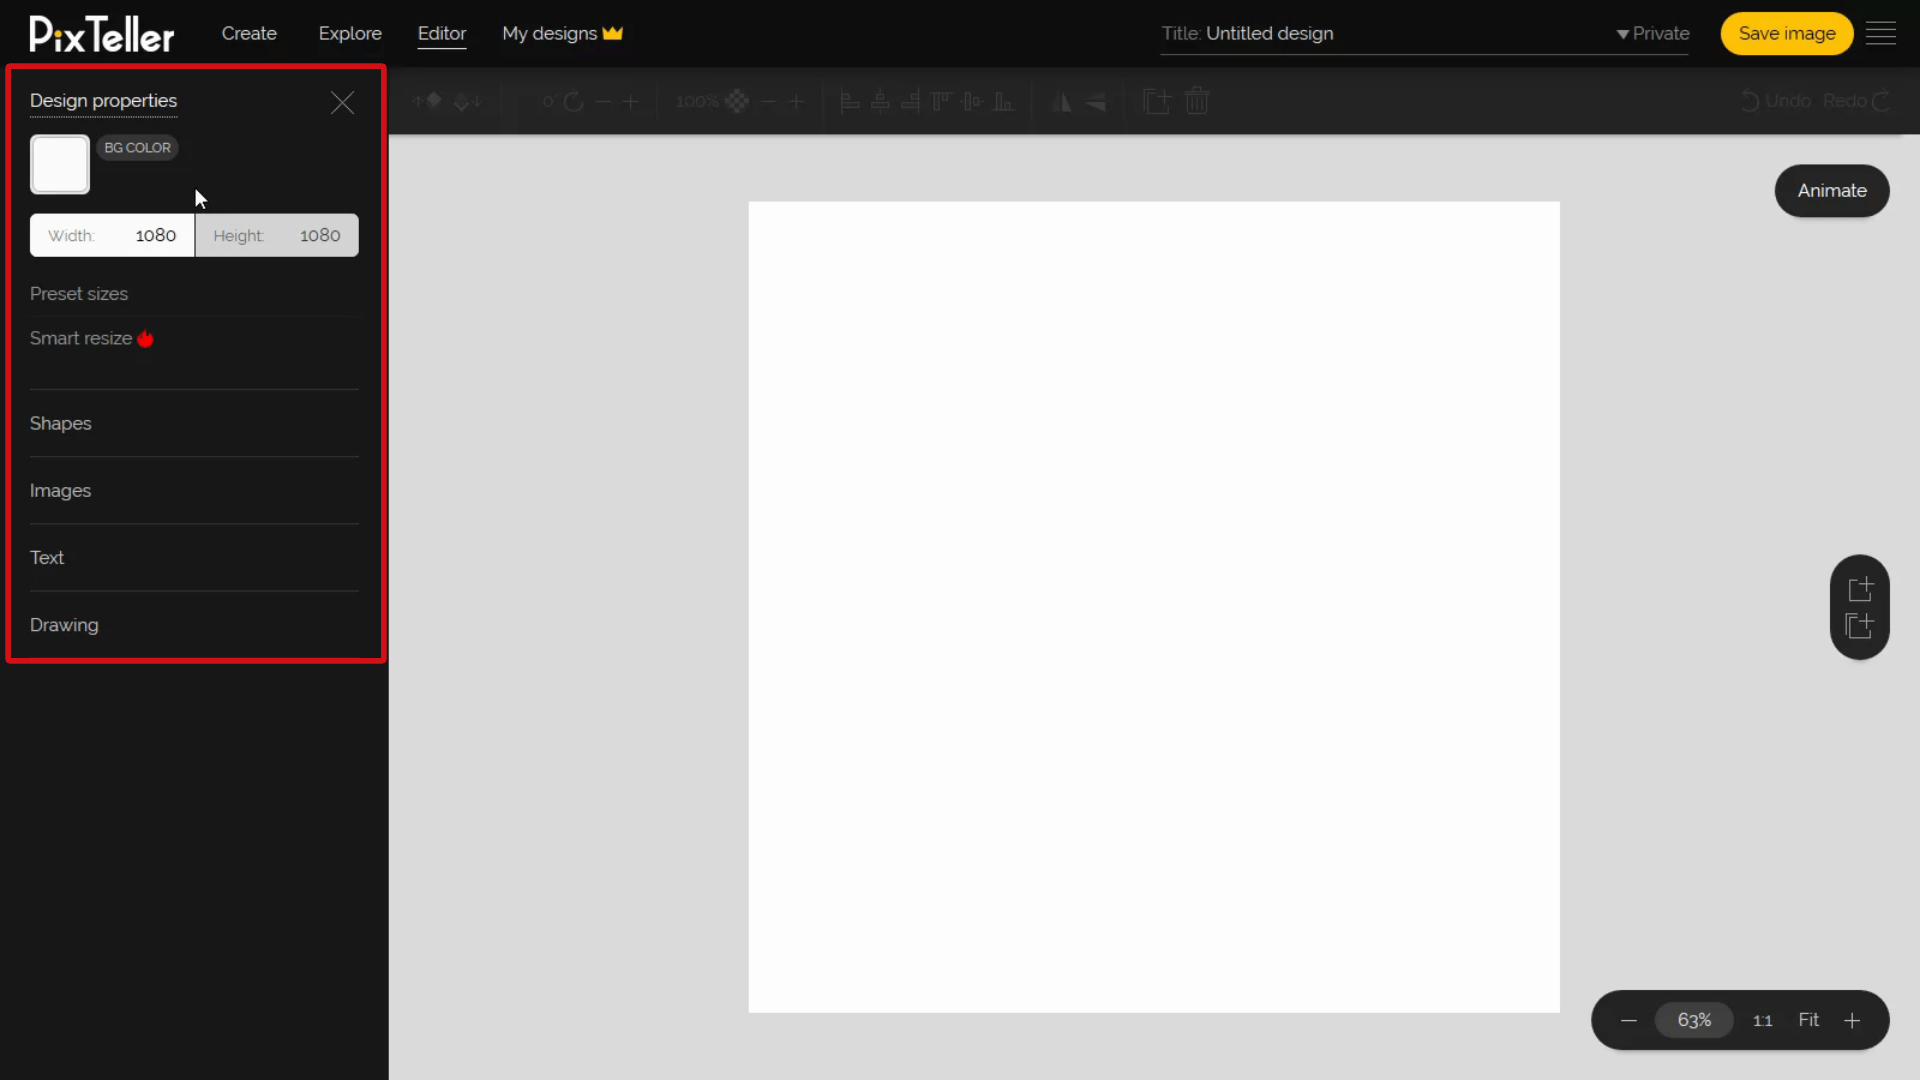
Look on the left side to access Design properties. Here you have the design background color, the Preset size and the Smart resize function.
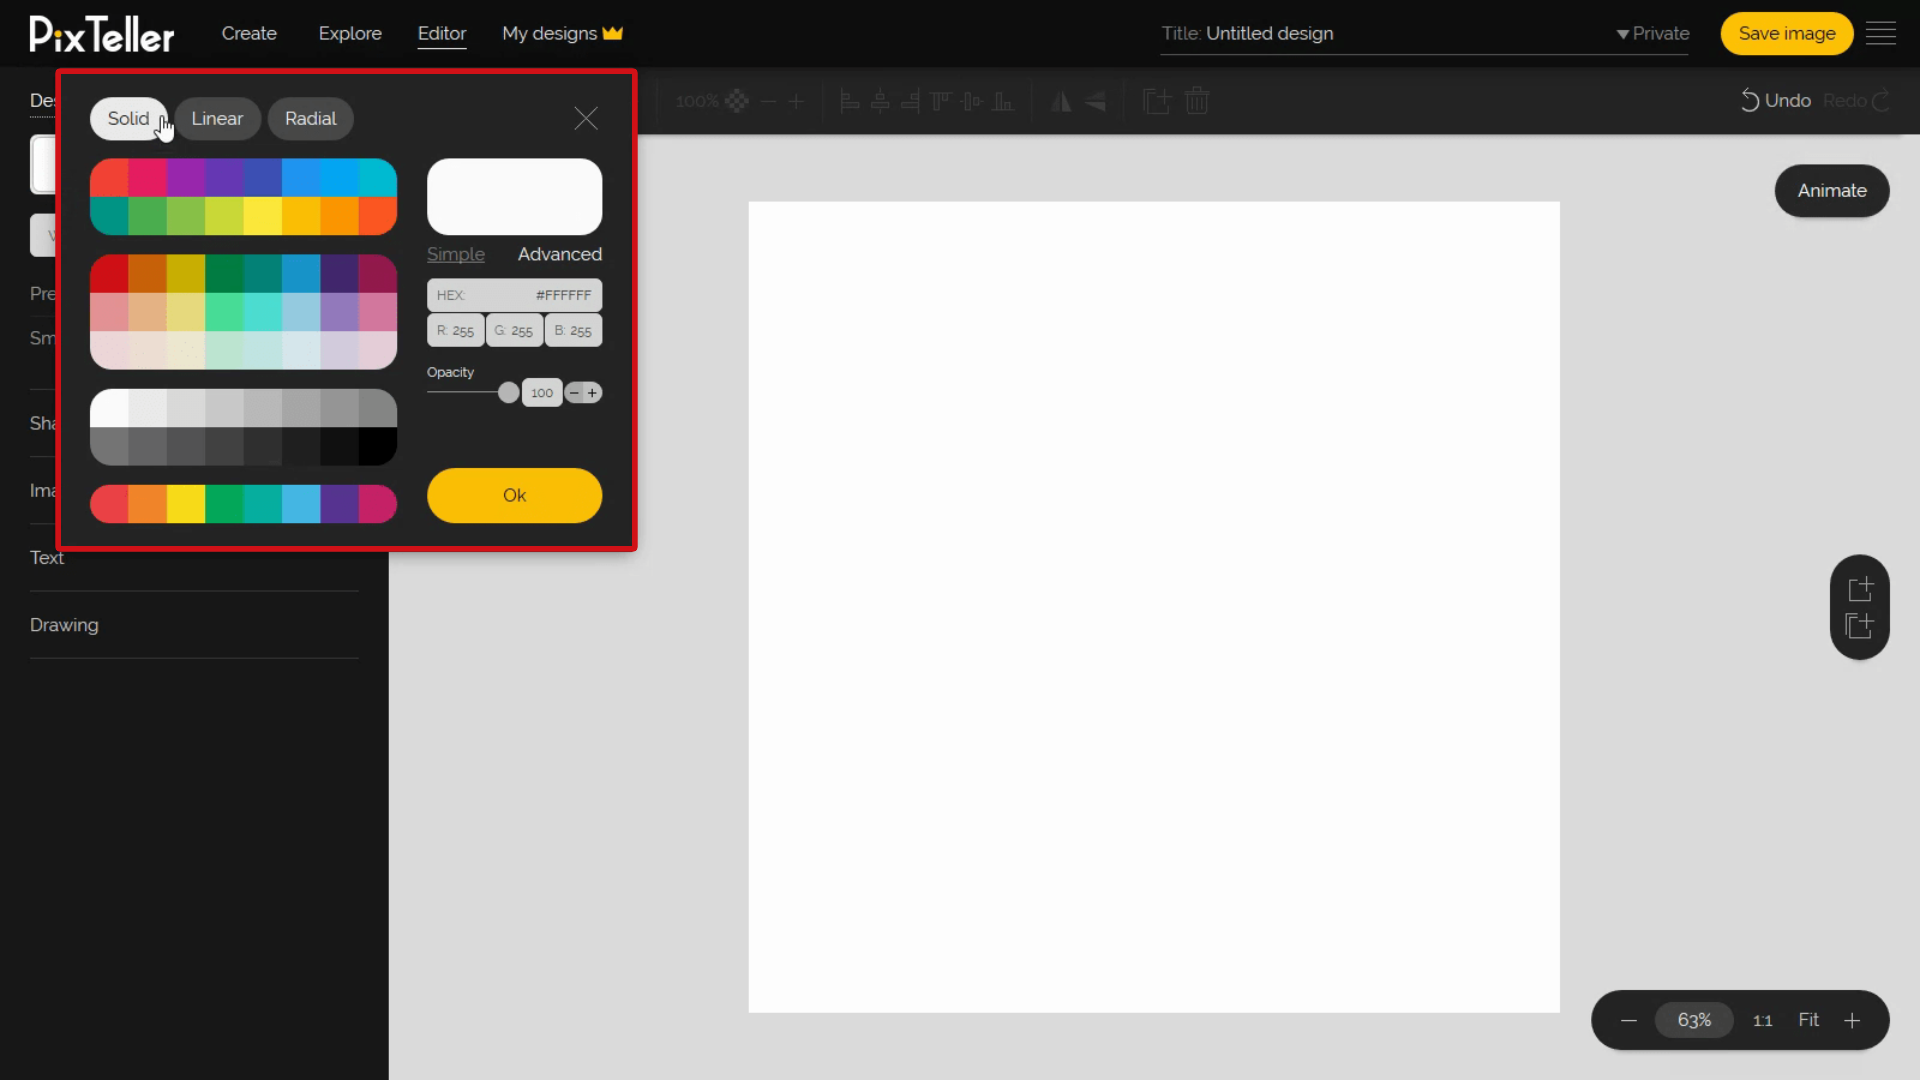
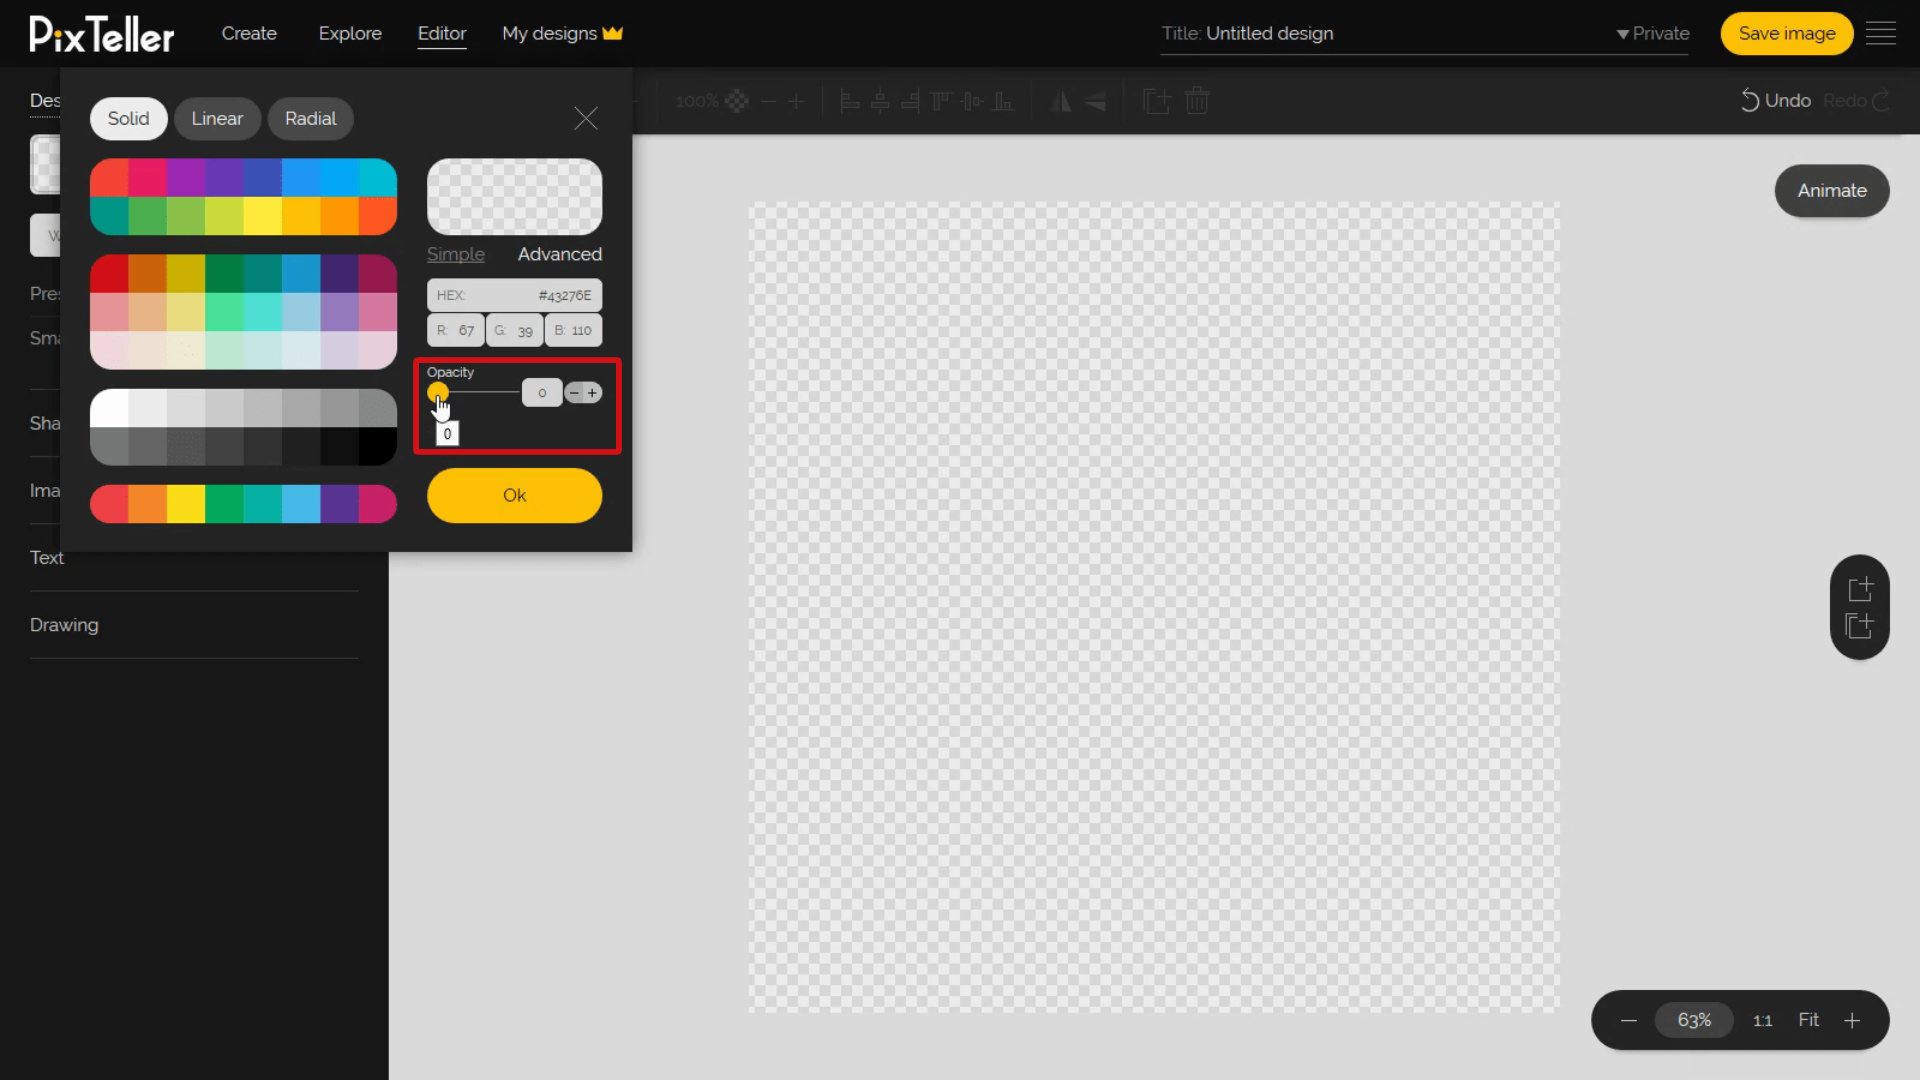
If you want to set your design color, just click on the color button and the color picker will open. You can choose between Solid, Linear, and Radial colors. If you select a solid color, you can have a transparent background by setting the opacity to zero. Because we want you to have the freedom you want, you can set your own colors by inputting the HEX or the RGB values. So far so good!
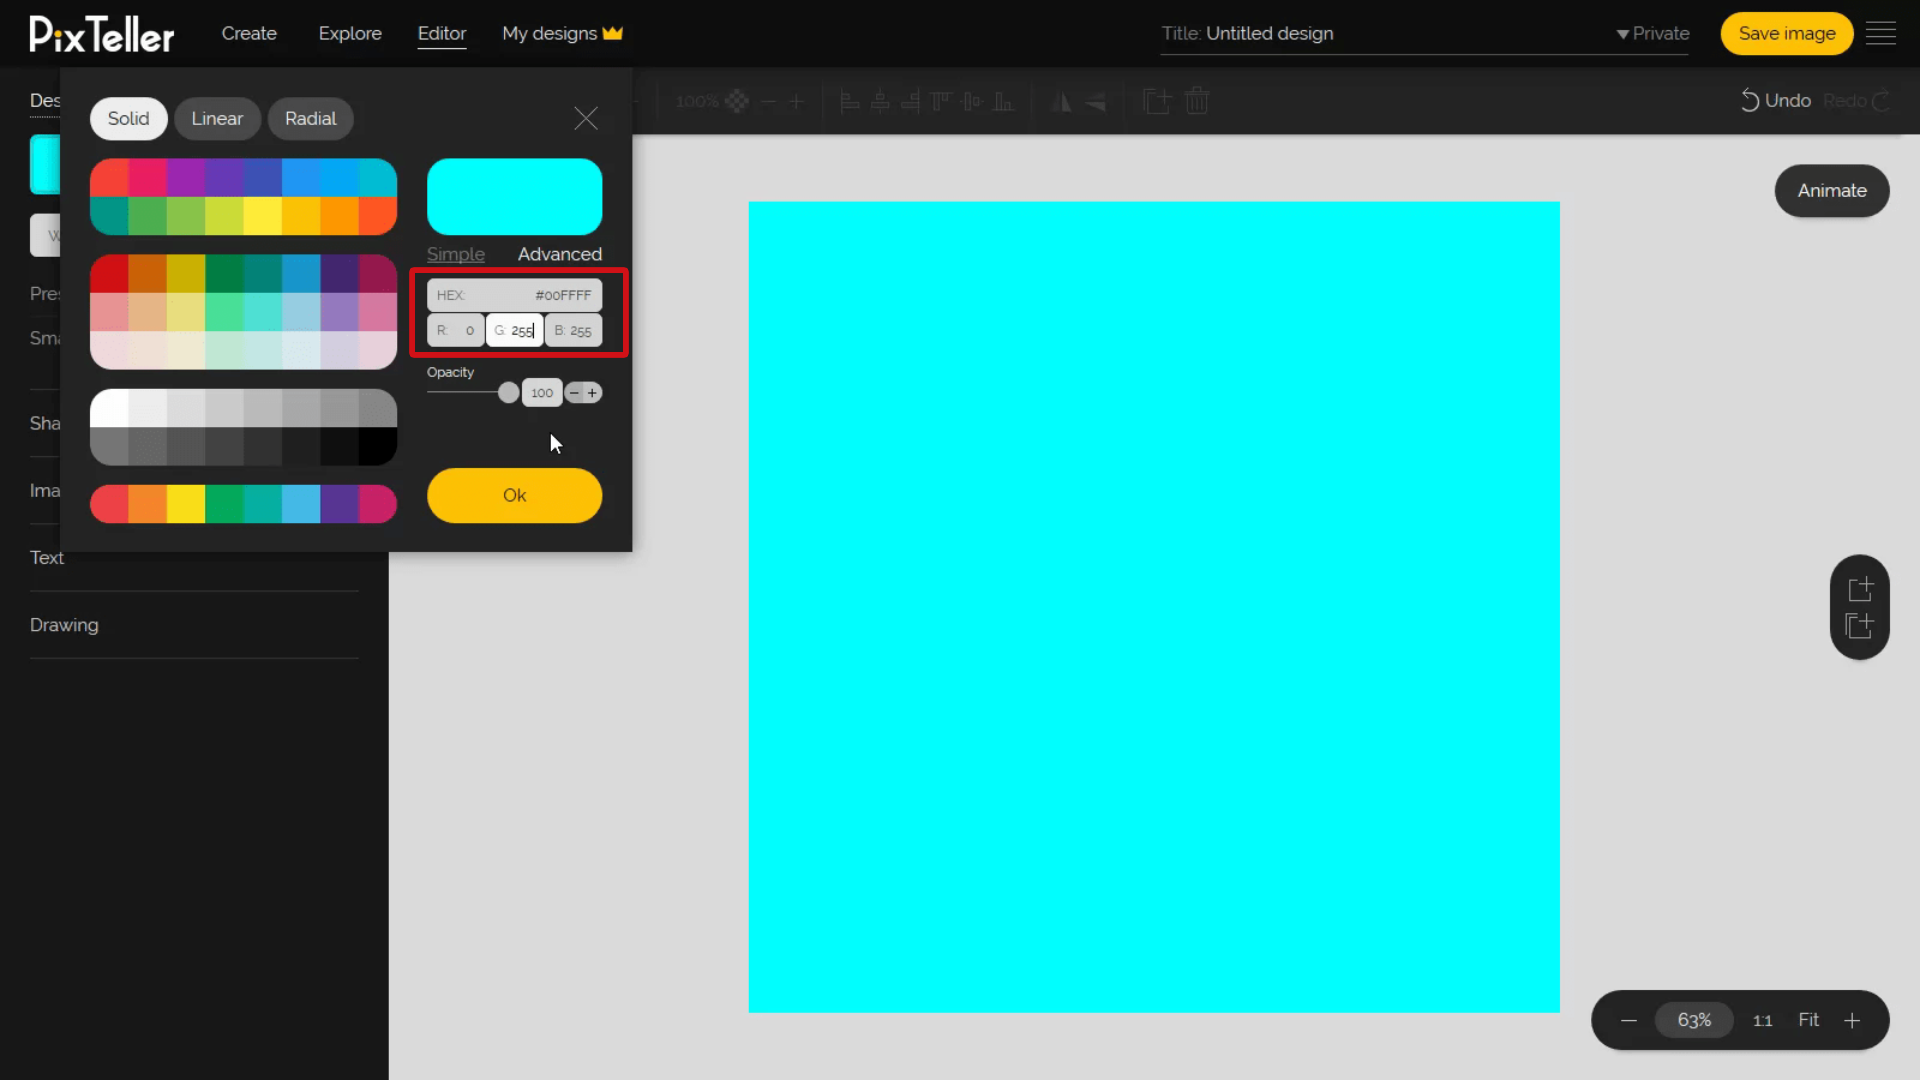
Now, I will play a little with the RGB to give you an example: if you set red and green to 0 and blue to 255, you have the blue color as background; if you change the green to 255, you get cyan, like you see here.
To set a Linear color, you must edit each color. Here's how you do it.
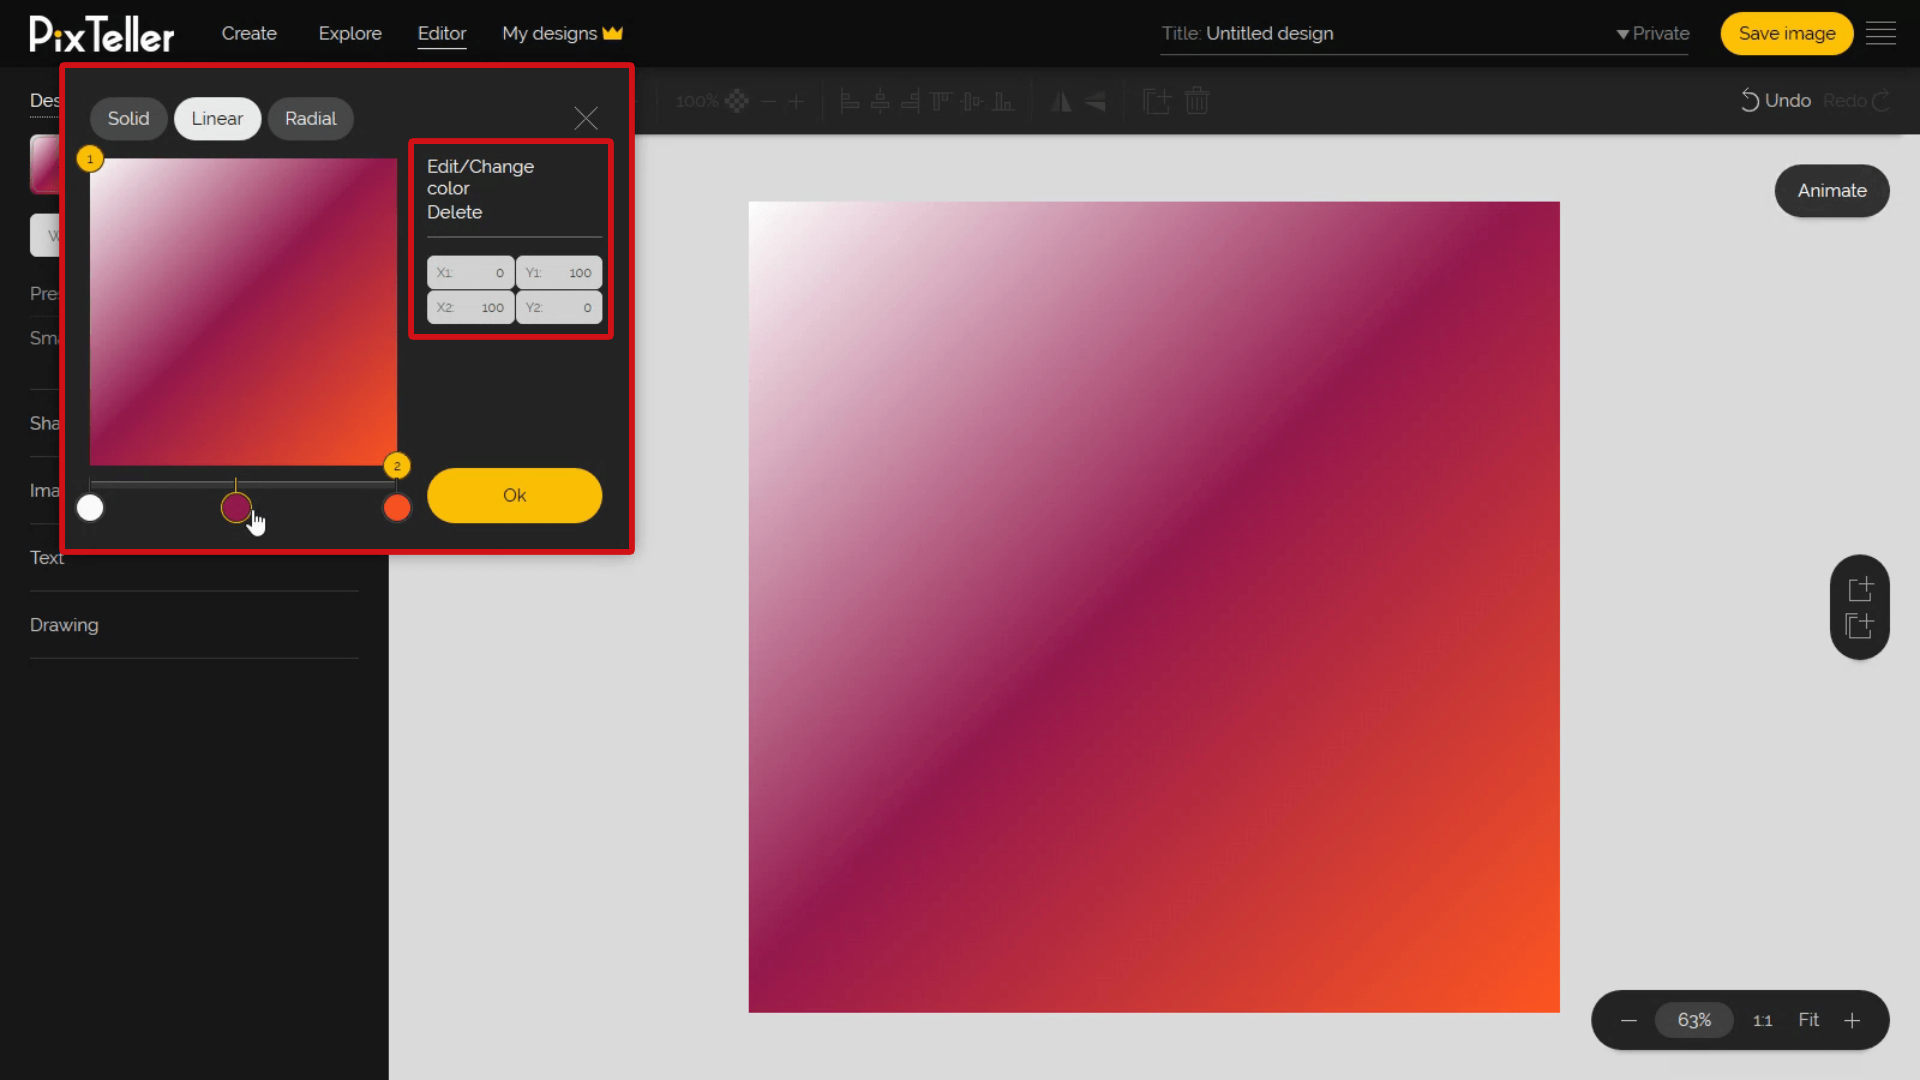
First, click on the color button from the Linear scale. Then, using the "Edit/Change color" menu, you can select any color from our palette.
Clicking on any position on the Linear scale will insert a new color in your design, and from here, you can also change their order and intensity. Do you see the small yellow buttons named 1 and 2? They let you adjust the position on vertical and horizontal of all the inserted colors.
When you want to delete a color, select it from the scale and then use the Delete button from the menu. Advanced users can input the X and Y positions of starting and ending positions, namely 1 and 2 on the preview scale.
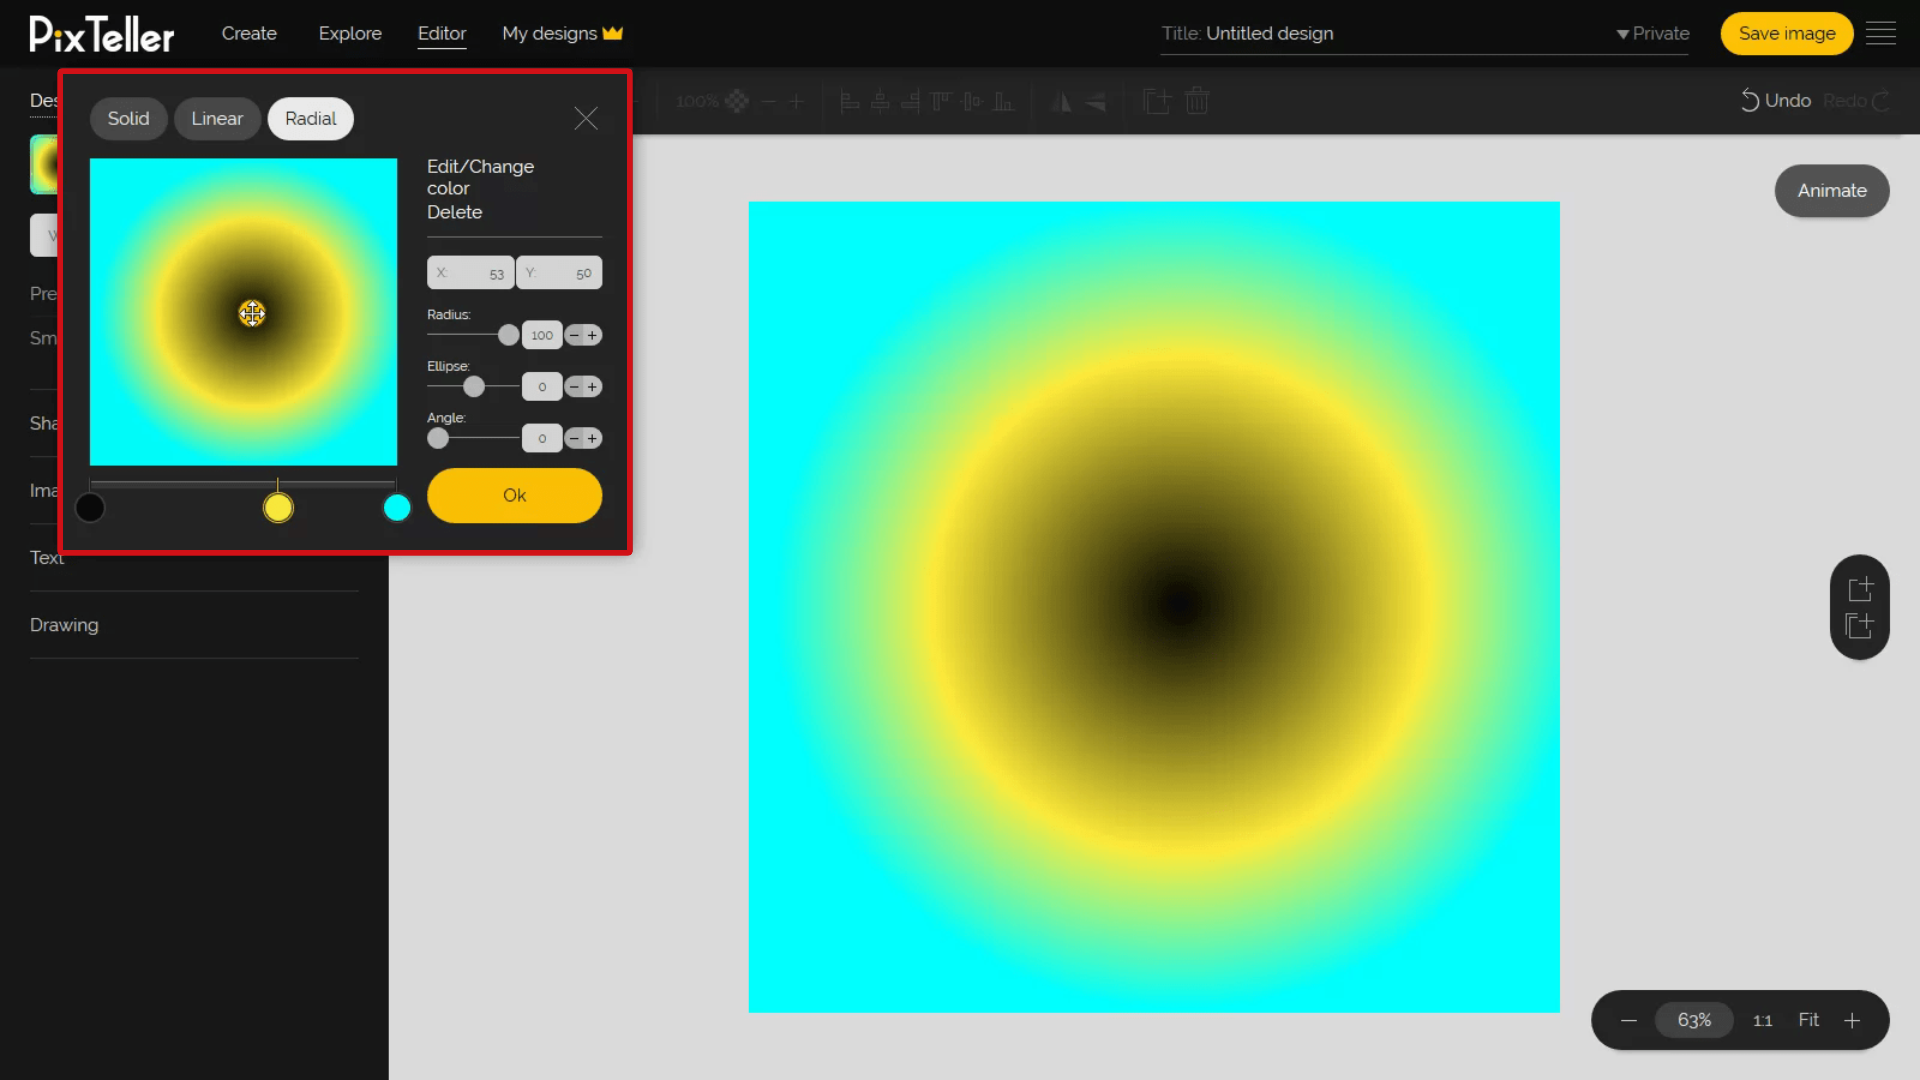
Radial colors are another option that users prefer to add to their designs. It works following the same principle as Linear does.
By this I mean adding colors on the bottom line, changing their order and position. But here you also have to adjust the center point, the radius, ellipse size, and angle. It looks cool, right?
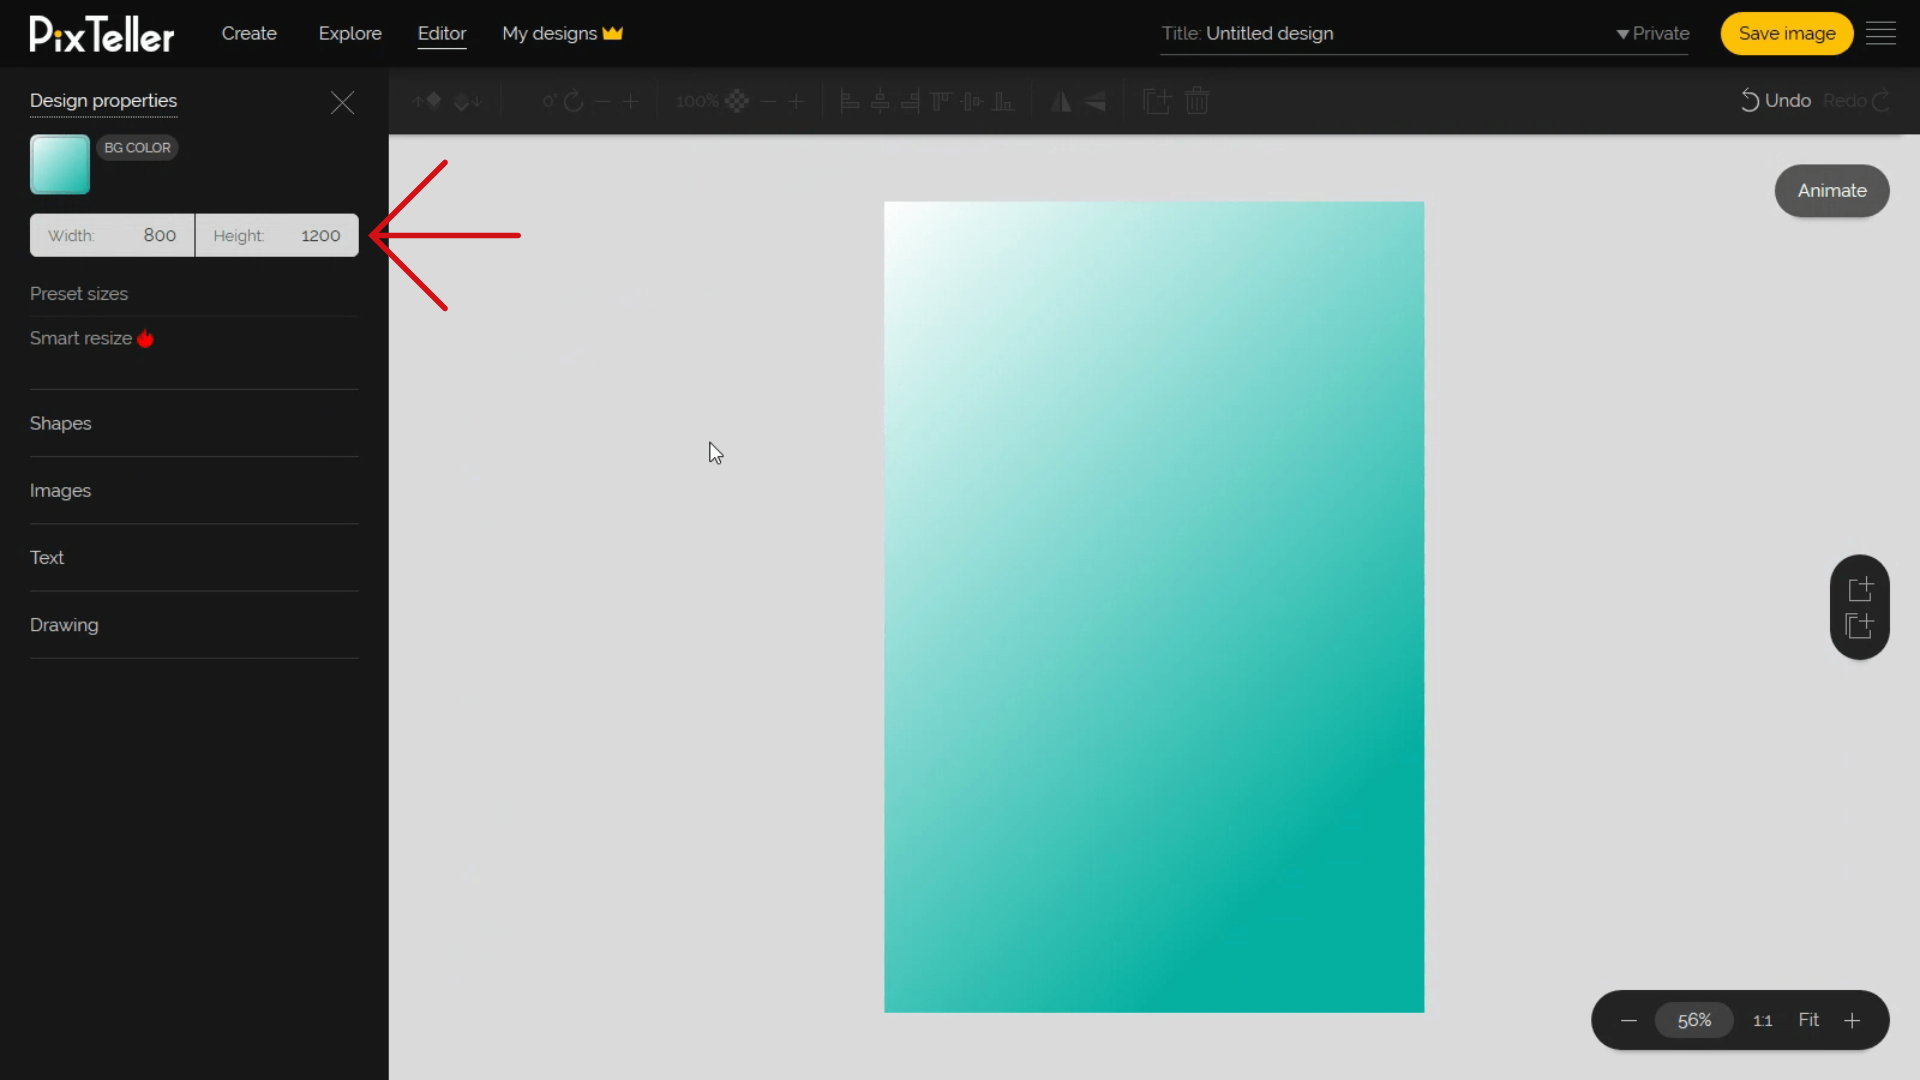
For this example, I will choose a Linear gradient color.
In order to set the design size, there are 2 options: manually input the Width and Height or choose a preset size. And don't worry because the canvas will adjust instantly.
If you want to know more about the Smart resize, I will present it in a different tutorial. It's coming!
Please remember that this size will be the one available for your resulted image, video or GIF, if you want to animate it using the animation maker tool.
That's all for today and stay tuned for more. Until next time, follow our blog to learn tricks and tips that will make your designs the best out there. Join PixTeller and make photos, animated GIFs and short video animations for your websites, advertising campaigns, social media posts, mobile apps, print, business and more. It's free! Yey!!!
Have a great day, guys, and stay tuned for more!
Recommended posts
-
How to Add, Remove, Change Properties & Style for Text Elements
Read More › -

How to Use PixTeller Animation Editor – Features Explained
Read More › -
How to Set Your Design’s Background Color to Transparent
Read More › -

How to add Photos and Graphics
Read More › -

Design Page Setup and Properties
Read More › -

PixTeller Account Basics (FAQ)
Read More ›
