How to Create a Button Element by Grouping Shapes
Hi everyone, and welcome back! I'm Alex and today I will show you how to create a button element (call to action button) by grouping 3 shapes with PixTeller banner maker.
So, let's get started.
First, I will go to My Designs page and select an image template where I can add the button. For today's tutorial I will use this pre-made image template.
Once we have the design, I will click USE and start customizing it using our banner editor tool directly in the browser window. So, buckle up!

When getting started with the design, we need to make some adjustments. In our case, I want it to look uncluttered and more visible.
I will delete the 2 shapes from the corners, set the image as background and I will make the background shape of the text a little bigger. If you look here, the text is not aligned properly, so I will move it to the left.


Now I am satisfied with the image and I am ready to create the button element. Over here, I will click on the Editor button and below Design properties, I will add 3 shapes: a rectangle, and 2 ellipses.
I will move them to the bottom, change the length of the rectangle, and align the circles in order for them to look like a button. This is how it should look.

Next, I will select the shapes by holding the Shift or Control button on the keyboard, and by clicking on each of them. Now I can group them. I can do this by pressing the "Group Elements" button or using the keyboard shortcut CTRL+G. Whichever you prefer.

The elements are now combined in a button, but they retained their original colors. And I am not pleased with that; therefore, I will change them, so they all blend nicely.
As you can see on the left panel, I will choose a single color for each of these elements. Now all the colors are combined and I only have one for the element.


Hmm, but now the button is taking up too much space. Let's make it a little bit smaller. I think 70 pixels height is enough. Don't you agree?

You're doing great, by the way. Now, I will position the button and copy some words from the above text, then properly change some of them to create my desired message.


The text is done, so I will align it in the button I just created. Next, I will modify the color and text size to 32 pixels. I want it to look perfect!

My button is ready!
One more thing, just doing a small adjustment, and Voila! My button is ready! If you like it, you can save the image. If not, you can play a little more. Maybe you want to change the button color. Either way, experiment, and make it just the way you like it.

Ok, now we are done and I will save my design.

Once it is saved, you can download it in different formats and in different sizes. Just have a look at the Download Options to select your preferred format.

So the final outcome should look something like this. Great job everyone!
Thank you for watching and until next time, have fun using PixTeller!
For more, follow our blog to learn tricks and tips that will make your designs the best out there. Join PixTeller and make banners, animated GIFs and short video animation for your websites, advertising campaigns, social media posts, mobile apps, print, business visuals and more. It's free! Yey!!!
Have a great day, guys, and stay tuned for more!
Recommended posts
-
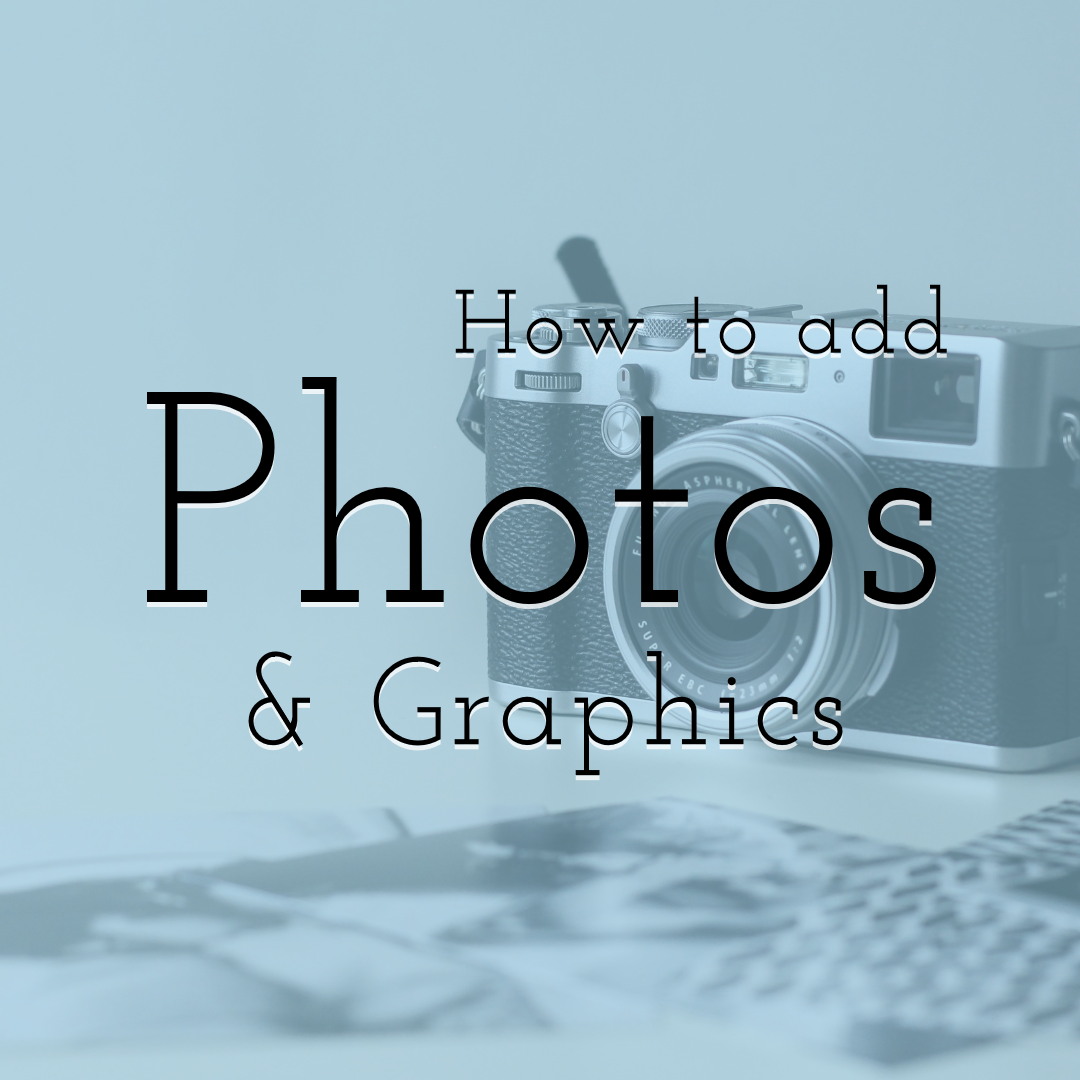
How to add Photos and Graphics
Read More › -
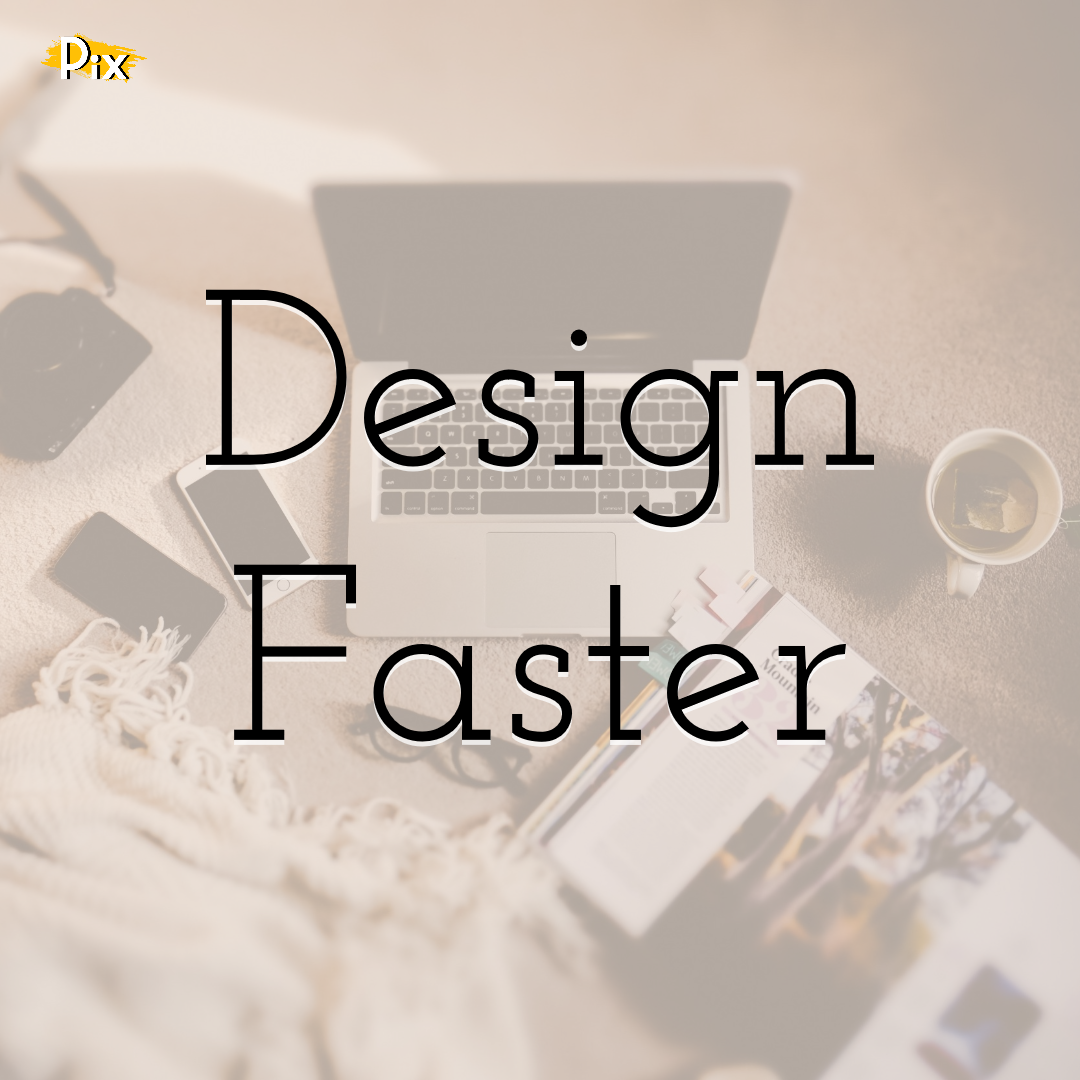
Learn How to Design Faster on PixTeller by Using These Simple Tips
Read More › -
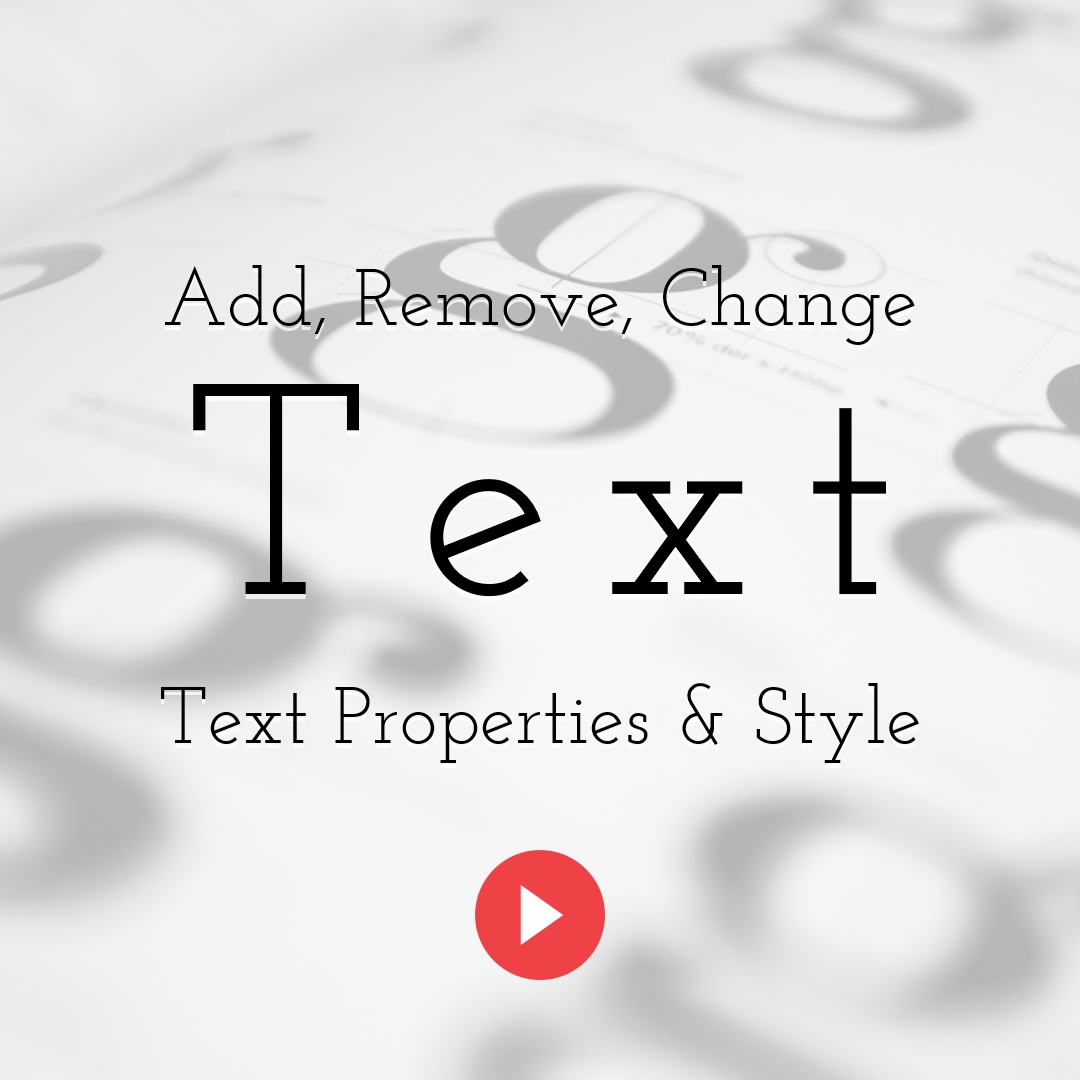
How to Add, Remove, Change Properties & Style for Text Elements
Read More › -
How to Set Your Design’s Background Color to Transparent
Read More › -
Using Shapes and Drawing for Your Designs
Read More › -
How to Use the Line & Pencil Tools
Read More ›