Transparency & Opacity: How To Use Them
Hi everyone, and welcome back! I'm Alex PixTeller chief troublemaker and today I will show you how to set the transparency and opacity with our graphic maker tool. It's an easy tutorial to follow, that will make all the difference regarding your design. So, let's get started!
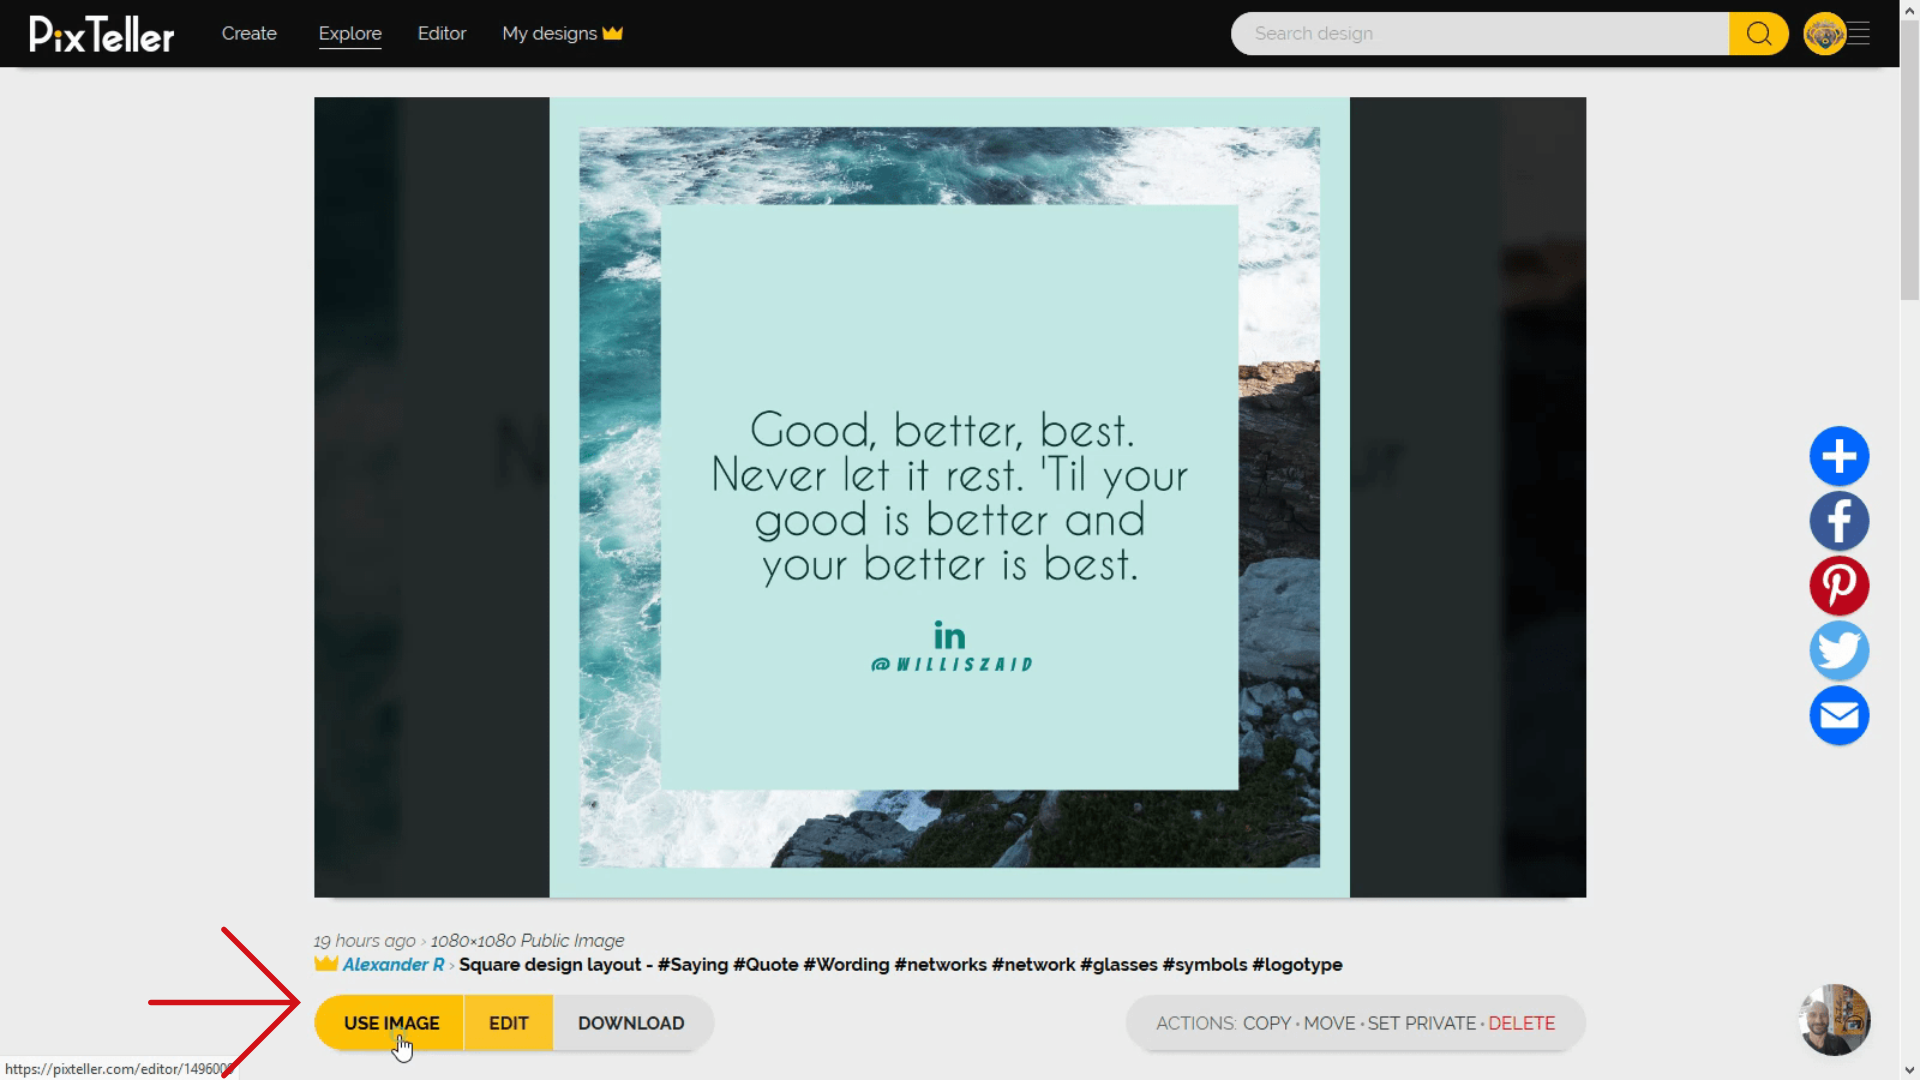
First thing's first, in order to efficiently go through today's tutorial, I will start from a premade template, the one I have in My designs. Once I select it, I click the USE button in order to open the photo editor.
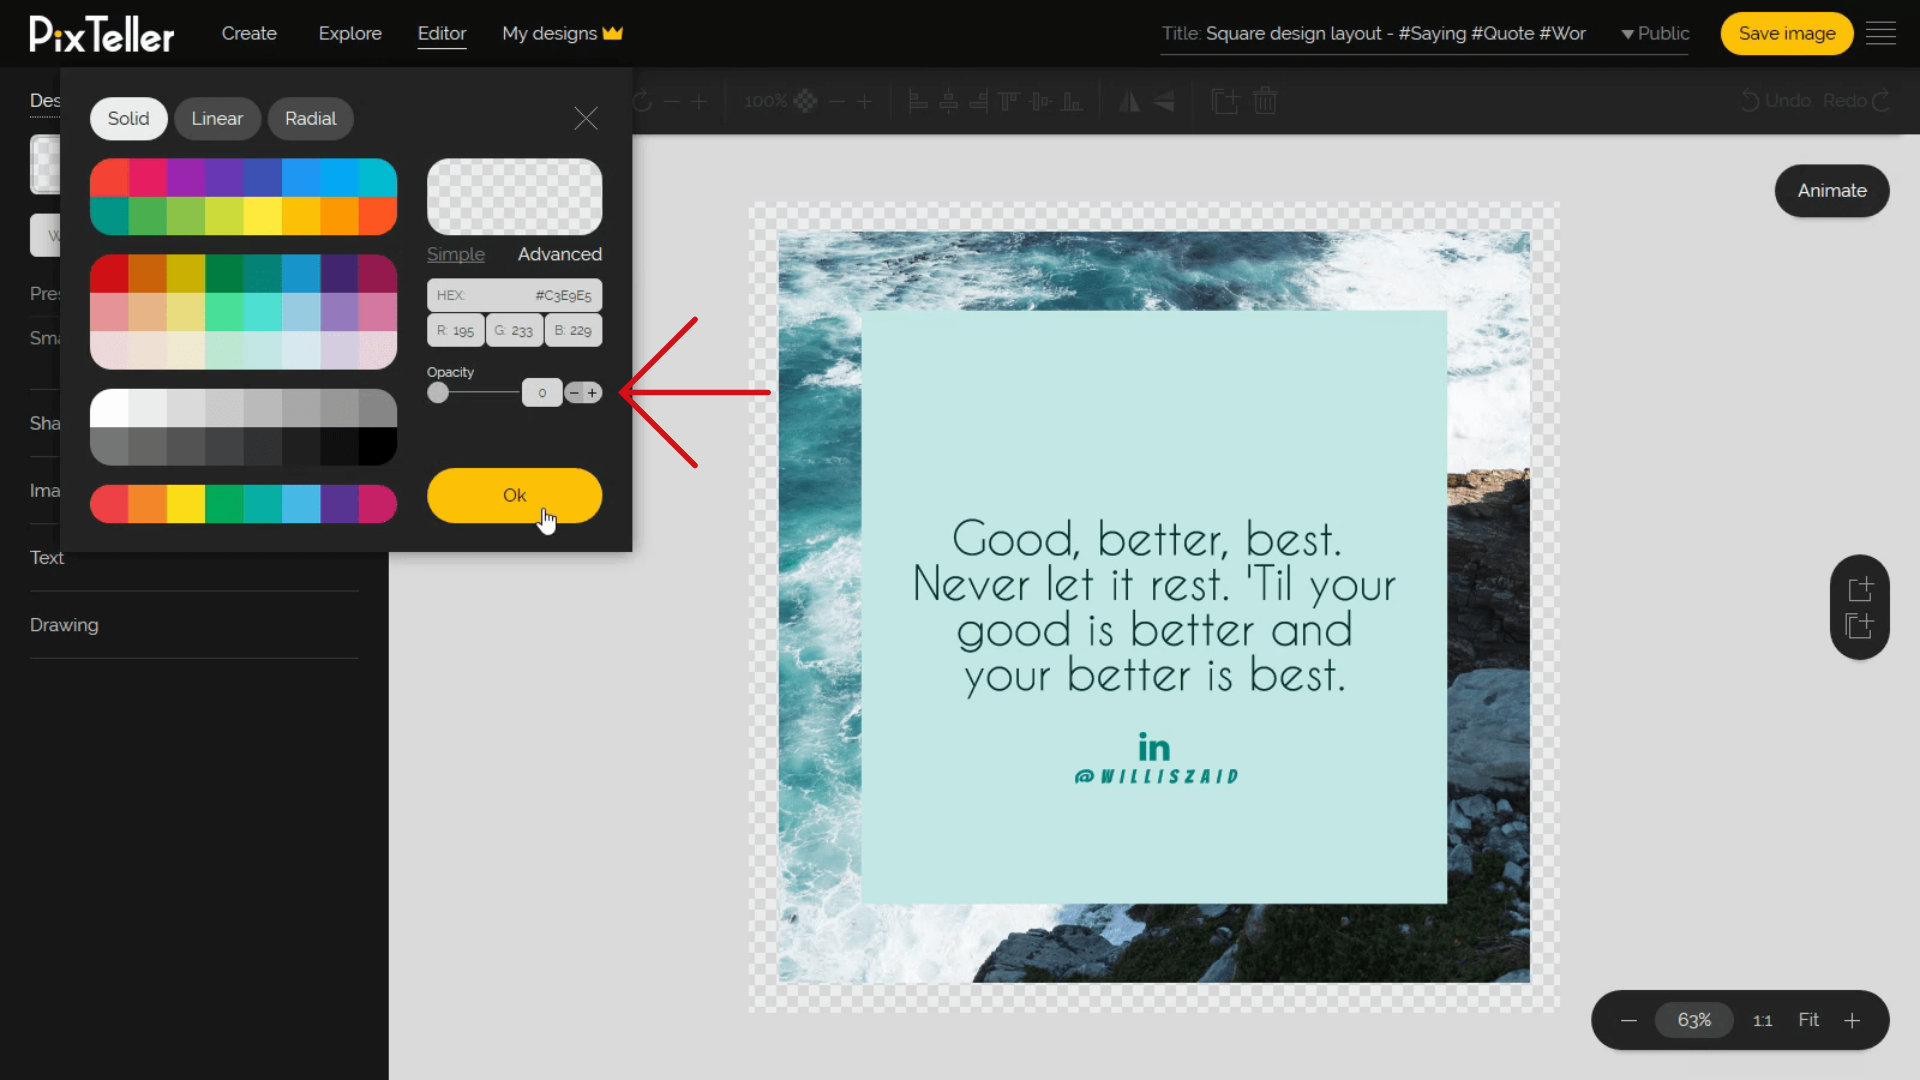
As you can see here, I have a colored background, an image, a shape, and 3 text elements. In order to set the background transparency to zero, I must click on the background color. If you look closely, here I have the Opacity slider that I need to set it to zero.
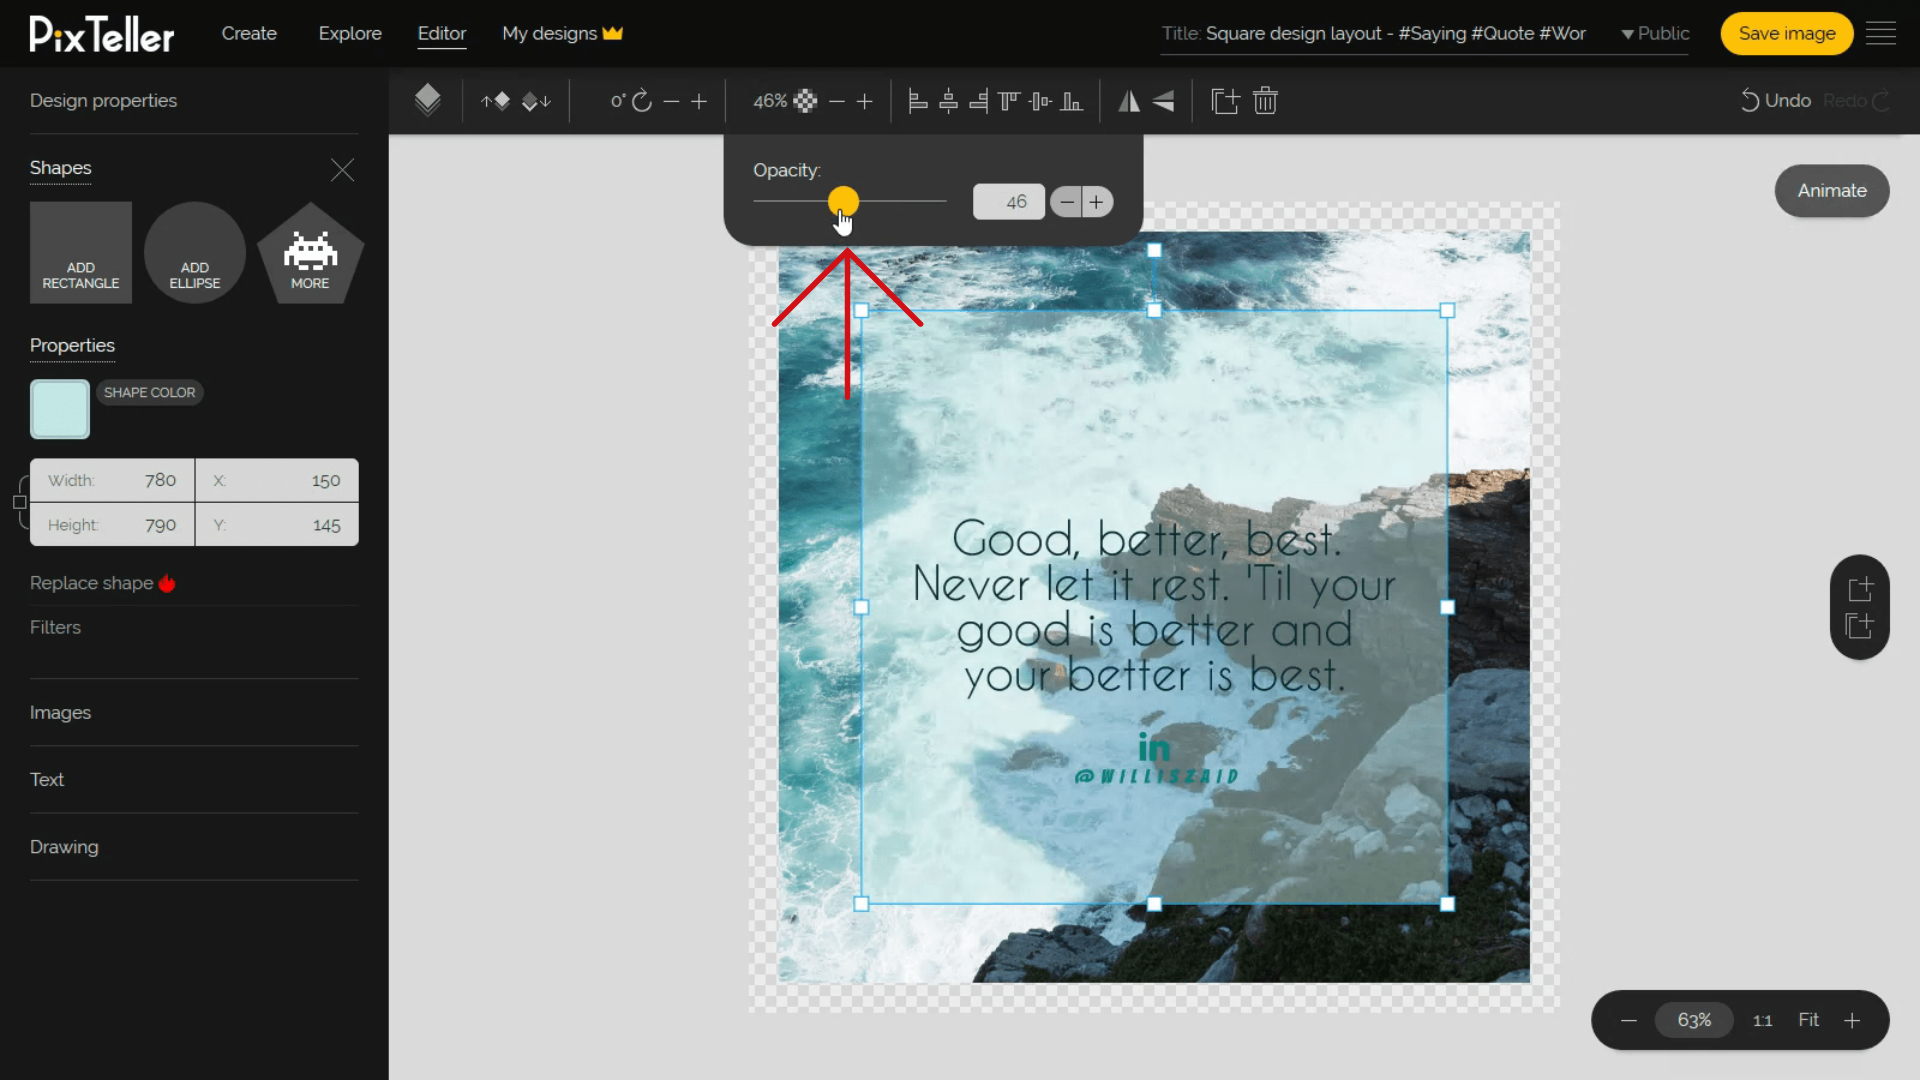
To change the opacity of a shape, I first select it, then, from the top menu, I can change the opacity. I can use the slider to input the value, or I just use the "+" and "-" buttons for more control.
Once I am satisfied with how it looks, I can save my design and afterwards, I can download it or share it directly from PixTeller. That simple!
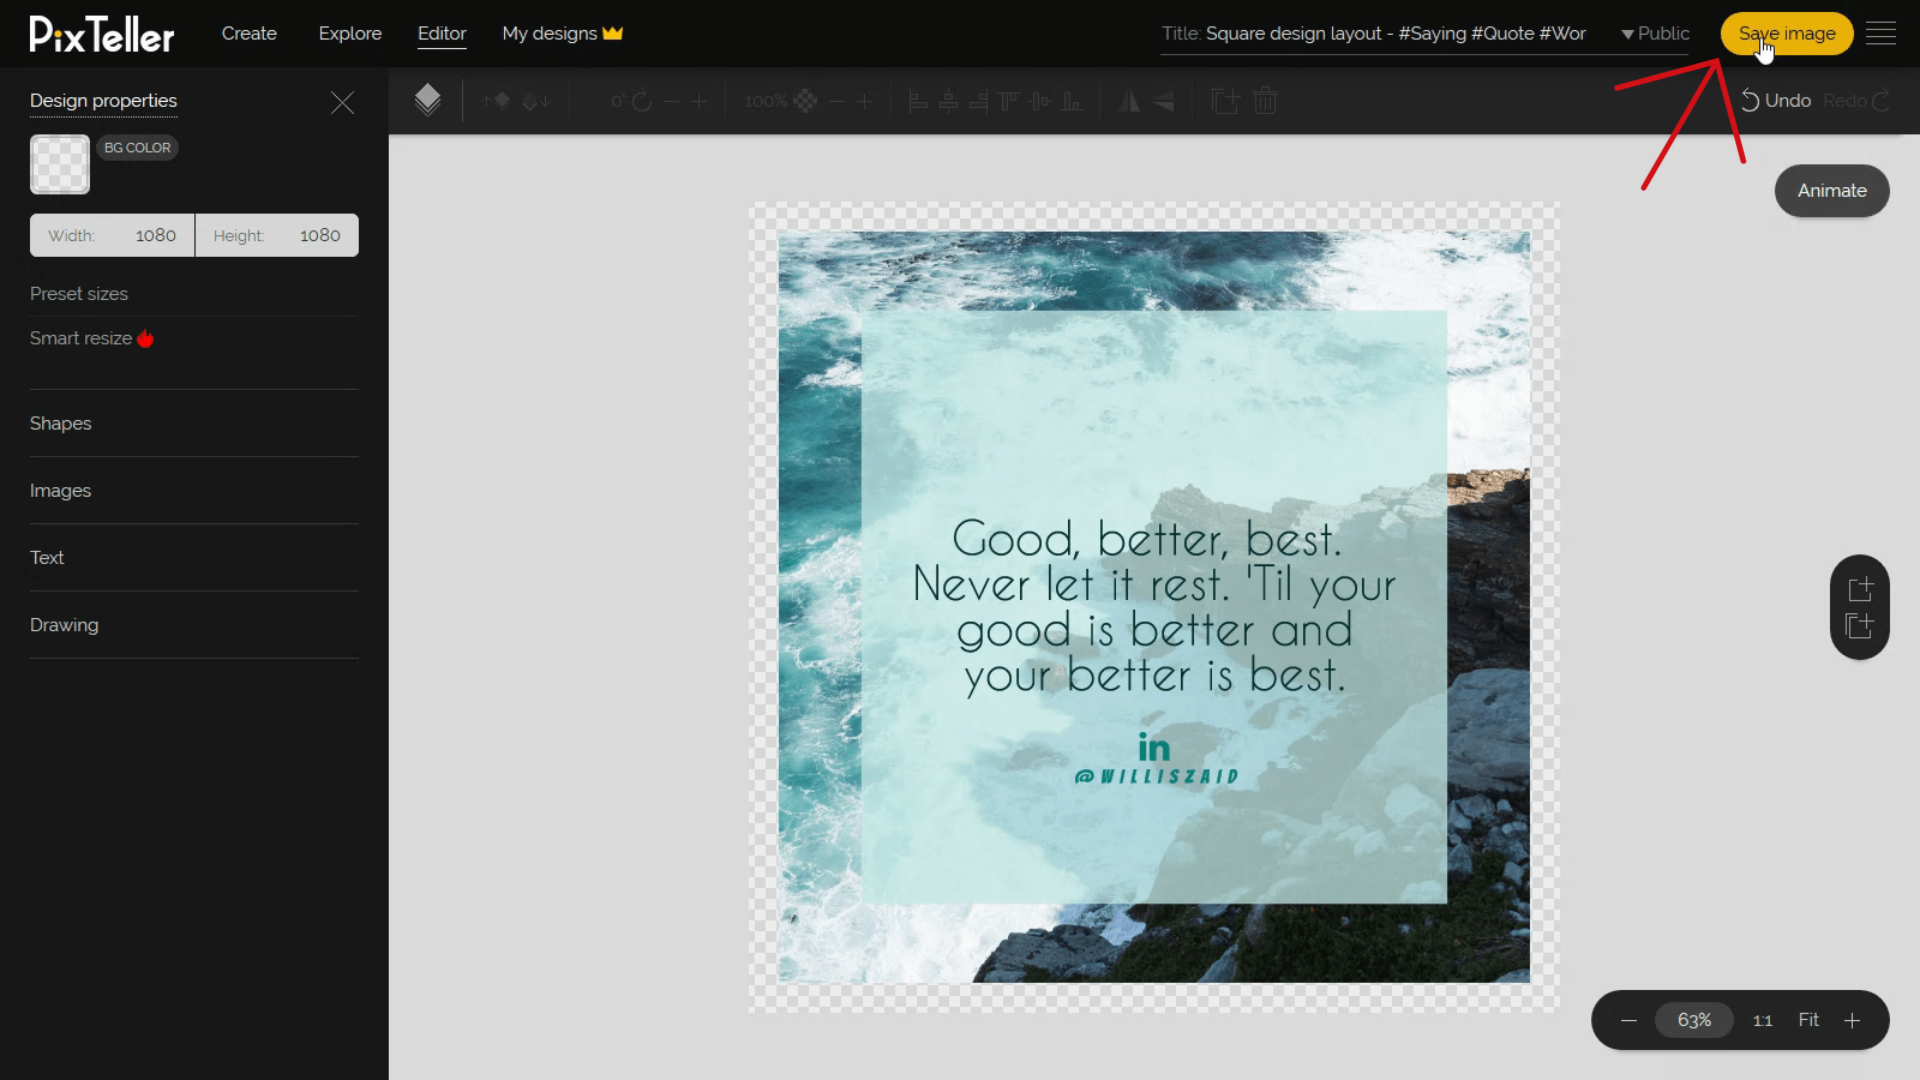
For our example, the final outcome should look something like this. Great job, everyone!
Thank you for watching and until next time, have fun using PixTeller!
For more, follow our blog to learn tricks and tips that will make your designs the best out there. Join PixTeller and make images, animated GIFs and short video animation for your websites, advertising campaigns, social media posts, mobile apps, print, business visuals and more. It's free! Yey!!!
Have a great day, guys, and stay tuned for more!
Recommended posts
-
How to Set Your Design’s Background Color to Transparent
Read More › -

How to Set or Change Design Properties
Read More › -
How to Create a Button Element by Grouping Shapes
Read More › -

How to Use the Line & Pencil Tools
Read More › -

How to Flip (Mirror-Reflect) Objects
Read More › -

How to Add, Remove, Change Properties & Style for Text Elements
Read More ›
