5 Tips and Tricks to Immediately Improve Your Smartphone Photography
Easily create & edit your visual content with ease with PixTeller free poster maker & online photo editor.
Virtually everyone now has access to a high-quality camera thanks to the constant improvement in smartphone lenses and processor power. It's not only the quality in our phones but also the editing software in the form of free (in many cases) apps with which to edit our snaps. There is great functionality in terms of editing options on a smartphone, and in some cases, it rivals even pro editing suites on a computer.
With the increase in editing potential and camera quality, it's also essential to understand how to get the most out of your pictures, and this doesn't have to mean allowing your phone to auto-enhance the image every time. While this can provide basic improvement, it helps to know exactly what steps can be made to ensure gorgeous shots every time.
In this article I've compiled a list of the most useful tips to notice an immediate improvement.
1. Know Your Camera
This is perhaps the most obvious, but it's still worth mentioning that a quick root around the settings and options in the camera app will reveal a lot of important information about the camera's default options. For example, if you really want to get the most out of your images for editing, check to see if your phone supports RAW files.
Saving RAW photo files does consume a lot of storage space, but with this, it means you have more information with which to edit your photos and get the most out of them. If you want to bring out more details from shadows or dark areas, saving in RAW will give you that flexibility in the editing suite.
Another common feature that is often set to default is HDR capture. While this has been cleaned up more recently, for a long time, it was pretty obvious which photos were HDR for a long time, and this wasn't a good thing.
This function captures images in a high dynamic range (HDR), which means that multiple shots were taken to capture all available light and therefore boosted the quality of the resulting photo. Now it works pretty well (some of the time), but in the past, it would create horribly artificial-looking photos in the past because all the colors were enhanced, and lighting wasn't consistent across the frame. So be careful when using HDR!
2. Shooting Modes
As the quality of cameras has increased, so too has the number of them; many smartphones have as many as four different lenses or even more. Their numbers have increased as currently, they're all fixed focal length and can't offer any zoom functionality (apart from digital). The number of lenses means that each can provide a specific role within a photographer's repertoire; portraiture, landscape, and selfie.
More lenses also mean that each capture can be stitched together in one photo, all done by the increasingly powerful processors. Not every smartphone takes shots in this way, but a lot now have the capability. While this automatic process is done regardless of user input, there are ways to manipulate the shooting modes to improve your photos.
For example, using portrait mode will use the phone's wide-angle lens to provide a bit of depth as long as you have foreground and background subjects in the frame. Usually, when you open up the camera app and start snapping, the photos come out with the whole image in clear focus, which can be great for certain shots but less so for others. If your smartphone only has one lens, it's possible to replicate the depth of field by choosing portrait mode, which will then digitally include a soft focus in the background while the foreground remains in the perfect guide.
Even some smartphones allow total manual control, and you can set aperture, ISO, and shutter speed. The vast majority of lenses, as mentioned, are fixed focal length and fixed aperture, so a lot of the manual control that comes with a proper camera is done digitally.
So while this might be interesting just to see how the changes you make in the camera can affect the outcome, it's usually best to let the smartphone do it all automatically as they're now so proficient. I wouldn't be recommending this for a DSLR or mirrorless, though!
3. Lighting
Photography 101 is lighting, and smartphone cameras are no different. Good lighting helps the smartphone to expose the subject correctly and allows the editing apps to have more information to modify the image with. Usually, the smartphone will get the exposure spot on, but sometimes, you might have a light source that you want to counter.
Generally, you don't want to shoot directly into the sun or a lamp, but by tapping the light source on the screen, will cause the focal point to adjust exposure, allowing the resulting image to be correctly lit and not flooded by light.
Another trick to correctly light your shot is using the flash, which honestly I usually avoid as I always seek out natural lighting when taking photos. I have, however, learned to embrace the phone's flash on occasion. Most often for close-ups to extinguish shadows, or to have completely even lighting on the subject. You do need to be careful with phone flash as it can easily make everything look quite sterile as the white light is quite unforgiving. Nevertheless, it can provide quite an interesting pop of color, especially when used in total darkness, so that the vibrancy is really exaggerated.
While you can create your own light in the darkness, recently, I've been testing my phone's (Google Pixel 3a XL) capability at night to see what it can do, and the results have really surprised me. In shallow light, where my regular camera might even struggle, the phone can take multiple shots and then overlay them to get the most out of what light is available.
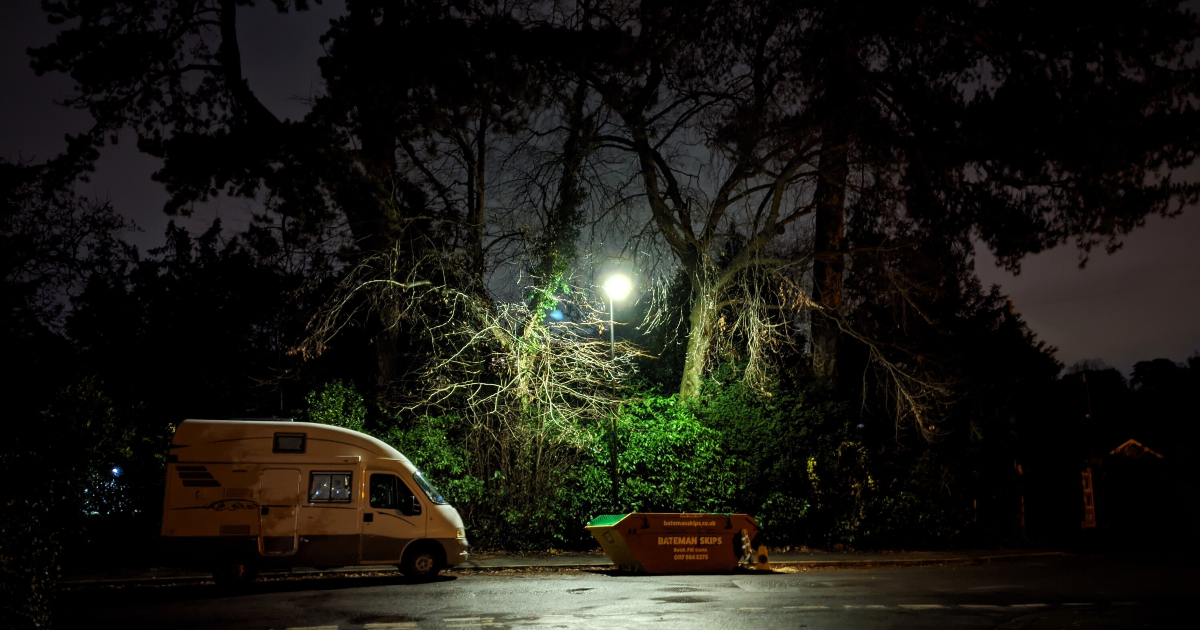
This was just a quick test, but I was so impressed with what the tiny lens with great processing power could accomplish at night time. The street lamp was able to illuminate much of the frame, and the processor could do the rest. Colors might be a bit saturated, but still, you can edit it to personal tastes; regardless, I'd definitely recommend testing out what your smartphone can do even in low-light situations.
4. Composition
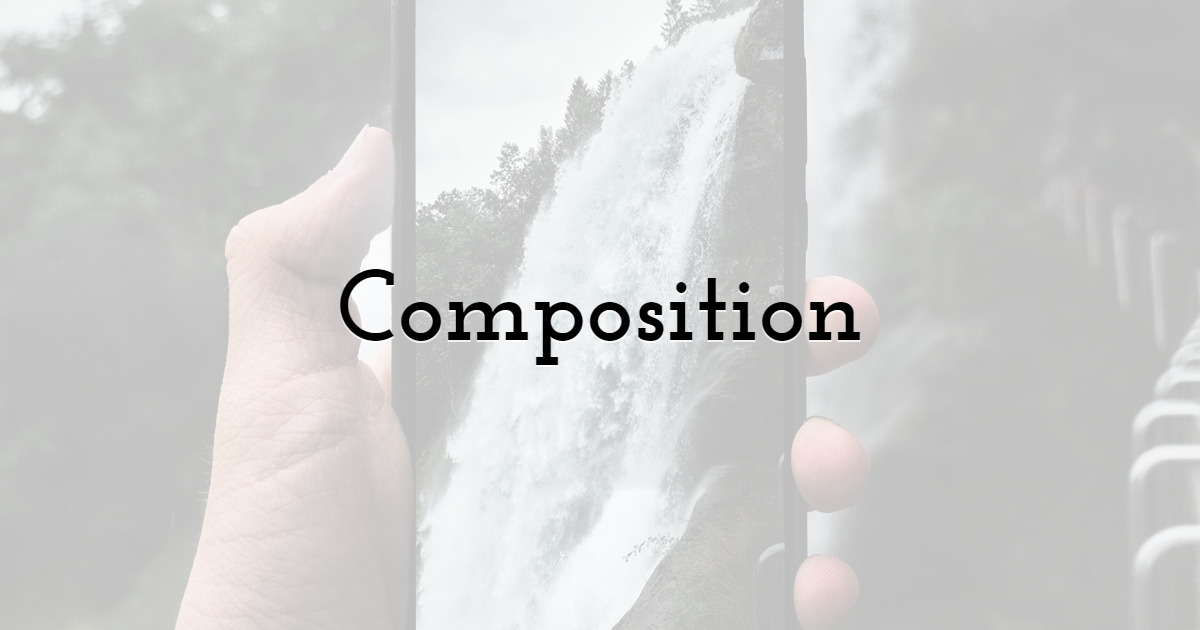
Much like lighting, the composition is an essential part of photography that can often be overlooked in smartphone photography for the simple reason that storage is cheap and vast. We tend not to care about a lot of the photos we're taking. Certainly, this is something I've found with my own images; I treat the smartphone camera as more of a journal, taking snapshots rather than quality and meaningful photographs. This suits just fine for many photos, but I'm trying to be more conscientious with my smartphone.
Thinking about the shot means thinking about the composition, the elements of your image, patterns, symmetry, space, lines. All the aspects of your image that make up the whole. These are the things that I'm trying to consider and pay more attention to when it comes to smartphone photography. And there's no quick tip or trick except to practice; try and create a pattern where it might not be obvious, allow space in the frame or shoot with a circular border, not a rectangle.
These changes can influence the resulting image and maybe reveal something in photography that you haven't seen yet. I've been taking photos of birds in my garden, using a monocular held up to the lens to capture close-ups of passing birds. To reflect the zoom and focus of the monocular, I changed the frame to be a circle in the editing app. These changes can influence the resulting image and maybe reveal something in photography that you haven't seen yet.
I'd never used a circular border before, but I loved the impact it has thanks to using the monocular over the camera lens. Experimentation led to great results!
5. Attachments
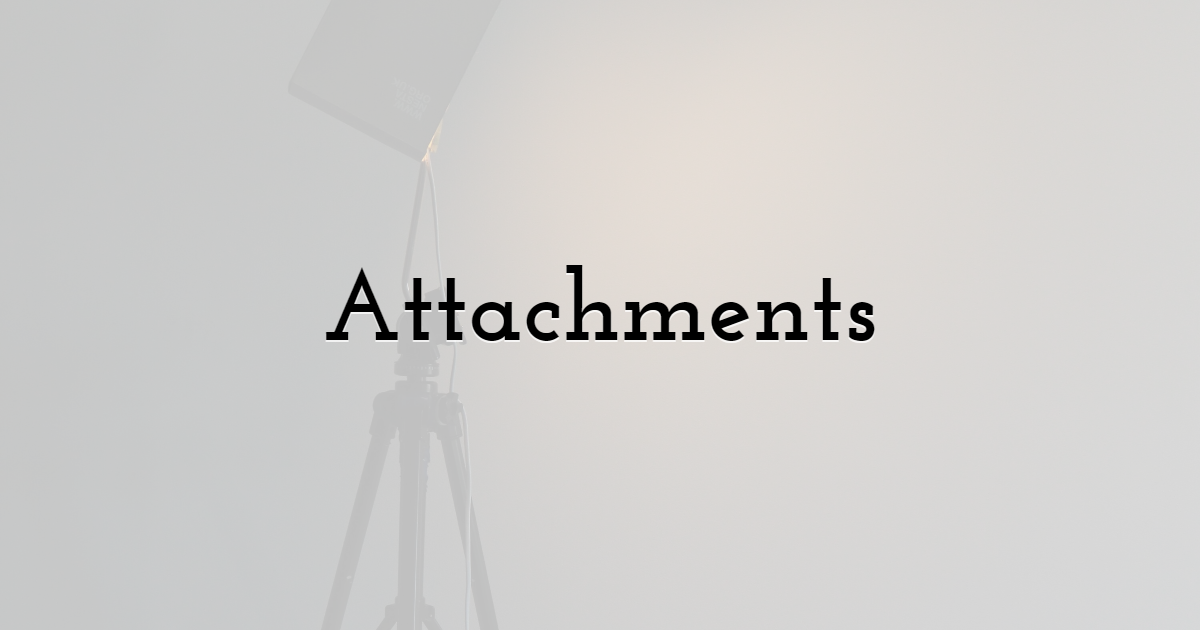
The saying goes, 'The best camera is the one you have on you' Nowadays, this is almost always going to be your smartphone. For this reason, it's no wonder that there are so many peripherals that go with smartphone photography; clip-on lenses, tripods, and selfie-sticks, to name a few. These accessories serve a purpose and can significantly boost your photography by providing versatility in any situation.
A tripod is always an essential item for photography as reducing motion means a clearer picture. It can also capture time-lapse, serve as a photographer if you want to take a photo of yourself and there's nobody to hold the camera; personally, it has proven invaluable on numerous trips where I want a steady shot or even to capture motion if I set a slow shutter speed.
An attachment doesn't always need to be a new toy. For example, my monocular was collecting dust, to be honest, but then I thought I'd hold it up to my smartphone's camera lens to see what the shot would look like.
An accessory could also be covering the lens with a brightly coloured transparent film/translucent paper to completely change the feel of the image. It's all about trial, error, and success.
Until next time, Be creative! - Pix'sTory made by Rob Holder
Rob Holder is the Director of Fable Studios, a video production agency based in Bristol, UK.
Recommended posts
-

Common Design and Writing Mistakes to Avoid on Your Website
Read More › -

9 Top Digital Marketing Trends 2021 Has for Every Online Business
Read More › -

The Future of Instagram: What Student Bloggers Have to Say
Read More › -
Which is Better? Screen Printing or Digital Printing
Read More › -

From blank canvas to animated story: how online design tools empower crea...
Read More › -

Why You Need to Nail Your Visuals in Email Marketing
Read More ›