How to Add, Remove, Change Properties & Style for Text Elements
Welcome back everyone, I'm Alex and today I will show something truly useful: how to add, remove or change the properties and styles for text elements using PixTeller quote maker.
These features are crucial to master in order to be able to design your own graphics, videos, and GIFS using PixTeller editor tool. Ready to get to it? Excellent!
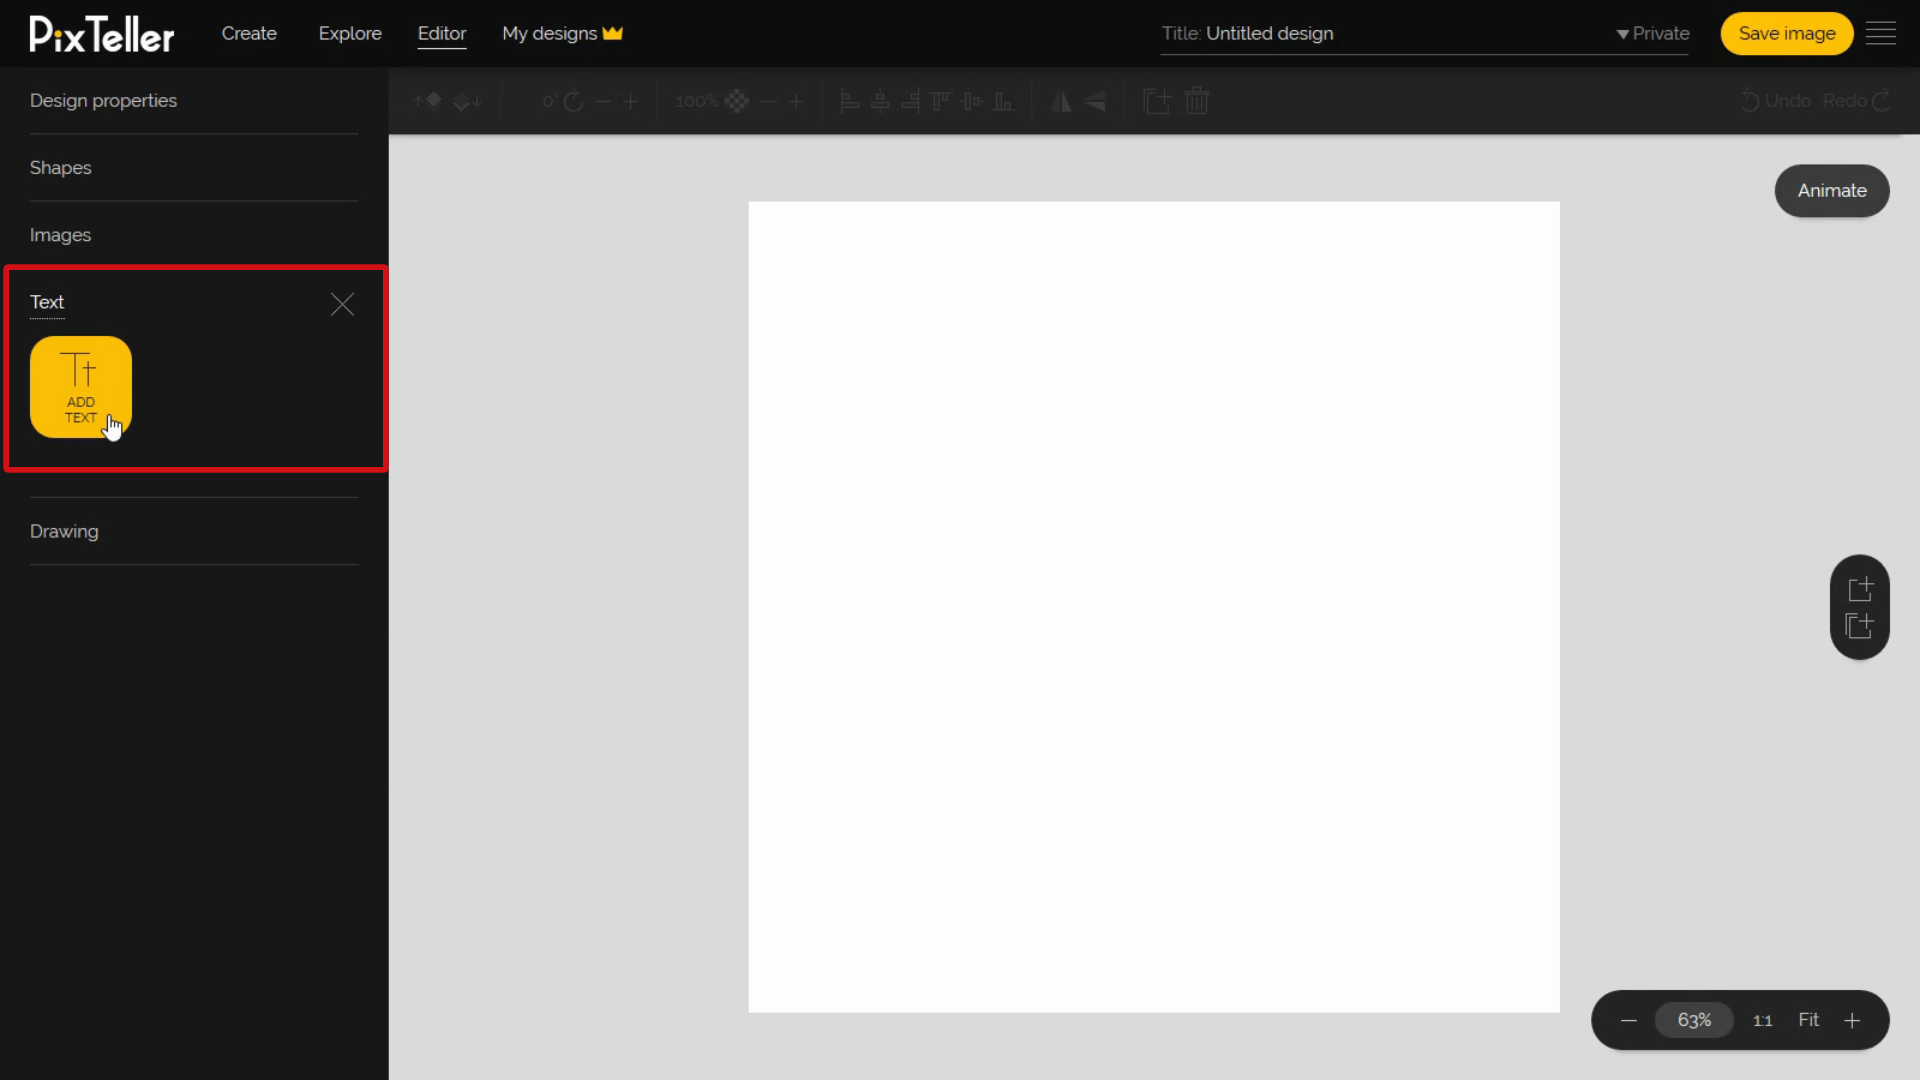
First things first, let's start by opening the photo editor. Now, we want to add a text element, so we'll click on the "Text" section located on the left menu section.
Once the panel is opened, click "Add Text" button and a simple container text element will be added in the top left corner of your design. So far so good.
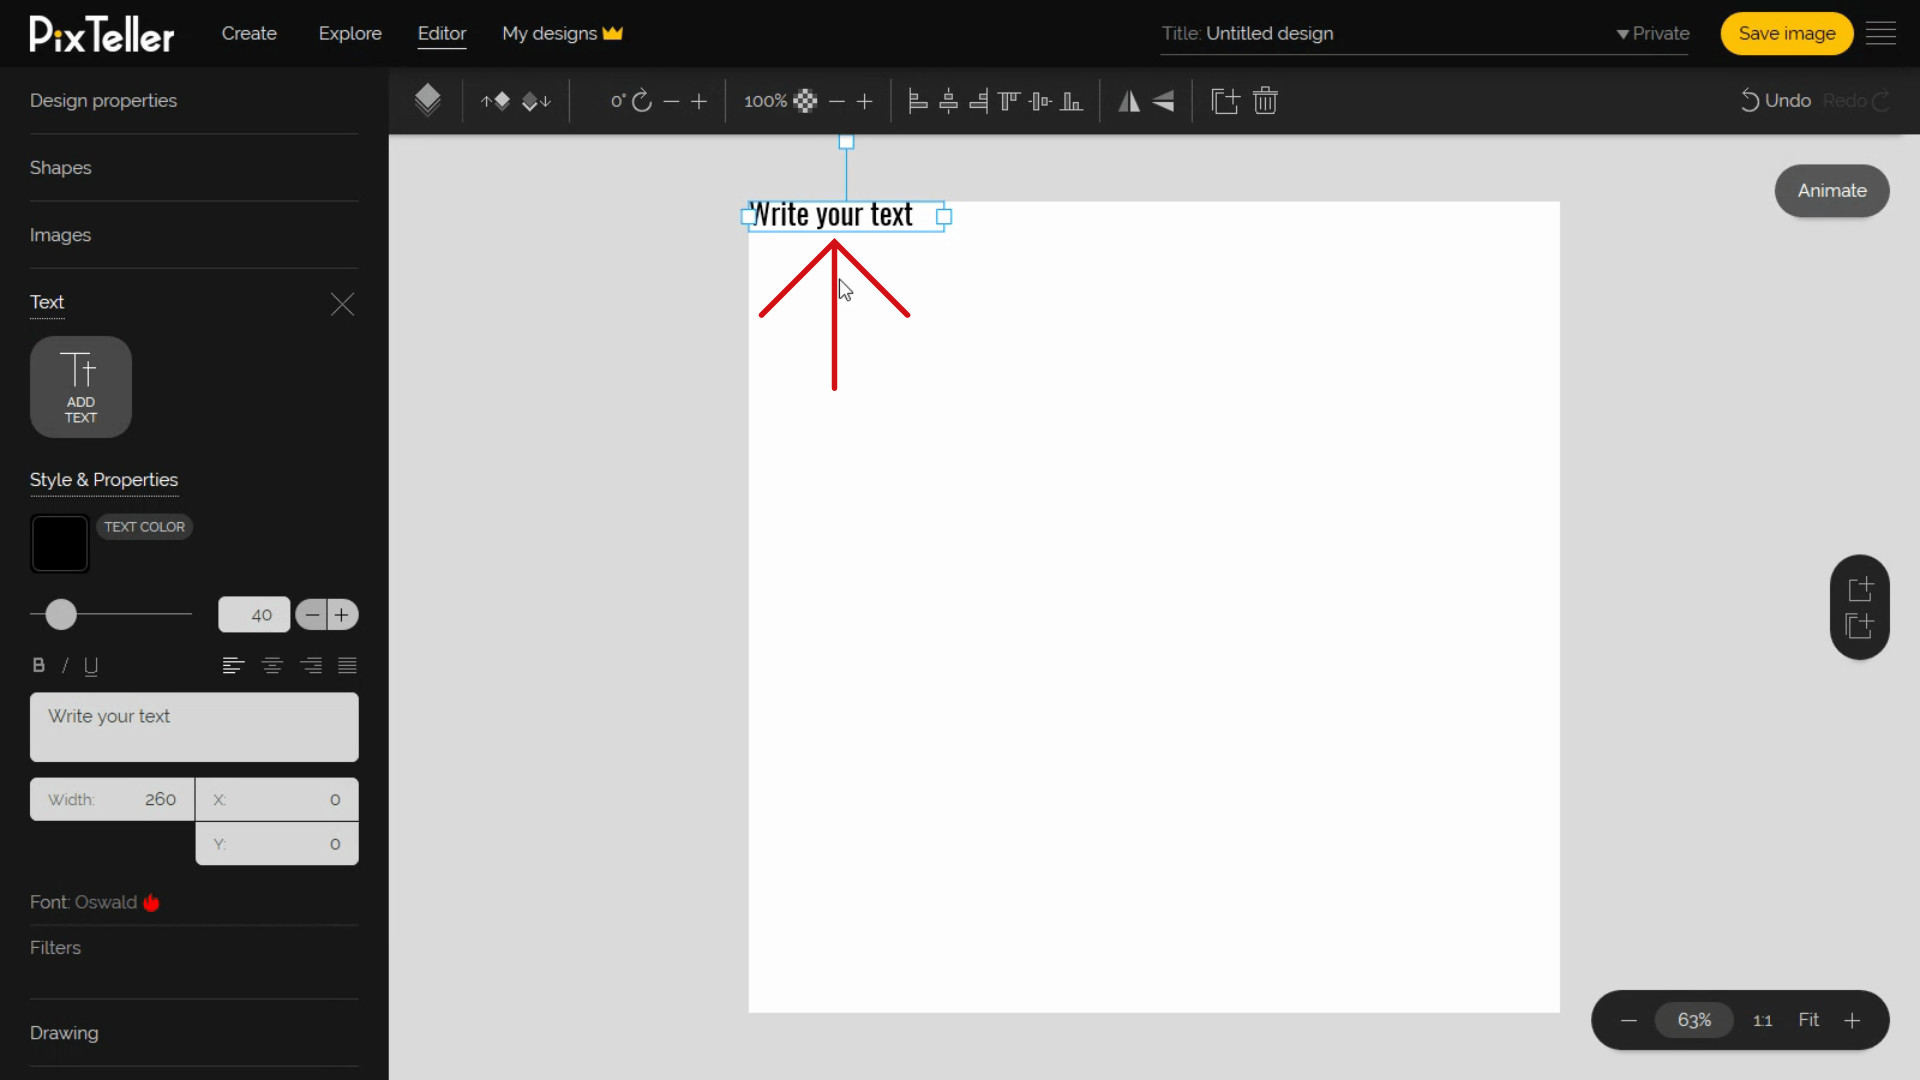
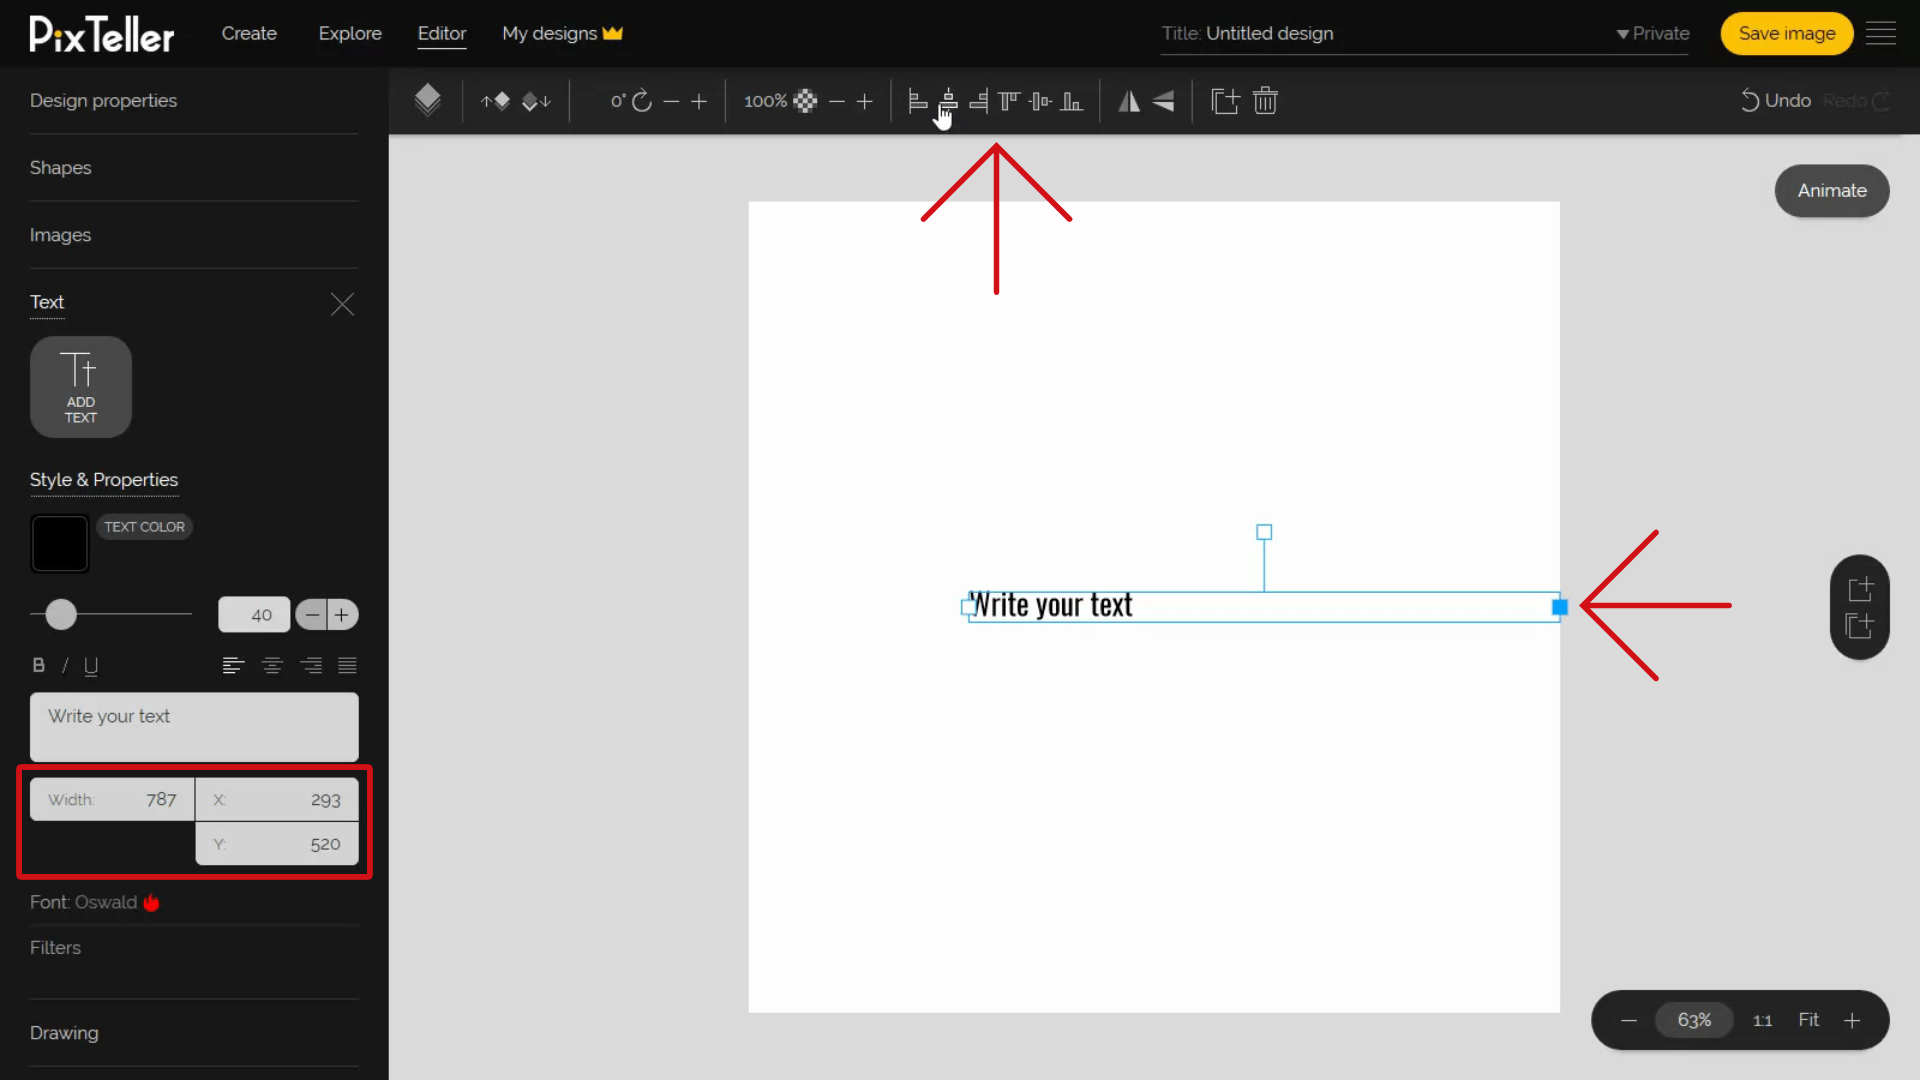
We now can move the text or update the container's width to the desired size. You can also align the text element using the top bar buttons. This helps you position the text very easily on the canvas.
Change the text
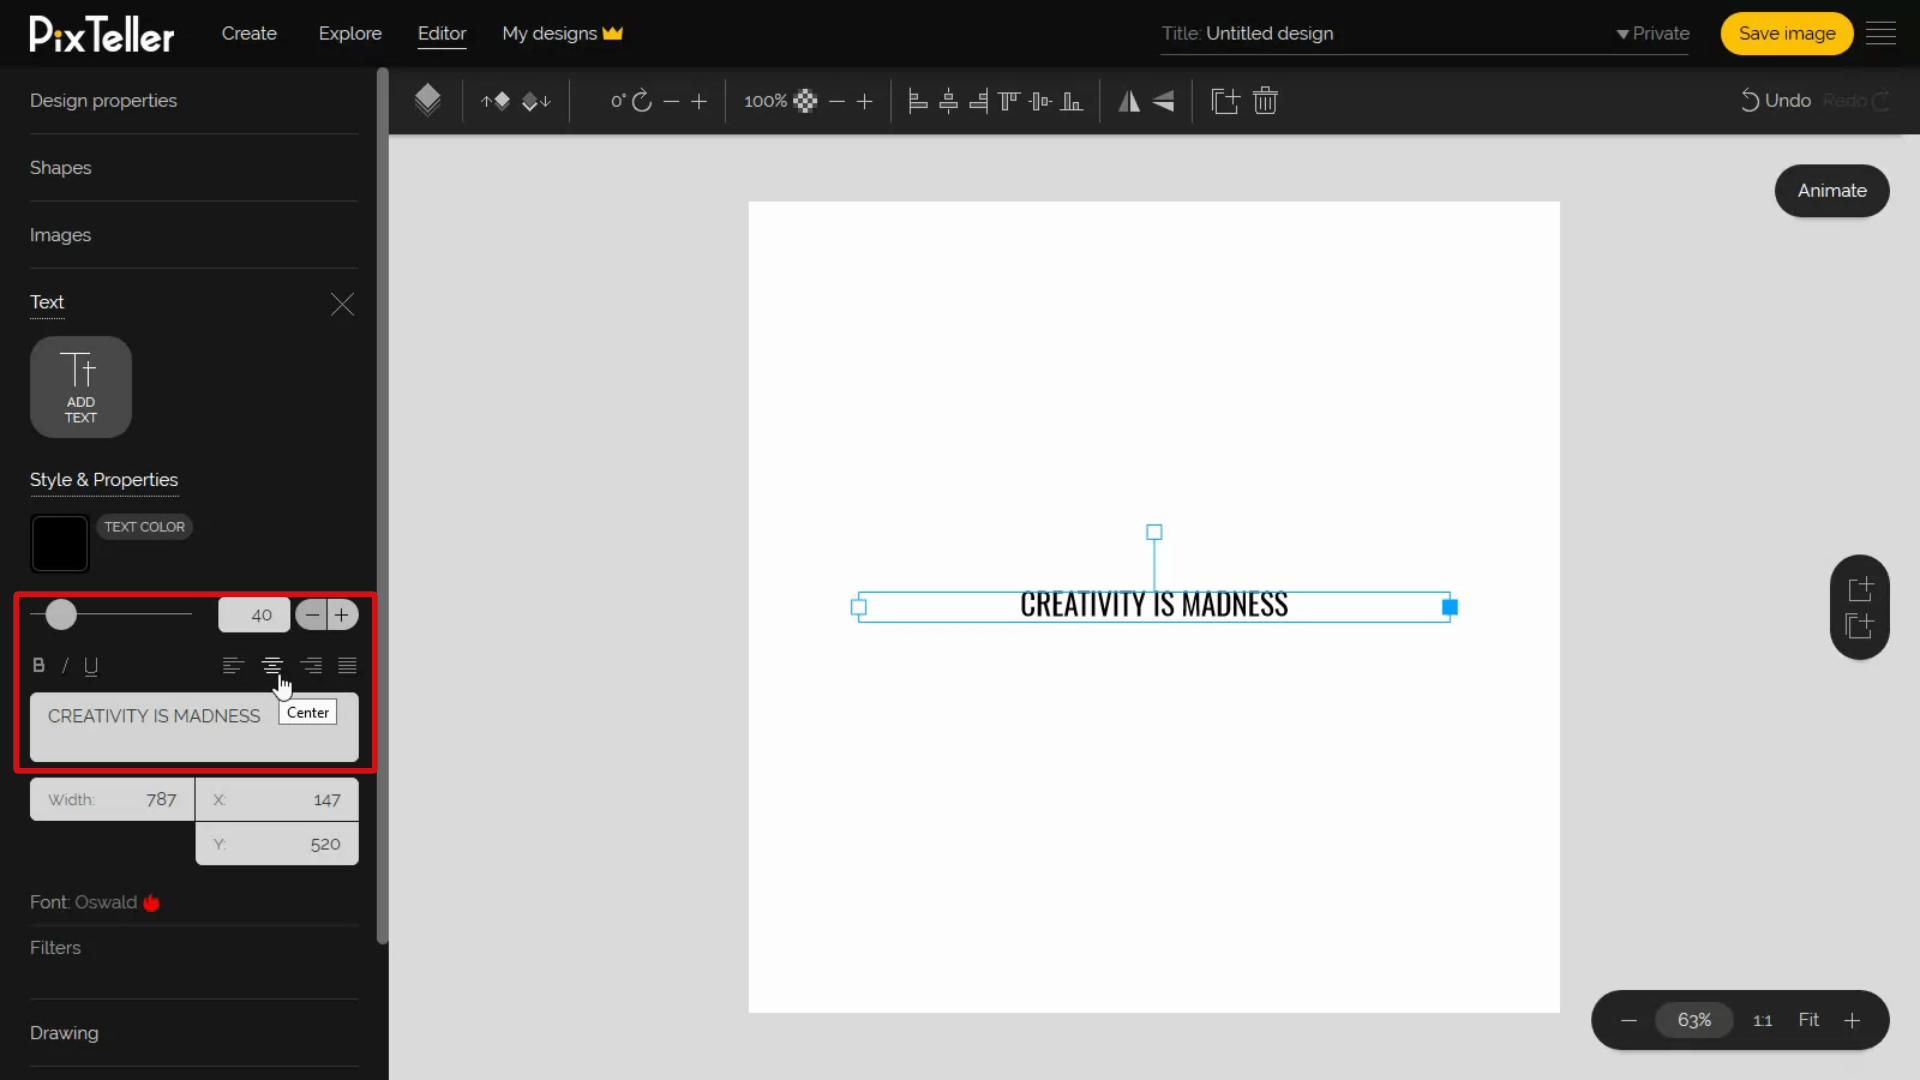
To do this, you can use the input box from the left menu, or you can double-click on the text and change it. For this tutorial, I will use one of my favorite quotes: "Creativity is madness".
Like with every text, properly aligning it on the page matters a lot. So to position it on the center of the container, you have this option in the properties panel from the left, right above the text box. Other options here include Left, Right and Justify, the same options similar to Microsoft Word.
Select the right font
Next, we want to select the right font. To change the font for my text, click the Font family option from the font menu. In the new panel that just opened, you can see that we have over 100 fonts for you to choose from, that are all filtered in Serif, SansSerif, Monospace, Handwriting, and Display. So take your time here to find the ideal font you need.
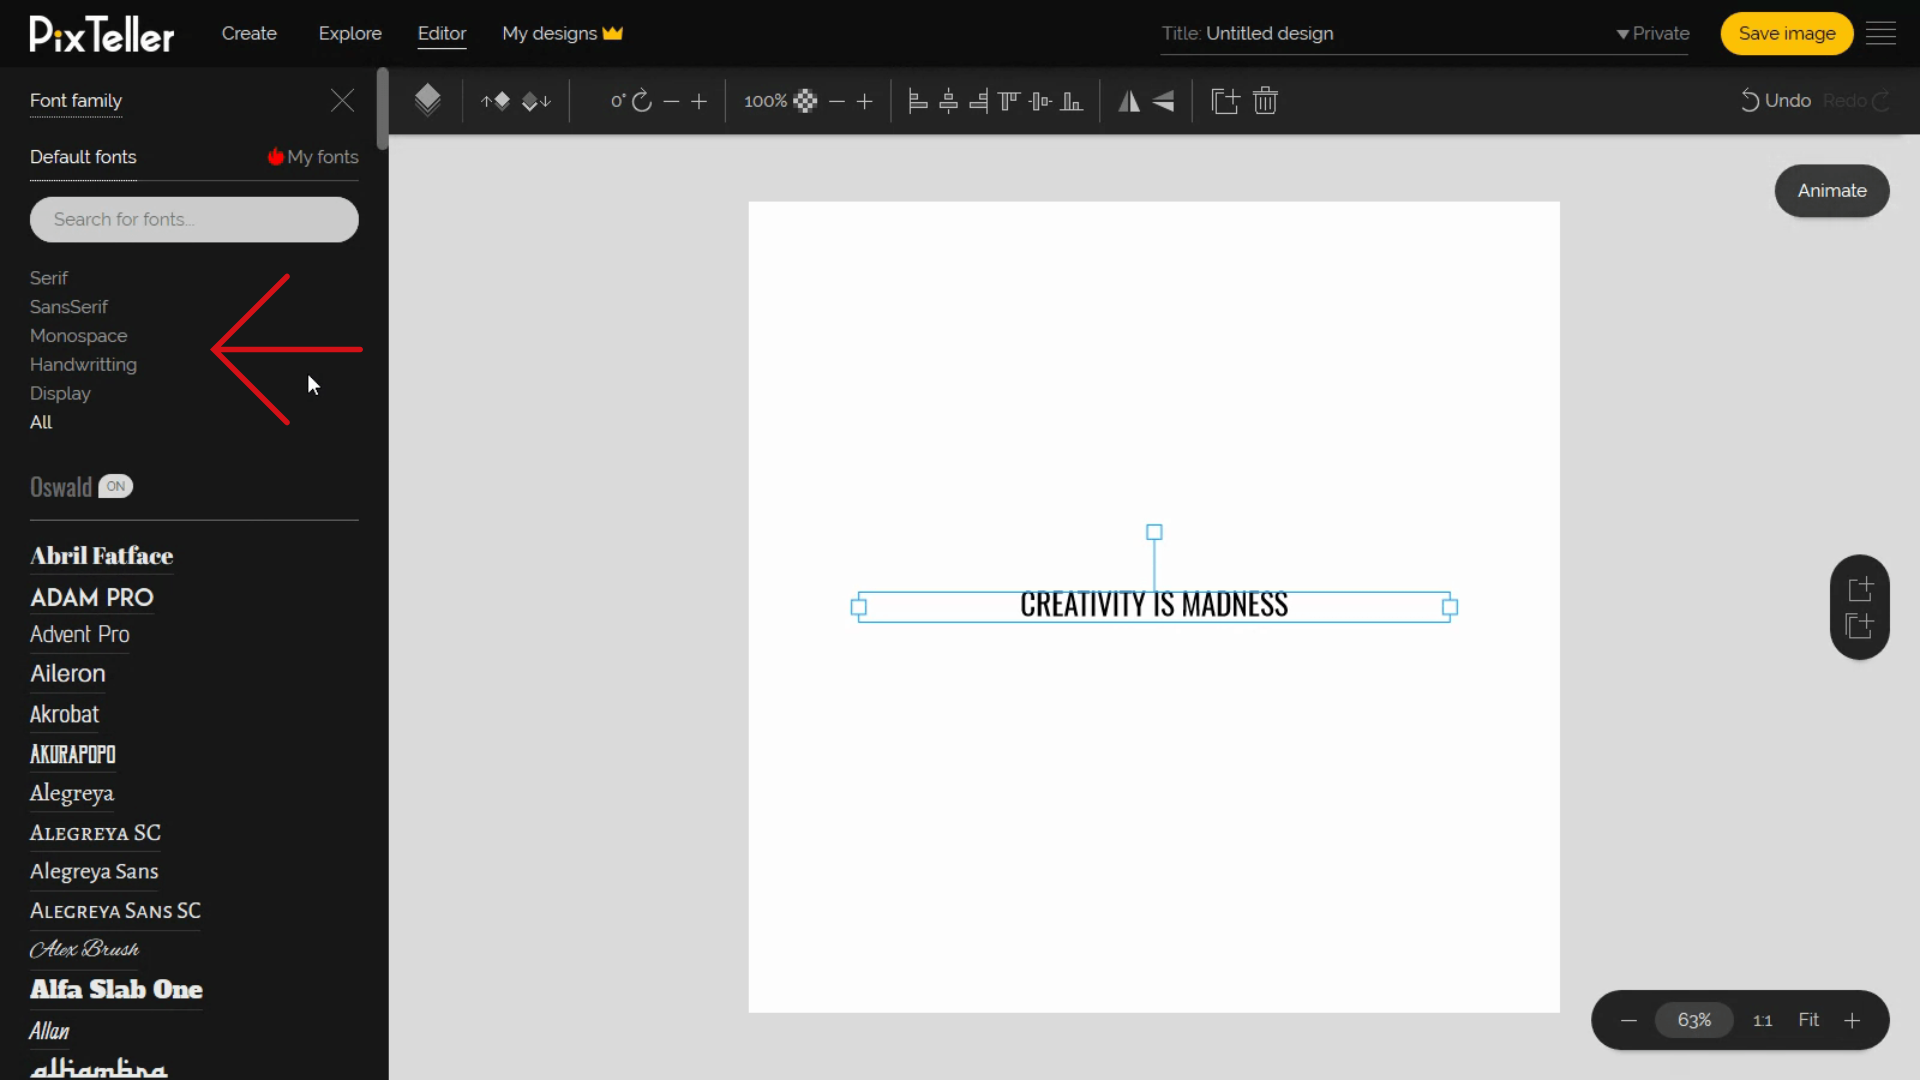
For this tutorial, I will use a Display font family and as I scroll through the list, getting a preview of how the fonts looks like, I think I will go with "Built Titling". Yup, I like this one!
As you can see here, the text in the quote editor is updated instantly. Nice, right?
Set the text size
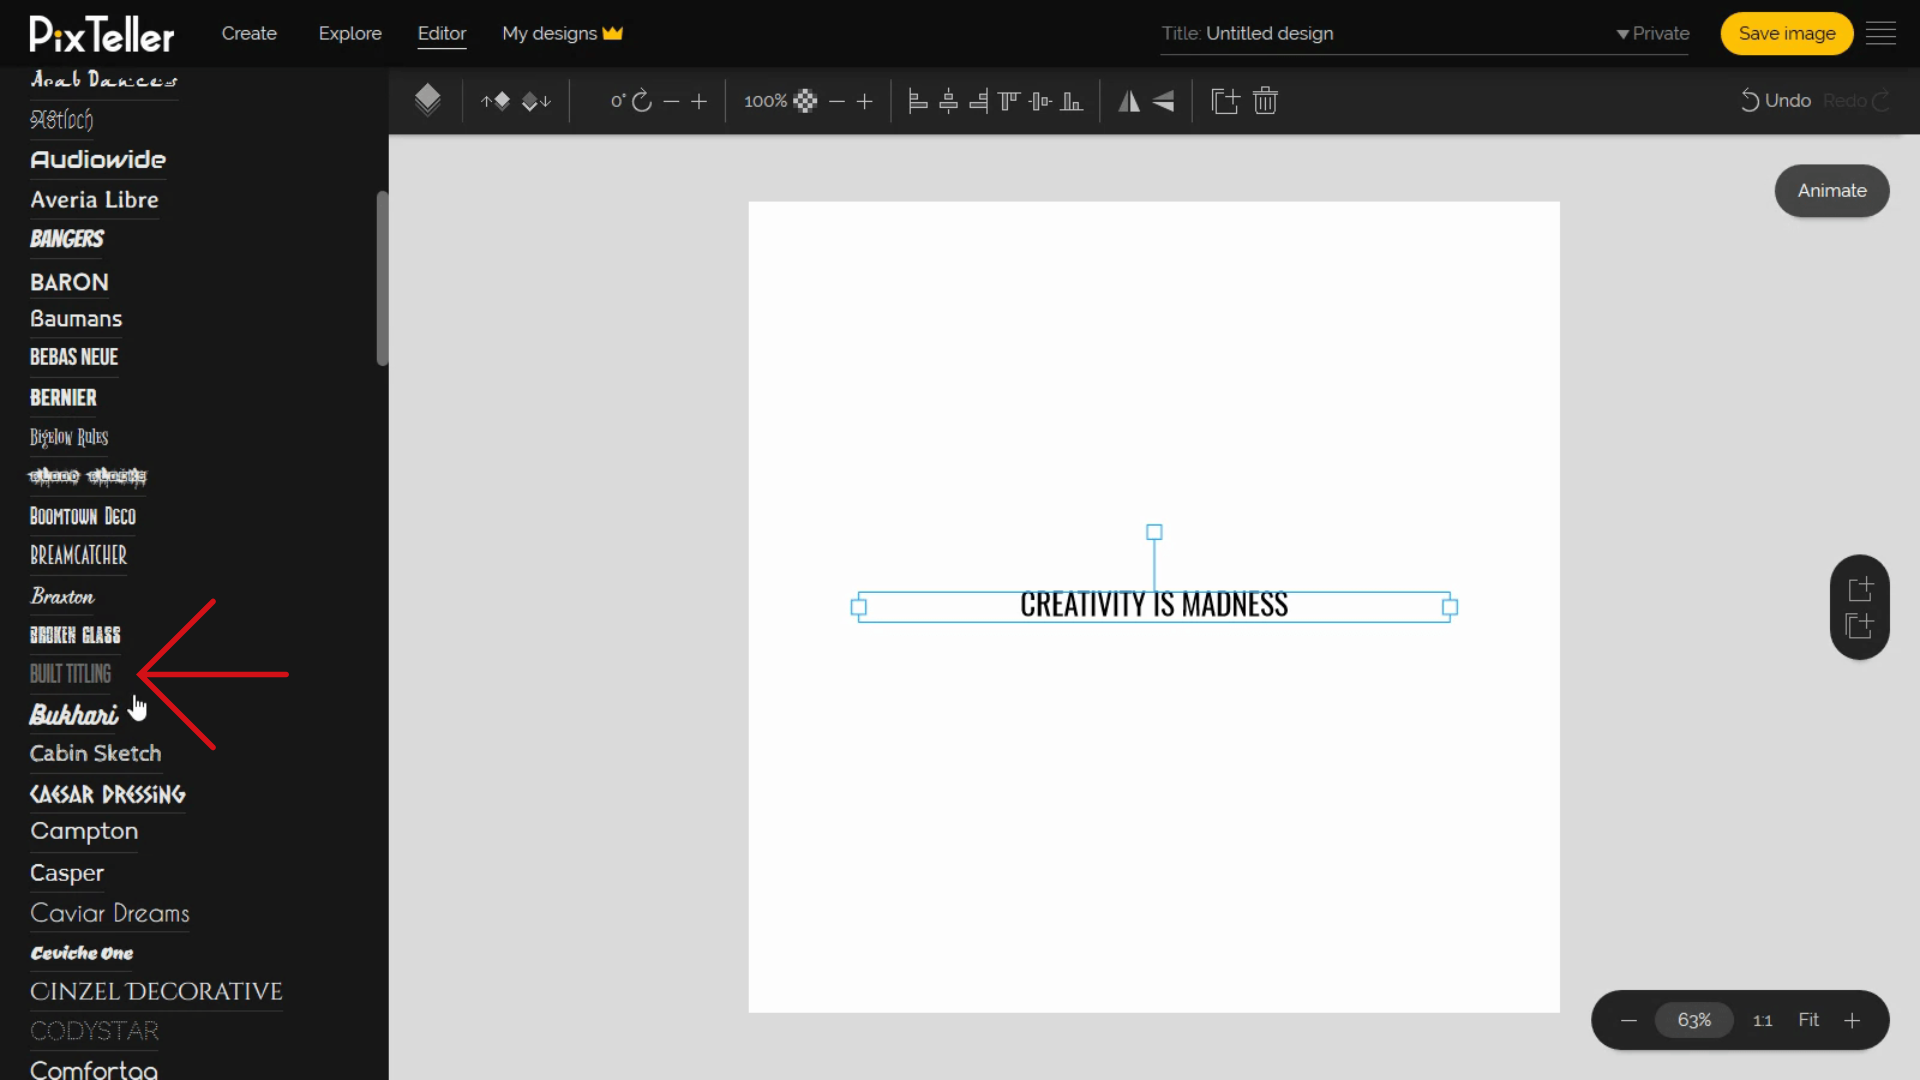
So far, we've learned how to change a text, its alignment and font. Next, let's change the text's size. In order to do this, you can use the slider as in my example, or just input a value in the size box. The "+" and "-" buttons give you the ability to incrementally change the size for a better fit.
Remember, you can edit the text at any time by double-clicking on it.
Change text color
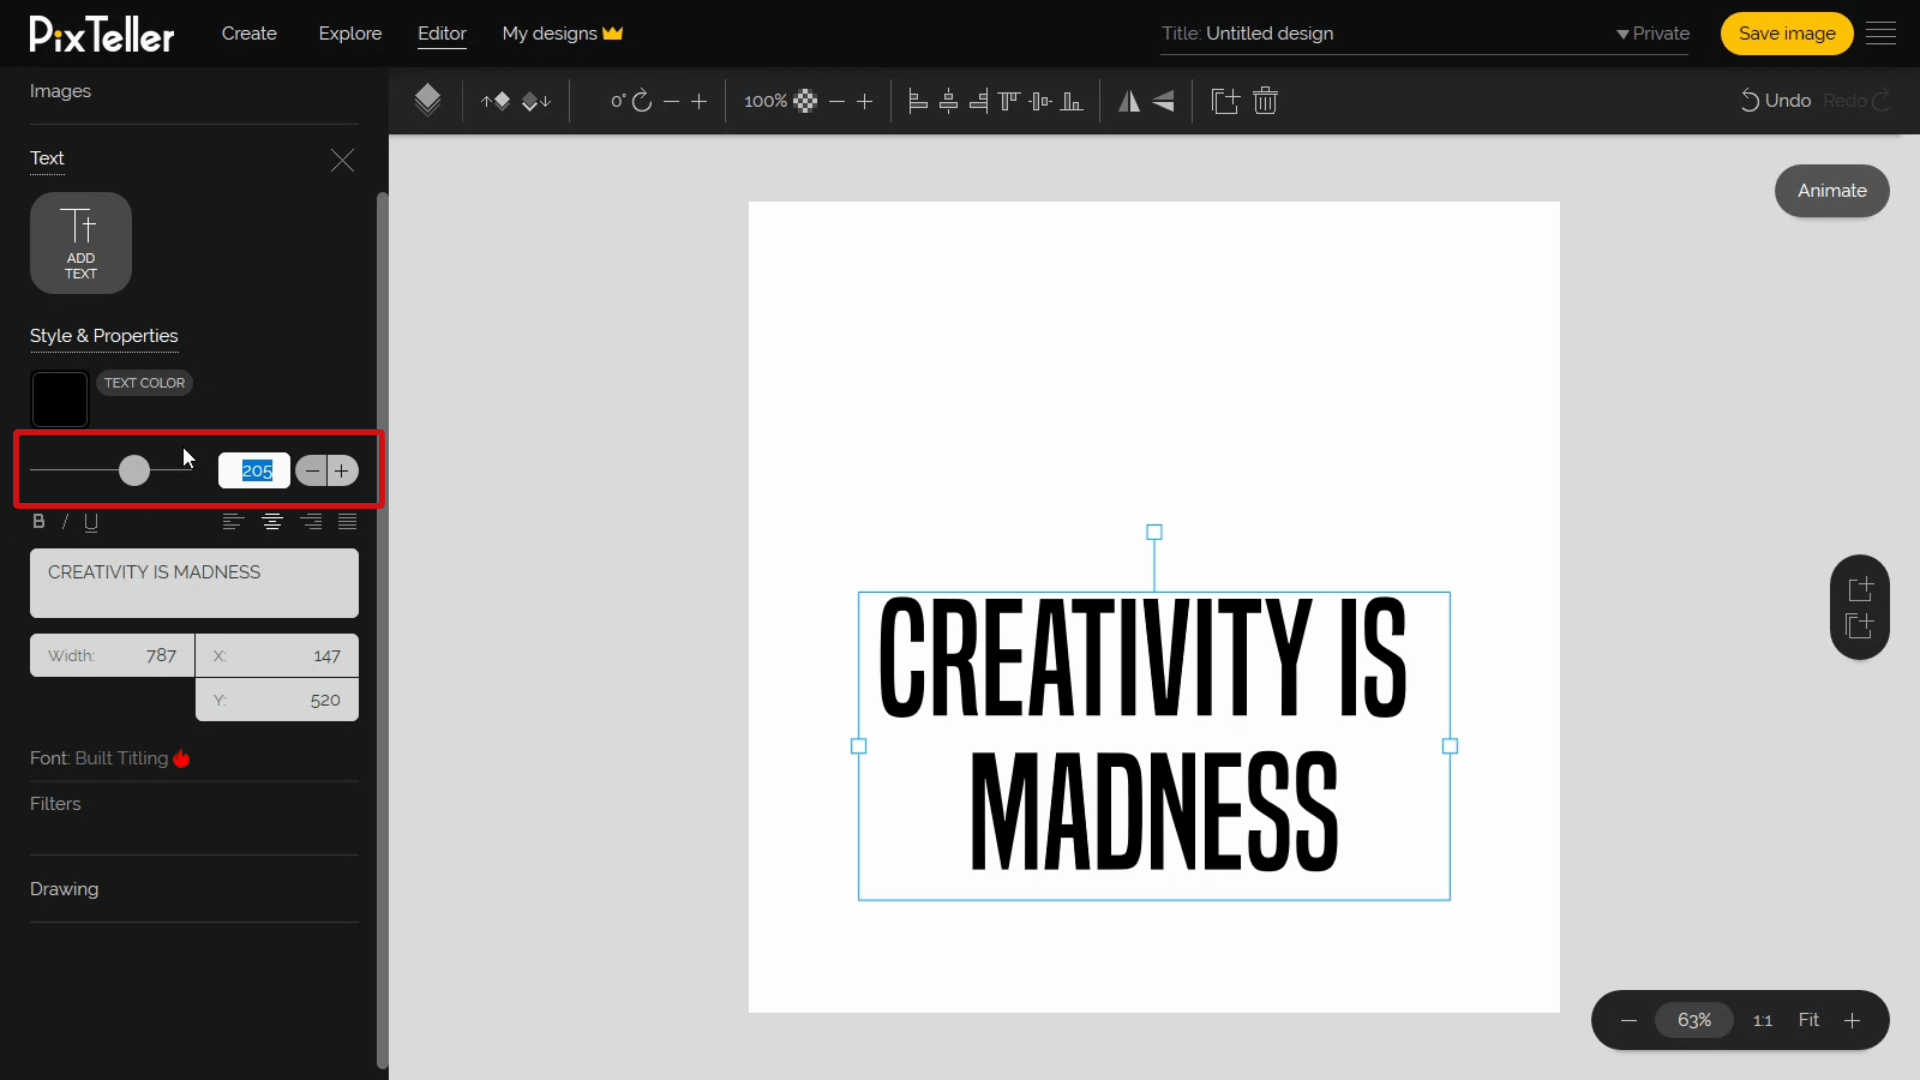
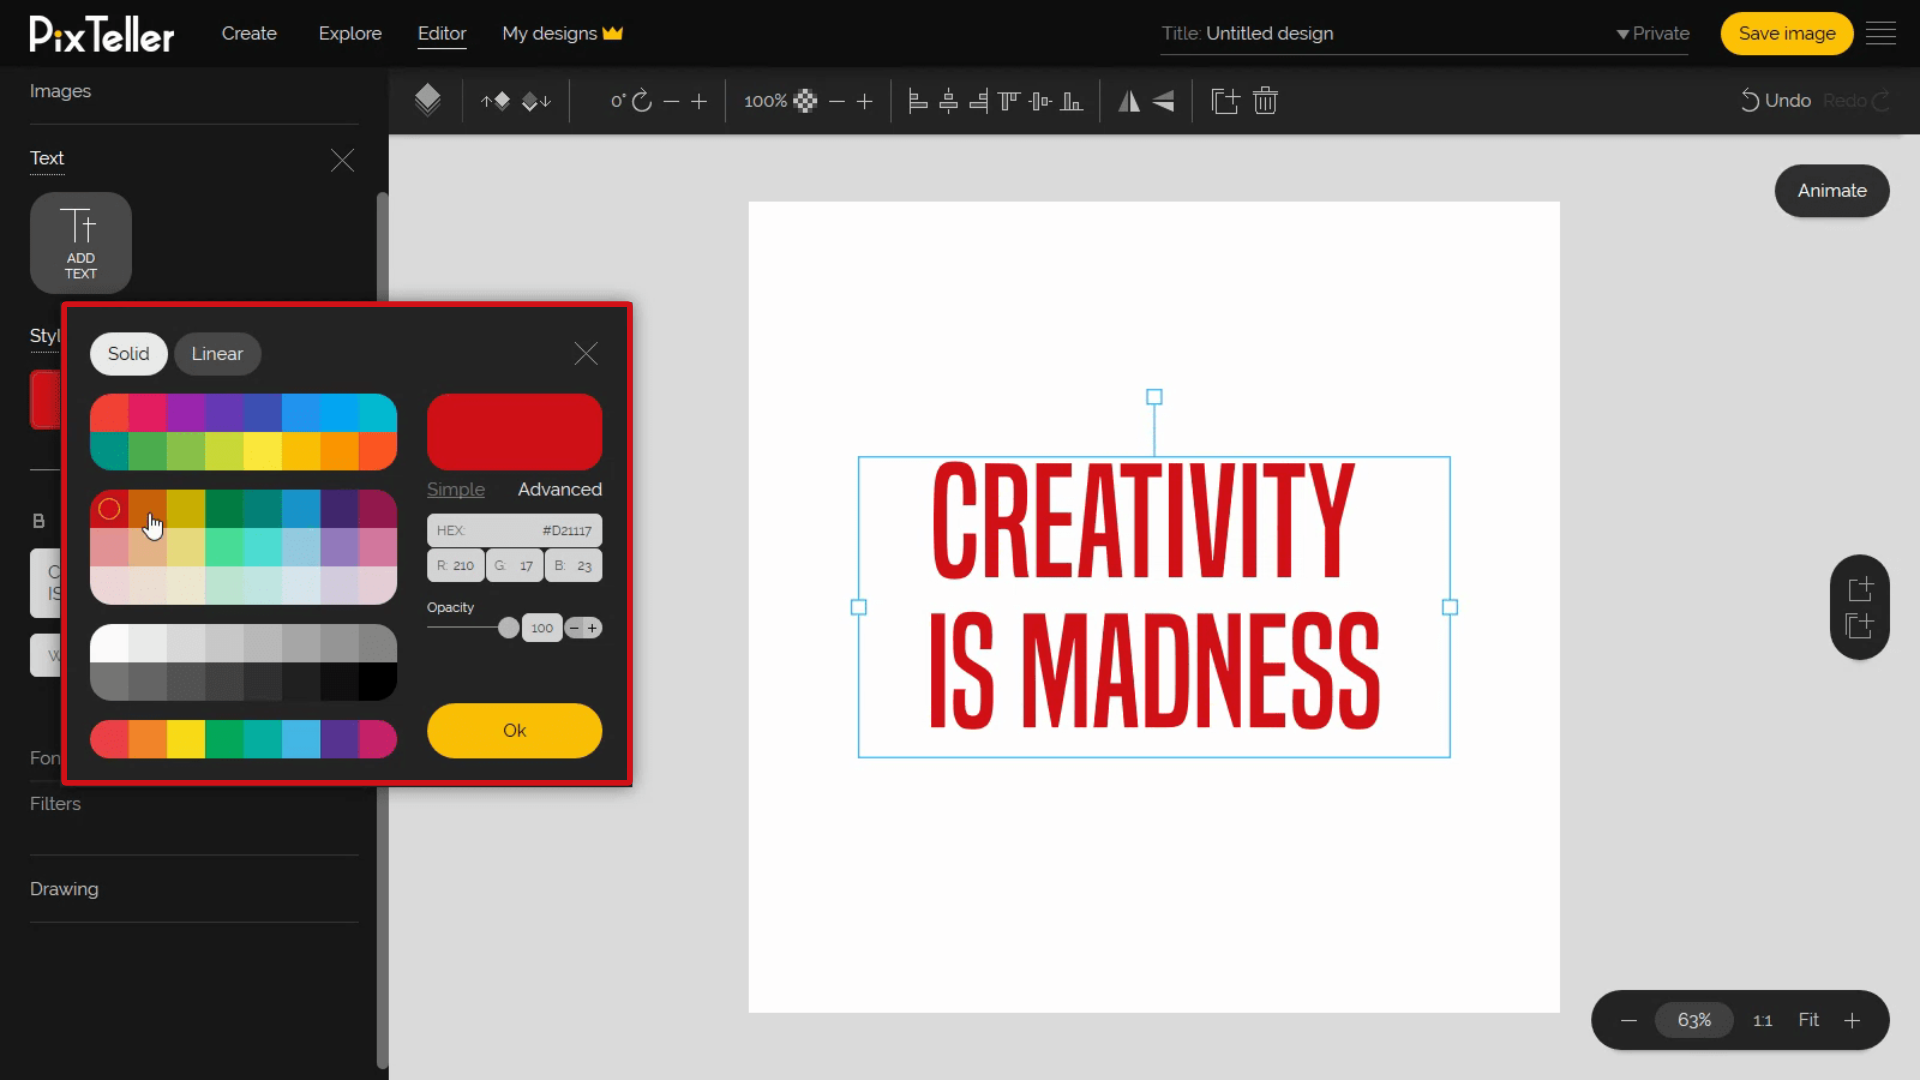
Now let's move to colors. To choose the right color for your text element, you must click on the color button located on the left panel. Did you find it? Great! Also, Solid and Linear options are available. For our example, let's select the color red. Uu, it looks nice!
Use Copy/Paste to replicate text properties
If you need to quickly replicate the text, you can use the copy/paste keyboard shortcuts CTRL+C and CTRL+V. Just as I'm doing right now.
Now, let's try the features we've discussed. I will change the second text by writing my name, updating the size, changing the color and the position of the container. How's that? Not too shabby.
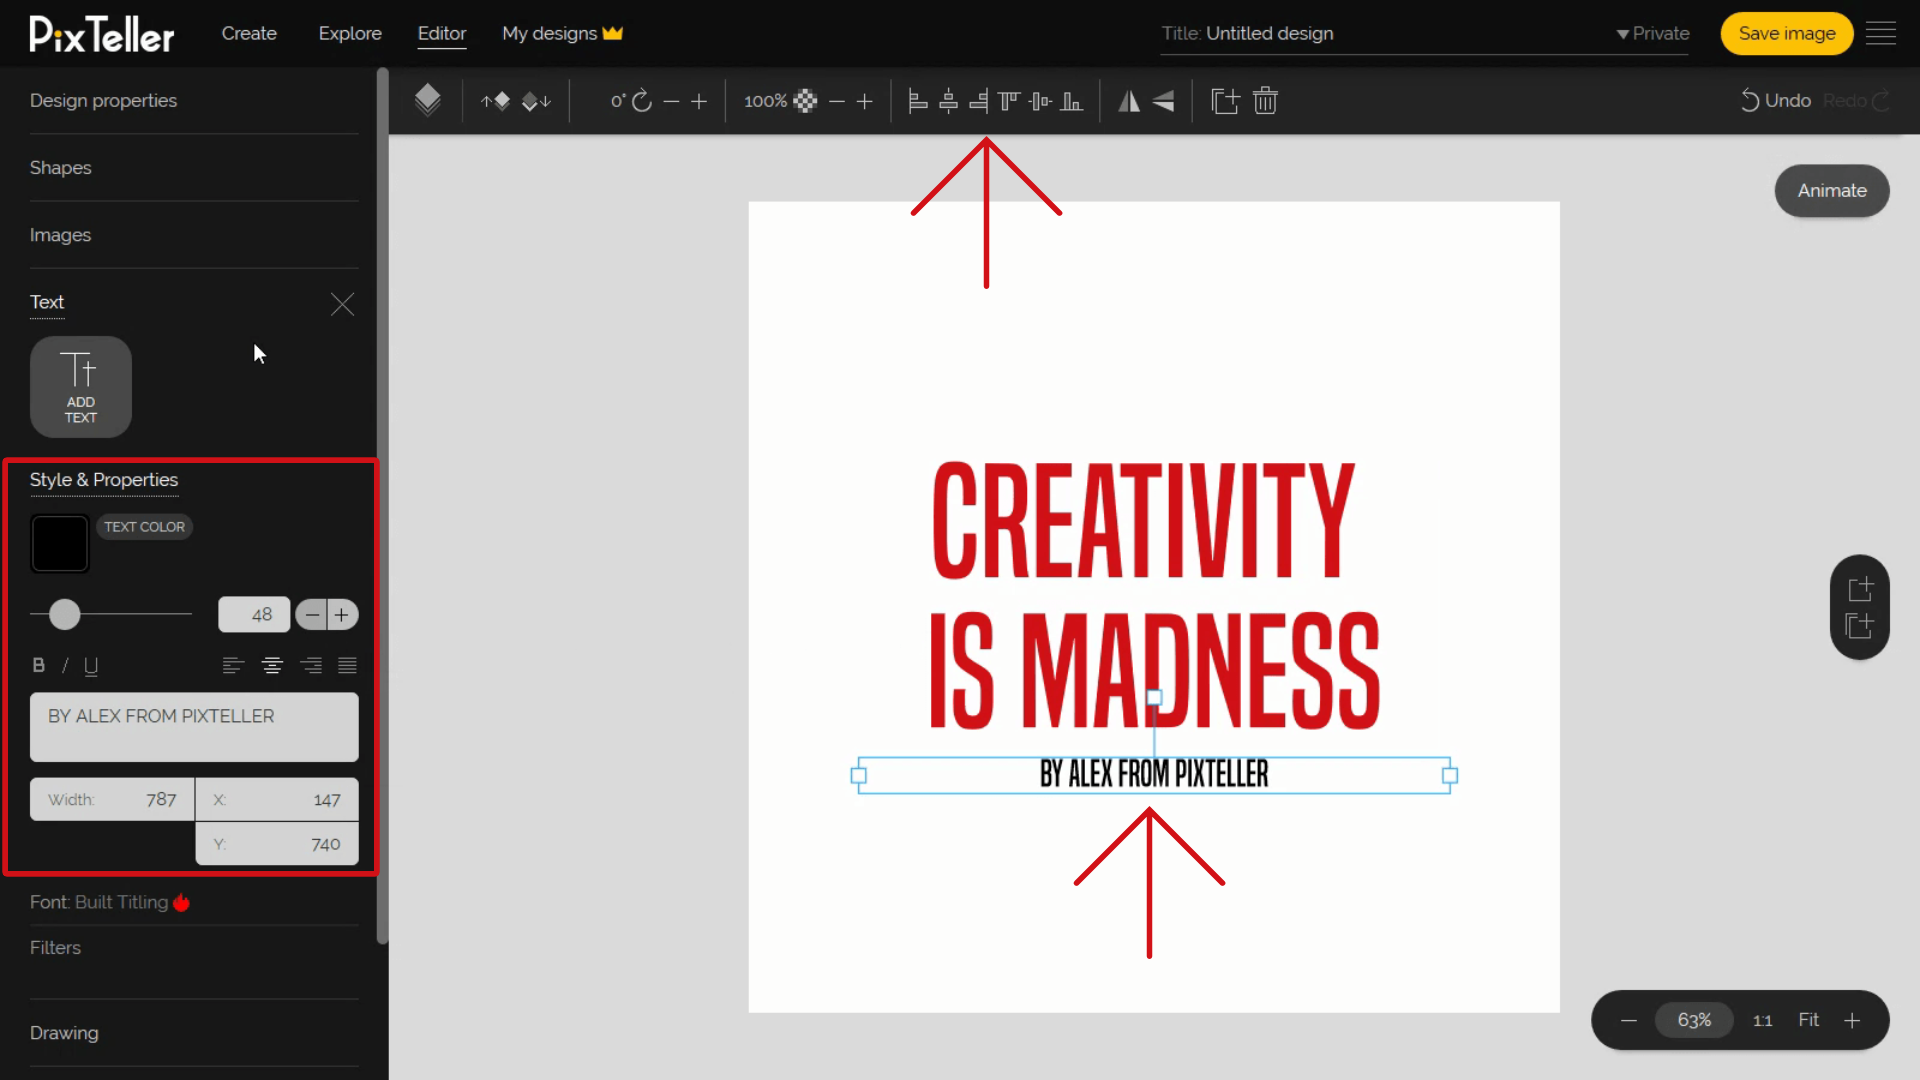
Text filters
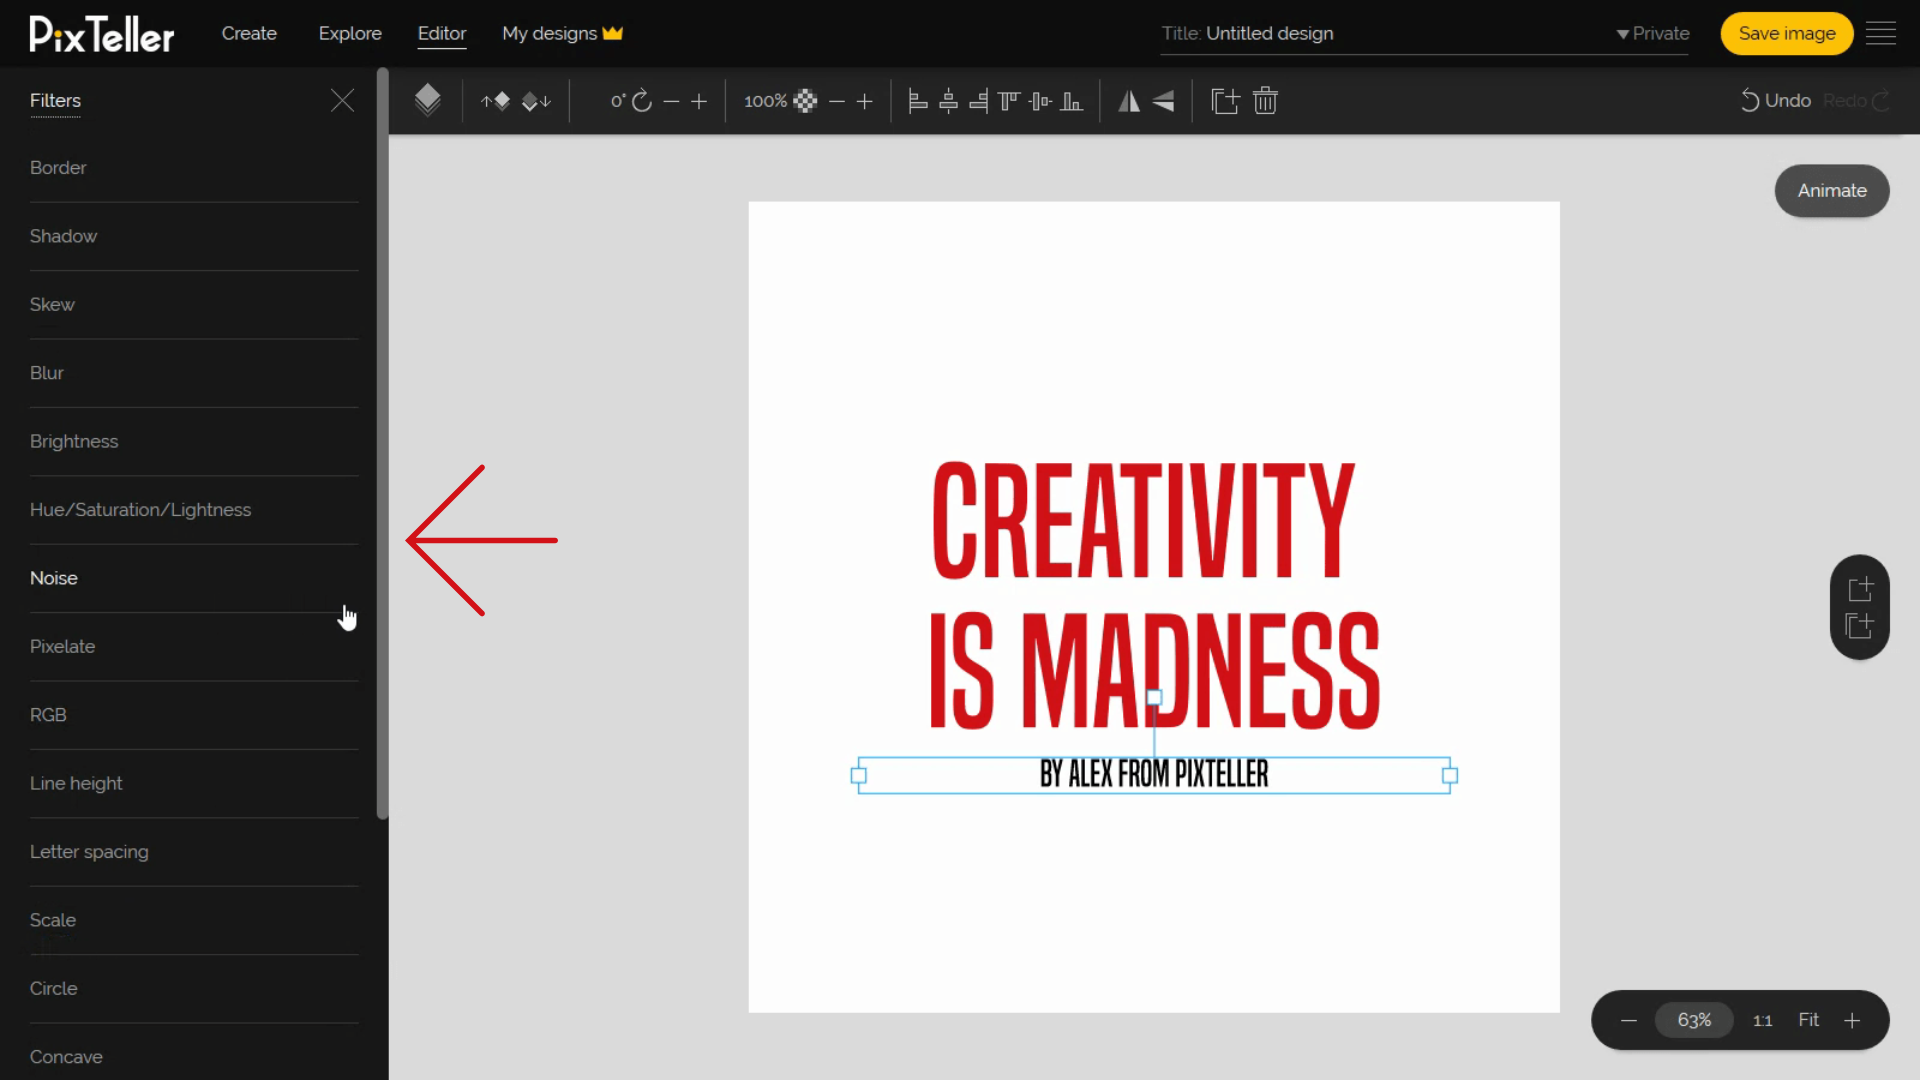
But let's have a closer look at the text filters options. As you see here, you can change the Border, Shadow, Skew and Scale values. You may also adjust the shape Brightness, Hue, Saturation, Lightness, and RGB. What is awesome is that you can add a Blur, Noise or Pixelate effect on your design text elements.
For my text, I will go with a horizontal skew effect of minus 25.
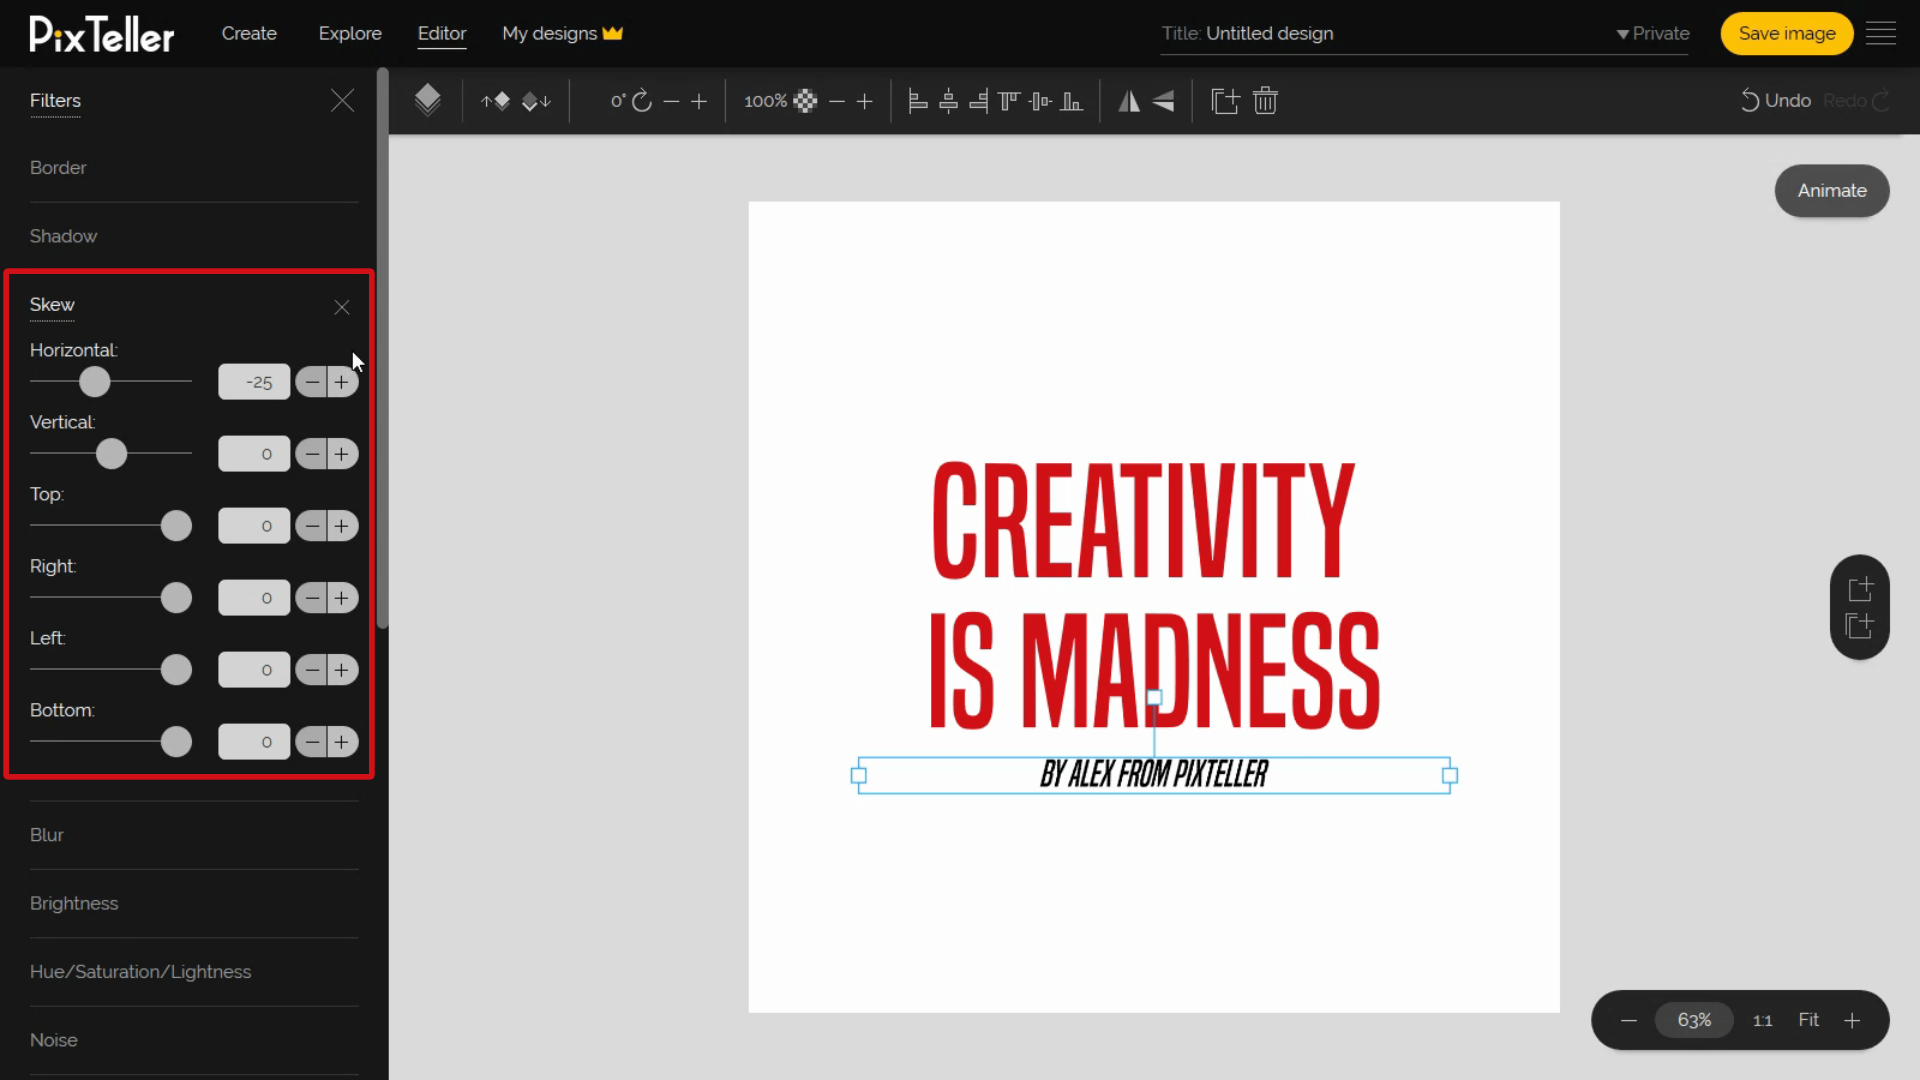
I'm not sure if you know this, but a very common option for text elements is "Line Height" and "Letter Spacing". I will add them both using the default value for line height, that is 100%, and I'll also go with 15 pixels for the letter spacing.
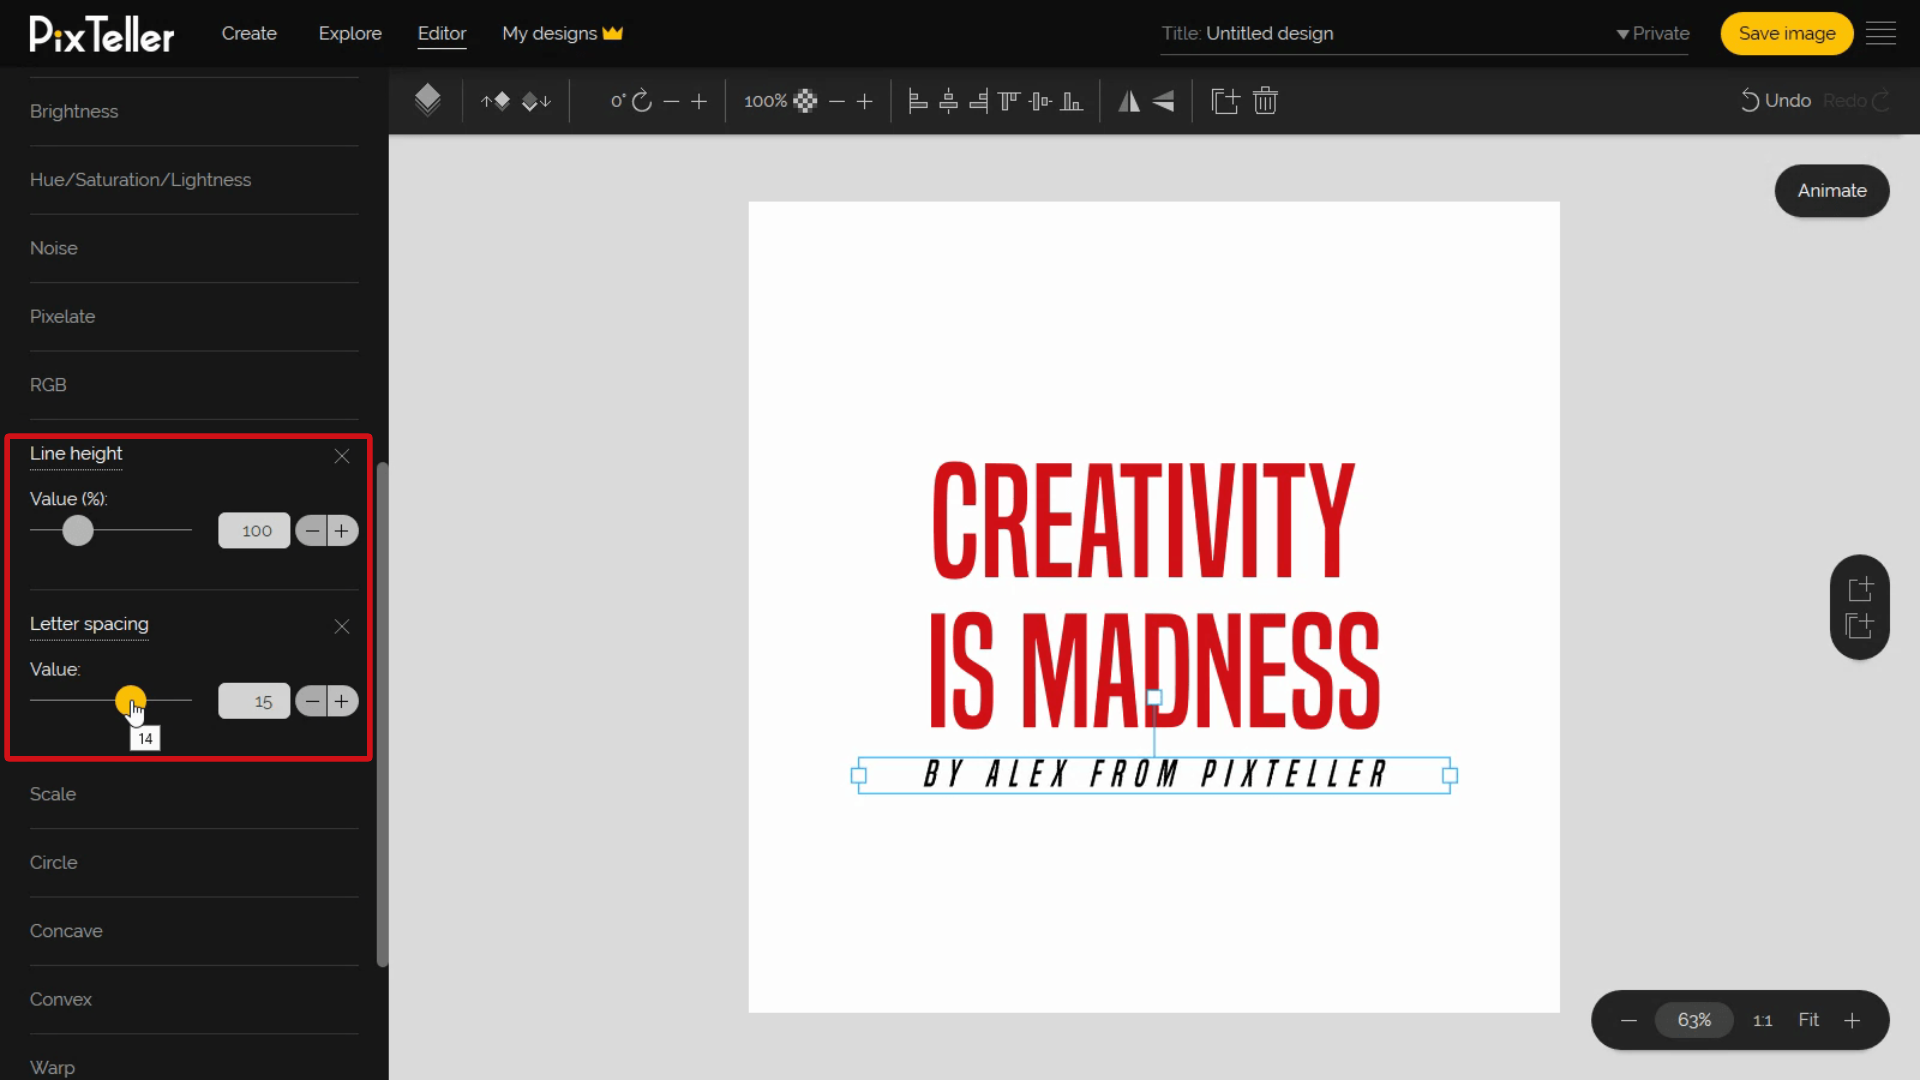
Yes! Now I like what I'm seeing. Don't you guys agree?
Another great thing that works really well for single line text elements is that you can add effects like Circle, Concave, Convex, Warp, or Triangle Warp. So play a little with these options to get familiarized, and then select what you like. Your imagination is the limit here.
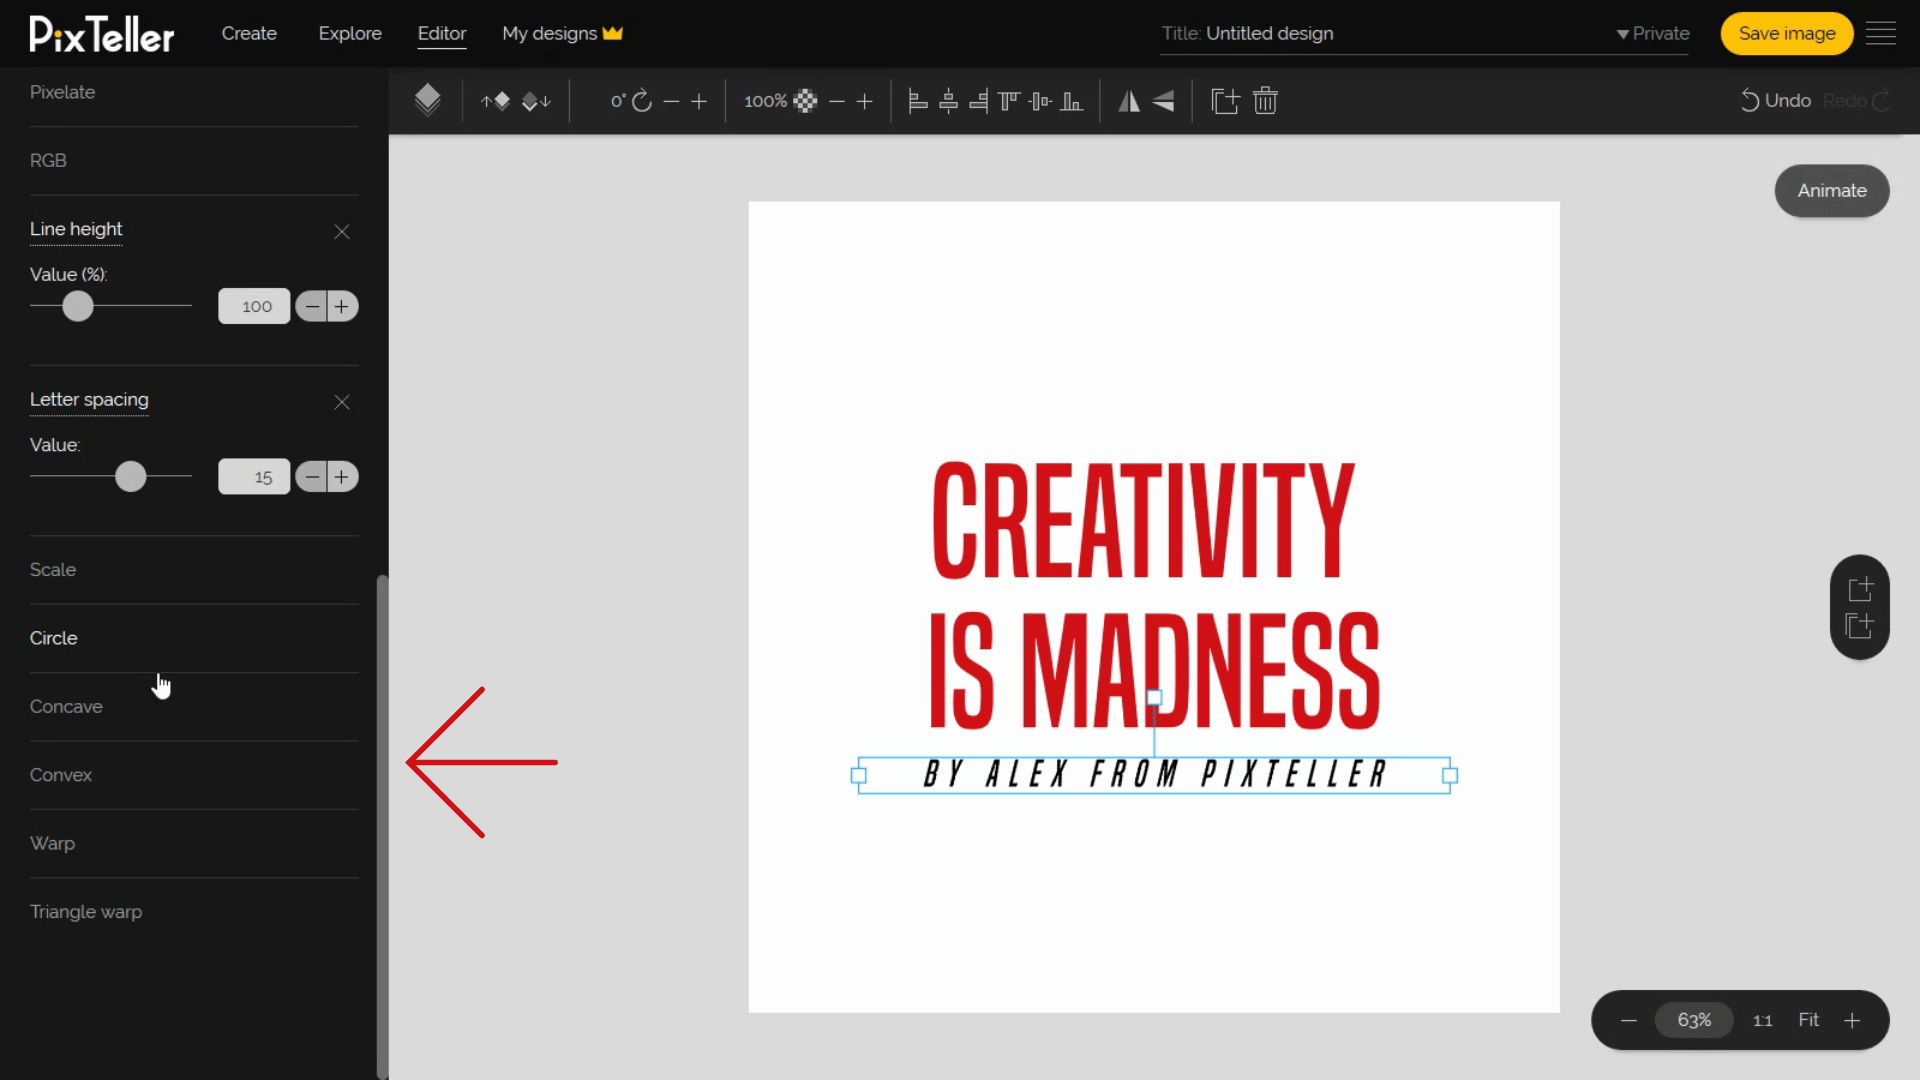
Now that we've covered all these features, your design is ready!
After following this tutorial, it should be easier for you to figure out how use the graphic maker in order to add, remove or change the properties and styles for text elements. If you need to delete what you've created, just select the element, and hit Delete on your keyboard. You can also right click and select the Delete option or use the Delete button from the top menu bar.
Remember to rename and save your design once it is finished. And keep in mind that you can also change the privacy from the editor before saving it.
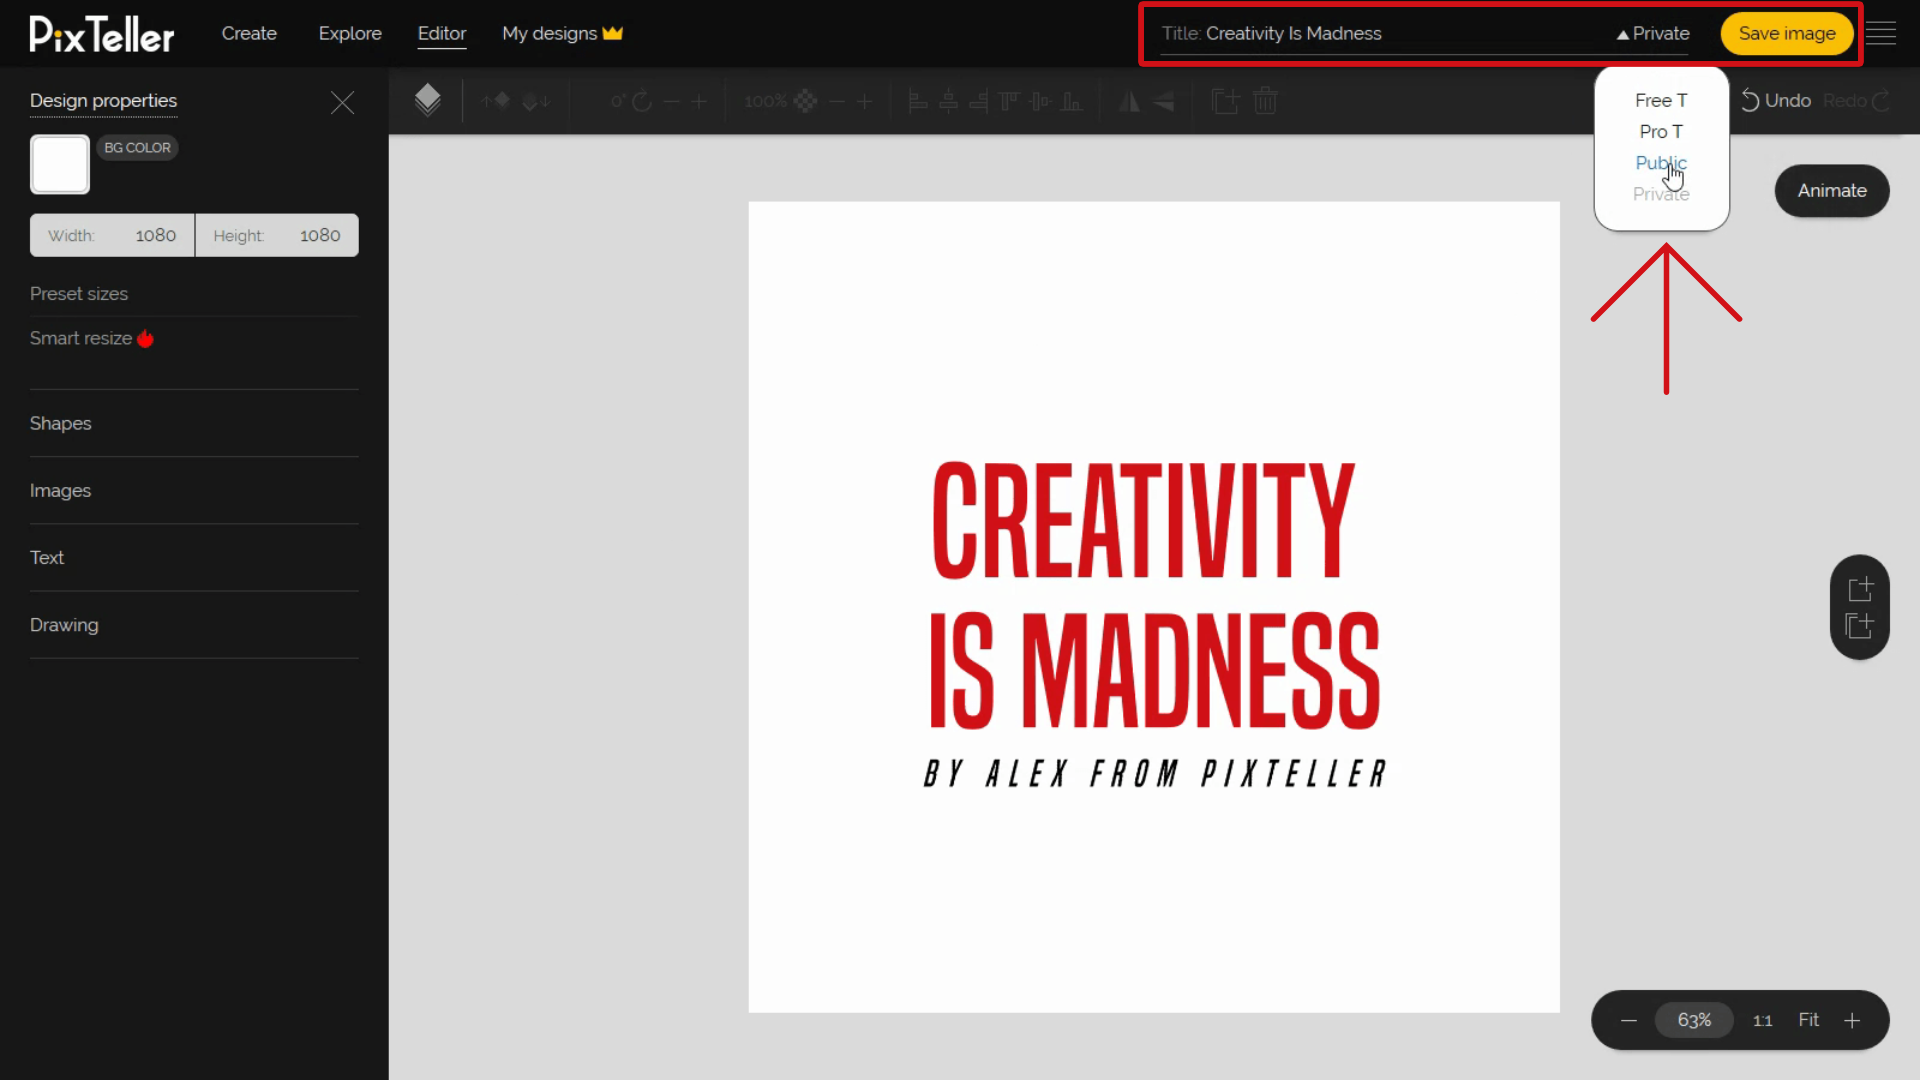
Now, my design is finished, and I can download it and share it on my social network. So the final outcome should look something like this. Good job everyone!
For more, follow our blog to learn tricks and tips that will make your designs the best out there. Join PixTeller and make picture quotes, images, animated GIFs and short video animations for your websites, advertising campaigns, social media posts, mobile apps, print, business visuals and more. It's free! Yey!!!
Have a great day, guys, and stay tuned for more!
Recommended posts
-
Know How to Align Objects
Read More › -
How to Use the Line & Pencil Tools
Read More › -
Upgrade Stock Photos to Transform Any Visual Content
Read More › -
PixTeller Editor Key Commands and Common operations
Read More › -
How to Add, Remove, Change Properties & Style for Text Elements
Read More › -
PixTeller Design Editor - Here Are the Features Explained
Read More ›
